
This article explains installing VirtualBox guest additions software on a Windows 11 virtual machine.
If you’re running a Windows 11 VM with VirtualBox, the first thing you’ll want to do after installing Windows 11 is to install VirtualBox guest additions software.
The VirtualBox guest additions package enhances and improves the virtual guest machine’s management. When you install a new operating system on a VirtualBox virtual machine, your first task should always be to install its guest additions software, and the steps below show you how to do that.
The tool provides tight integration between the host and virtual machine operating systems; enables improvement to the VM graphics performance, shared folder between the host and guest machines, copying and pasting of text, images, and files between the host and guest machines, and mouse improvement.
Below, we’ll show you how to install the guest addition software after installing Windows 11 VM.
How to add VirtualBox guest additions software to Windows 11 VM
As mentioned above, VirtualBox guest additions software provides tight integration between the host and virtual machine operating systems, enables improvement to the VM graphics performance, shared folder between the host and guest machines, copying and pasting of text, images, and files between the host and guest machines, as well as mouse improvement.
For a better experience, you must install this tool in all VMs you create using VirtualBox.
If you haven’t already installed VirtualBox, the below will help you get VirtualBox on Windows.
How to install VirtualBox on Windows 11
Once installed, you can create a VM for Windows 11. If you haven’t done so, read the post below.
How to create a Windows 11 virtual machine with VirtualBox
After creating the VM, you can then install Windows 11 on it. To help install Windows 11, read the post below.
How to install Windows 11 on VirtualBox VM
Once Windows 11 is installed, you can install the guest additions software in Windows 11.
Install the guest additions software, launch VirtualBox software on the host computer, and turn on the newly created Windows 11 VM.
After you log in to Windows 11, on the VM window, click on Device > Insert Guest Additions CD Image… as highlighted below.

Once you click that, the software will insert and mount its virtual CD into Windows. Windows will then prompt you with an autoplay notification like the one below.
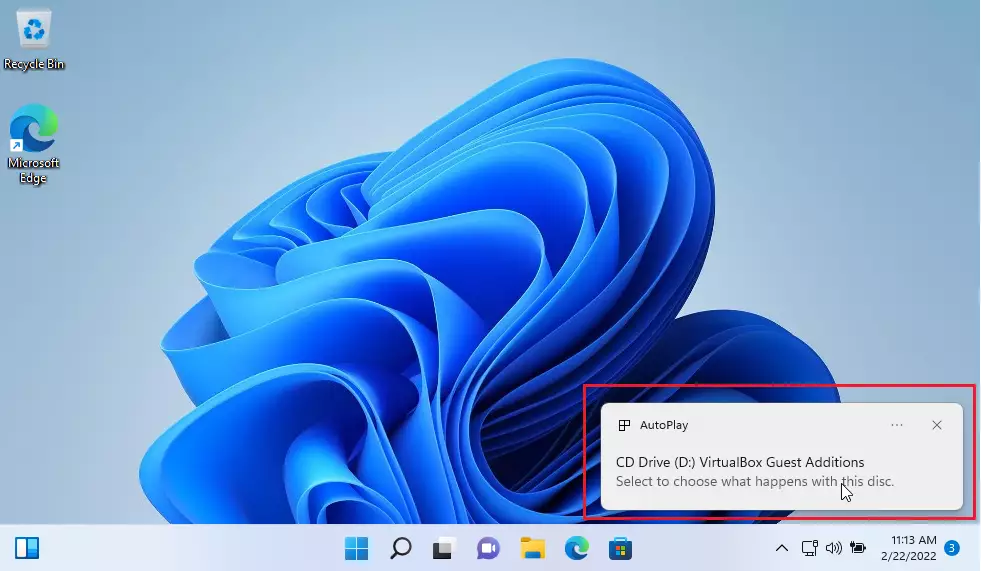
Suppose you don’t see an autoplay notification; open File Explorer and go to This PC on the left navigation menu. Then, double-click on the mounted CD Drive with VirtualBox Guest Additions software.

That will launch the installation. Follow the installation while accepting the default settings, and install all necessary packages.
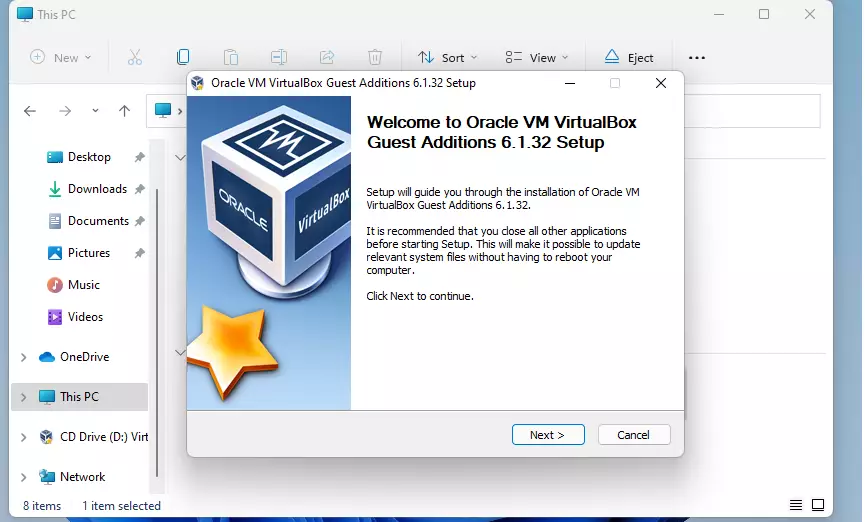
When you’re done, restart the VM when prompted.
That should do it!
Related:
- How to install VirtualBox on Windows 11
- How to create Windows 11 VirtualBox VM
- How to install Windows 11 on VirtualBox
Conclusion:
Installing VirtualBox guest additions software on your Windows 11 virtual machine is essential for an optimized experience. Here are the key takeaways:
- VirtualBox guest additions enhance graphics performance and system integration between the host and guest operating systems.
- The installation process is straightforward: inserting the Guest Additions CD image and following the setup prompts.
- Ensure that you restart the VM after the installation to complete the process.
- Always install guest additions on every VM created using VirtualBox for best results.
- Refer to related guides for assistance installing and creating VMs with VirtualBox on Windows 11.


Leave a Reply