
This article explains how to install and use FreeScout Help Desk, an open-source help desk and shared mailbox platform written in PHP on Ubuntu Linux.
FreeScout is a self-hosted clone of HelpScout. It is a great alternative to Zendesk or Help Scout. For users looking for a perfect open-source help desk solution to provide professional customer support, FreeScout should be a great place to start.
The software is extensible and integrates easily with standard protocols already available online. In addition, it works with a web server, running PHP and a MySQL database.
Someone might want to install and run their help desk solution for several reasons. One reason is that it gives you more control over the platform and allows you to customize it to your needs. Another reason is that it can be more cost-effective in the long run, as you won’t have to pay ongoing subscription fees to a third-party provider.
Additionally, running your help desk solution can provide enhanced security and data privacy, as you’ll have full control over your data and won’t rely on a third-party provider.
Install Nginx on Ubuntu Linux
FreeScout is a web application and requires a web server. We will install and use the Nginx web server for this post to run FreeScout.
To install the Nginx web server on Ubuntu, use the instructions below.
Open the Ubuntu terminal and run the commands below to install the Nginx web server.
sudo apt update
sudo apt install nginx
Once Nginx is installed, the commands below can start, stop, and enable the Nginx web server to start when your server boots up automatically.
sudo systemctl stop nginx
sudo systemctl start nginx
sudo systemctl enable nginx
You test that the Nginx web server is running by opening your web browser and browsing to the server’s localhost or IP address.
http://localhost
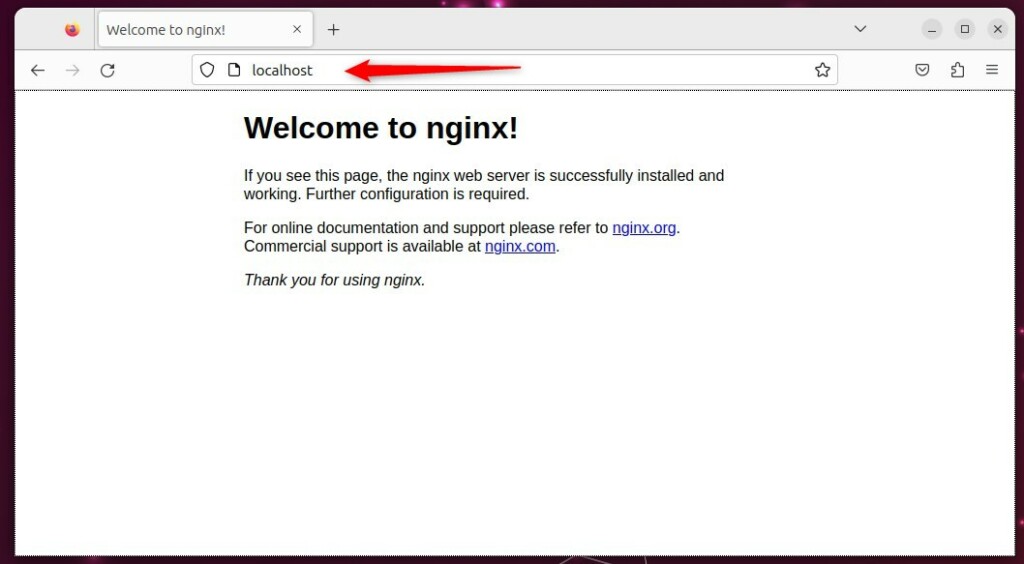
When you see the Welcome to nginx!, it means Nginx is successfully installed.
Additional help on installing Ngnix
How to install Nginx on Ubuntu
Install MariaDB on Ubuntu Linux
The next component that is required to run FreeScout is a database server. This post will install and use the MariaDB database server to run FreeScout.
To install and use the MariaDB database server, use the instructions below.
Open the Ubuntu terminal and run the commands below to install the MariaDB database server.
sudo apt update
sudo apt install mariadb-server
Once the MariaDB database server is installed, use the comments below to stop, start, and enable the MariaDB server to start up when the server boots automatically.
sudo systemctl stop mariadb
sudo systemctl start mariadb
sudo systemctl enable mariadb
Run the following commands to validate and test if the MariaDB database server is installed successfully.
sudo mariadb
Once you run the commands above, it will log you onto the MariaDB console and display a similar message as the one below.
Welcome to the MariaDB monitor.  Commands end with ; or \g.
Your MariaDB connection id is 32
Server version: 10.11.2-MariaDB-1 Ubuntu 23.04

Copyright (c) 2000, 2018, Oracle, MariaDB Corporation Ab and others.

Type 'help;' or '\h' for help. Type '\c' to clear the current input statement.

MariaDB [(none)]>
The message tells you that the server is installed successfully.
Additional help on installing MariaDB.
Create FreeScout database
After installing the MariaDB database server, you should create a blank database on the server for the FreeScout application.
This database will store the FreeScout application content and data.
We will create a database called freescoutdb. We will also create a database user account called freescoutdbuser.
Finally, we’ll grant the freescoutdbuser full access to the freescoutdb database.
All the database steps above can be done using the commands below:
But first, log on to the MariaDB database server:
sudo mariadb
Then run the commands below to complete the steps:
CREATE DATABASE freescoutdb CHARSET utf8mb4 COLLATE utf8mb4_unicode_ci;
CREATE USER freescoutdbuser@localhost IDENTIFIED BY 'type_new_password';
GRANT ALL ON freescoutdb.* TO freescoutdbuser@localhost WITH GRANT OPTION;
FLUSH PRIVILEGES;
exit
Install PHP-FPM on Ubuntu Linux
The last component you will need to run FreeScout is PHP or PHP-FPM. The FreeScout application is a PHP-based application. It supports the latest versions of PHP and PHP-FPM.
Run the commands below to install PHP-FPM version 8.2.
If the version of Ubuntu doesn’t support PHP-FPM 8.2, then run the commands below to install the latest versions of PHP-FPM from this repository.
sudo apt install software-properties-common ca-certificates lsb-release apt-transport-https
sudo add-apt-repository ppa:ondrej/php
Finally, install PHP-FPM 8.2 by running the commands below:
sudo apt install php8.2-fpm php8.2-intl php8.2-mysql php8.2-curl php8.2-cli php8.2-zip php8.2-gd php8.2-imap php8.2-imap php8.2-common php8.2-mbstring php-xml
Once PHP-FPM and related modules have been installed, the commands below can stop and enable PHP-FPM to start automatically when the server boots.
sudo systemctl stop php8.2-fpm
sudo sysetmctl start php8.2-fpm
sudo systemctl enable php8.2-fpm
Additional help on installing PHP
How to install PHP on Ubuntu Linux
Download FreeScout
We are ready to download and configure the FreeScout files on Ubuntu Linux.
Run the commands below to download and extract the FreeScout files to the Nginx web server root directory.
The command block below will download FreeScout and create a new folder for FreeScout in the Nginx root directory. Then, change into the directory, download the FreeScout files, and change the permissions to allow the Nginx web server to interact with the files.
sudo apt install git
sudo mkdir -p /var/www/freescout
cd /var/www/freescout
sudo git clone https://github.com/freescout-helpdesk/freescout .
sudo chown -R www-data:www-data /var/www/freescout
sudo find /var/www/freescout -type f -exec chmod 664 {} \;
sudo find /var/www/freescout -type d -exec chmod 775 {} \;
Once all the steps above are done, continue below to configure the Nginx web server to serve the FreeScout content.
Run the commands below to create a Nginx server block for FreeScout.
sudo nano /etc/nginx/sites-available/freescout.conf
Then, copy and paste the content block below into the Nginx server block.
server {
    listen 80;
    listen [::]:80;
    server_name freescout.example.com;

    root /var/www/freescout/public;

    index index.php index.html index.htm;

    error_log /var/www/freescout/storage/logs/web-server.log;

    location / {
        try_files $uri $uri/ /index.php?$query_string;
    }
    location ~ \.php$ {
	fastcgi_split_path_info ^(.+\.php)(/.+)$;
	fastcgi_pass unix:/run/php/php8.2-fpm.sock;
	fastcgi_index index.php;
	fastcgi_param SCRIPT_FILENAME $document_root$fastcgi_script_name;
	include fastcgi_params;
    }
    # Uncomment this location if you want to improve attachments downloading speed.
    # Also make sure to set APP_DOWNLOAD_ATTACHMENTS_VIA=nginx in the .env file.
    #location ^~ /storage/app/attachment/ {
    #    internal;
    #    alias /var/www/freescout/storage/app/attachment/;
    #}
    location ~* ^/storage/attachment/ {
        expires 1M;
        access_log off;
        try_files $uri $uri/ /index.php?$query_string;
    }
    location ~* ^/(?:css|js)/.*\.(?:css|js)$ {
        expires 2d;
        access_log off;
        add_header Cache-Control "public, must-revalidate";
    }
    location ~* ^/(?:css|fonts|img|installer|js|modules|[^\\\]+\..*)$ {
        expires 1M;
        access_log off;
        add_header Cache-Control "public";
    }
    location ~ /\. {
        deny  all;
    }
}
Save the file.
Then, run the commands below to enable the server block and restart the Nginx server.
sudo ln -s /etc/nginx/sites-available/freescout.conf /etc/nginx/sites-enabled/
sudo systemctl restart nginx
Setup SSL/TLS for FreeScout
FreeScout is SSL enabled by default. You must set up an SSL certificate with FreeScout. You can use Let’s Encrypt free SSL with FreeScout; below is how to do it.
Run the commands below to install Certbot and Nginx HTTP server.
Please read the post below for additional resources on installing and creating Let’s Encrypt SSL certificates for Nginx.
How to set up Let’s Encrypt SSL certificate for Nginx on Ubuntu Linux
After installing, the Nginx server block file /etc/nginx/sites-available/freescout.conf will automatically be configured with HTTPS, done by the Certbot Nginx plugin.
If you can’t get the Let’s Encrypt SSL certificate on your localhost, use the default Ubuntu snakeoil certificate in the Nginx server block file at /etc/nginx/sites-available/freescout.conf.
#Add these lines once you acquire a certificate:
ssl_certificate /etc/ssl/certs/ssl-cert-snakeoil.pem;
ssl_certificate_key /etc/ssl/private/ssl-cert-snakeoil.key;

listen 443 ssl;
Once you have restarted the Nginx web server, open your browser and browse to the server hostname or IP address defined in the Nginx server block.
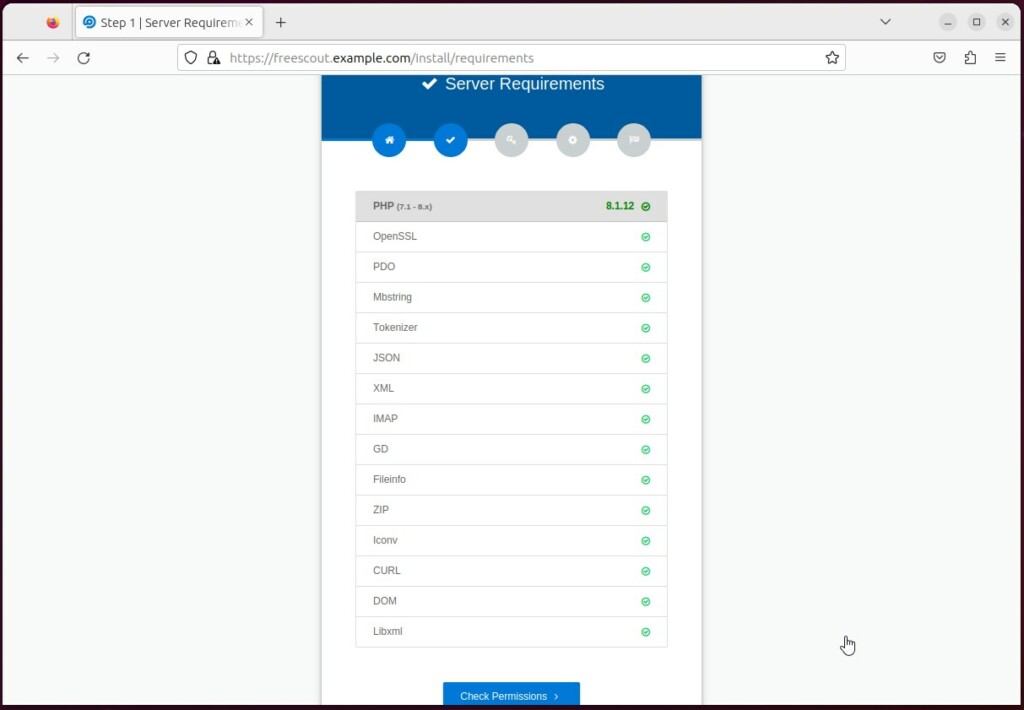
https://freescout.example.com/install
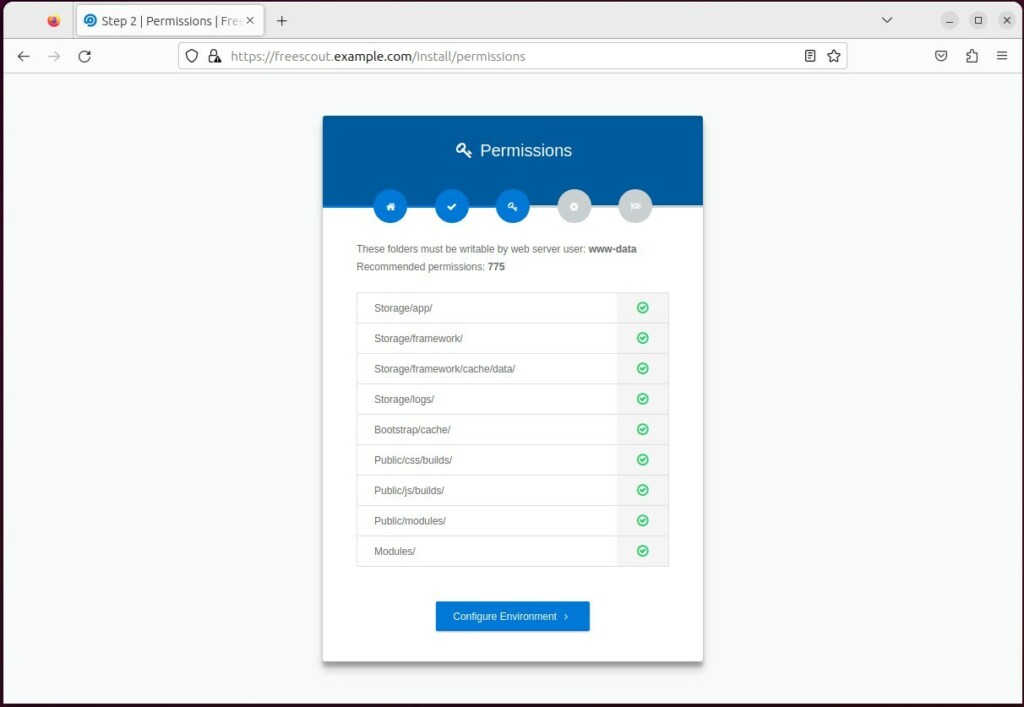
You should see a setup wizard for FreeScout. On the Setup page, confirm that all requirements are met.
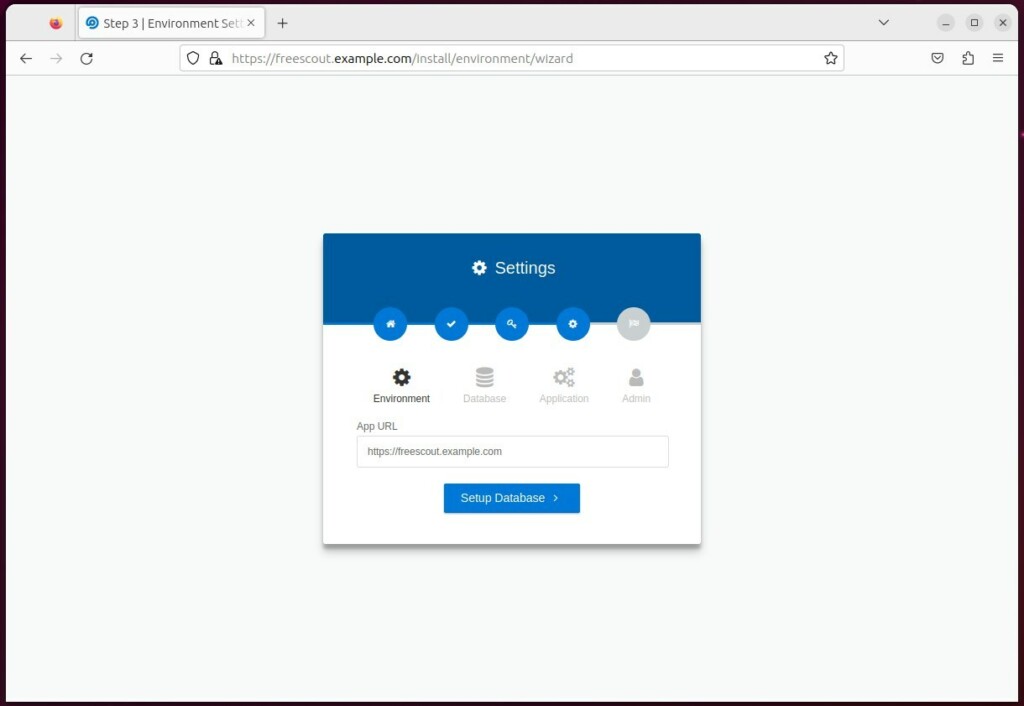
Configure your environment.
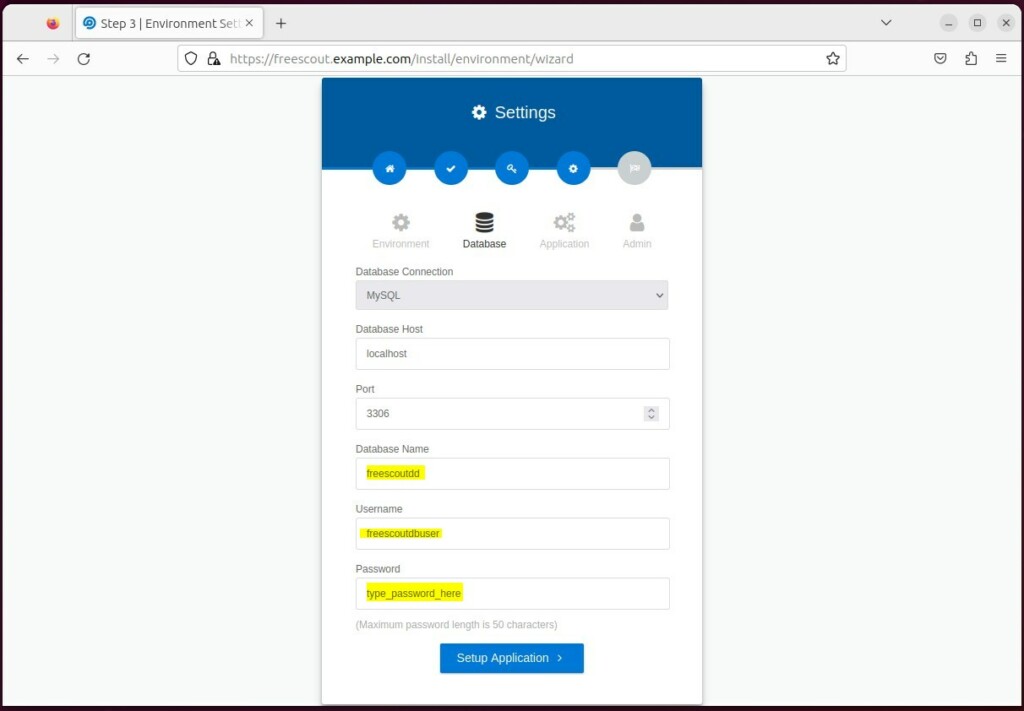
Setup database
Type database info created above.
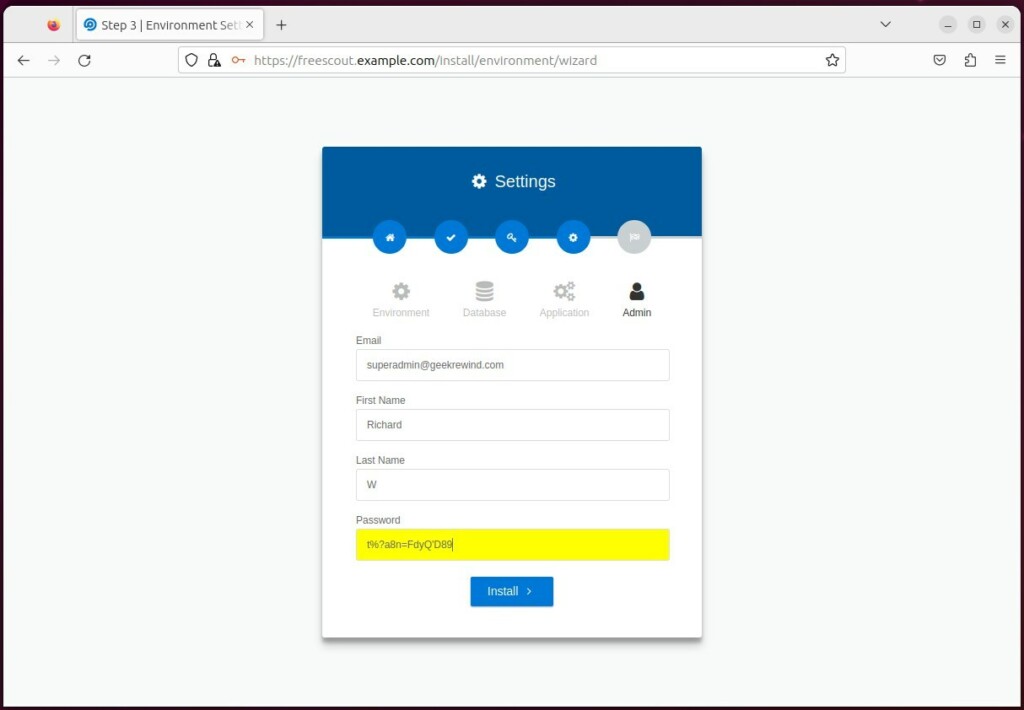
Create an admin account, then click Install.
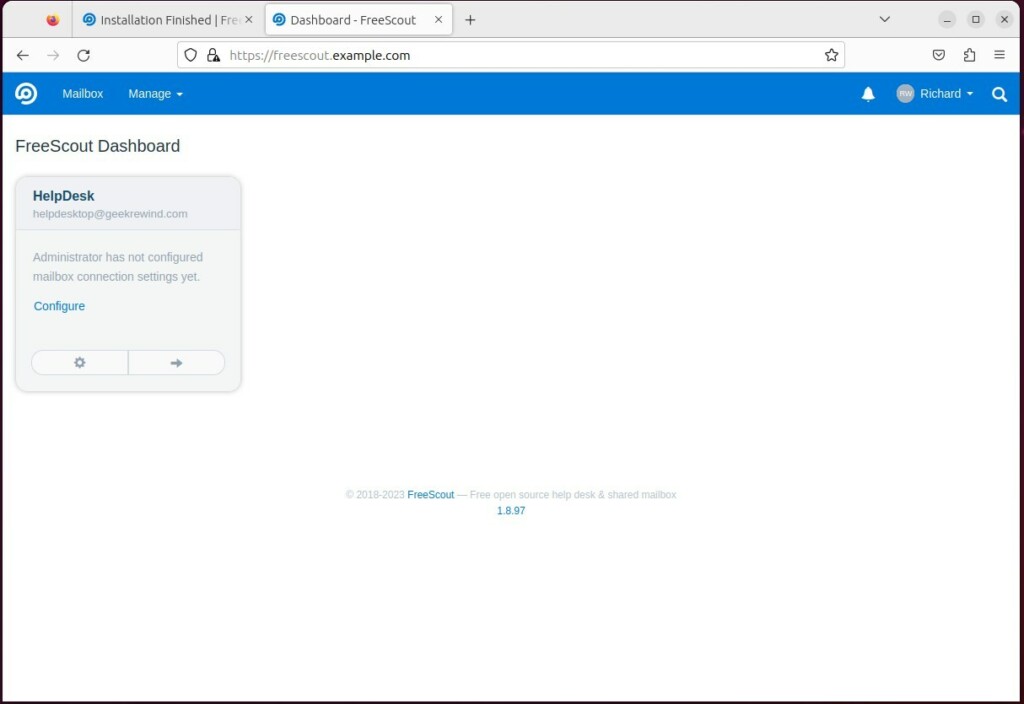
Validate that the installation was successful.

Once the installation is complete, open the Terminal and create a cron job for FreeScout.
sudo crontab -u www-data -e
* * * * * php /var/www/freescout/artisan schedule:run >> /dev/null 2>&1
Log in and start configuring the dashboard.
That should do it!
Reference:
Conclusion:
- FreeScout presents an open-source help desk and shared mailbox solution for those seeking professional customer support.
- By self-hosting FreeScout with Nginx on Ubuntu Linux, users gain greater control over customization and potentially reduce long-term costs by eliminating subscription fees.
- Self-hosting also offers enhanced security and data privacy, providing full data control without relying on third-party providers.
- The comprehensive guide detailed every step, from installing Nginx and MariaDB to downloading FreeScout and setting up SSL/TLS, ensuring a successful installation and configuration process.
- Users are encouraged to refer to the FreeScout documentation for further insights and to share any feedback or contributions.
Leave a Reply to How to install Concrete CMS with Nginx on Ubuntu 24.04 – Geek Rewind Cancel reply