This article describes how to enable or disable the voice typing on Touch Keyboard features.
Detachable laptop screens running Windows 11 include a virtual on-screen keyboard for tablet mode.
Windows can be configured to automatically switch to tablet mode with an on-screen keyboard option when you detach a screen from a laptop. This feature can be very useful.
This post will show you how to enable the Touch Keyboard in Windows so that it appears on the Taskbar, allowing for quick access.
Show the Touch keyboard on the Taskbar in Windows 11
If you are using your laptop in tablet mode, the touch keyboard is very helpful.
Here’s how to enable it.
Windows 11 has a centralized location for most settings. System configurations, user creation, and Windows updates can all be managed from the System Settings pane.
To get to System Settings, you can use the Windows key + I shortcut or click on Start ==> Settings, as shown in the image below:

Alternatively, you can use the search box on the Taskbar to search for Settings. Then select to open it.
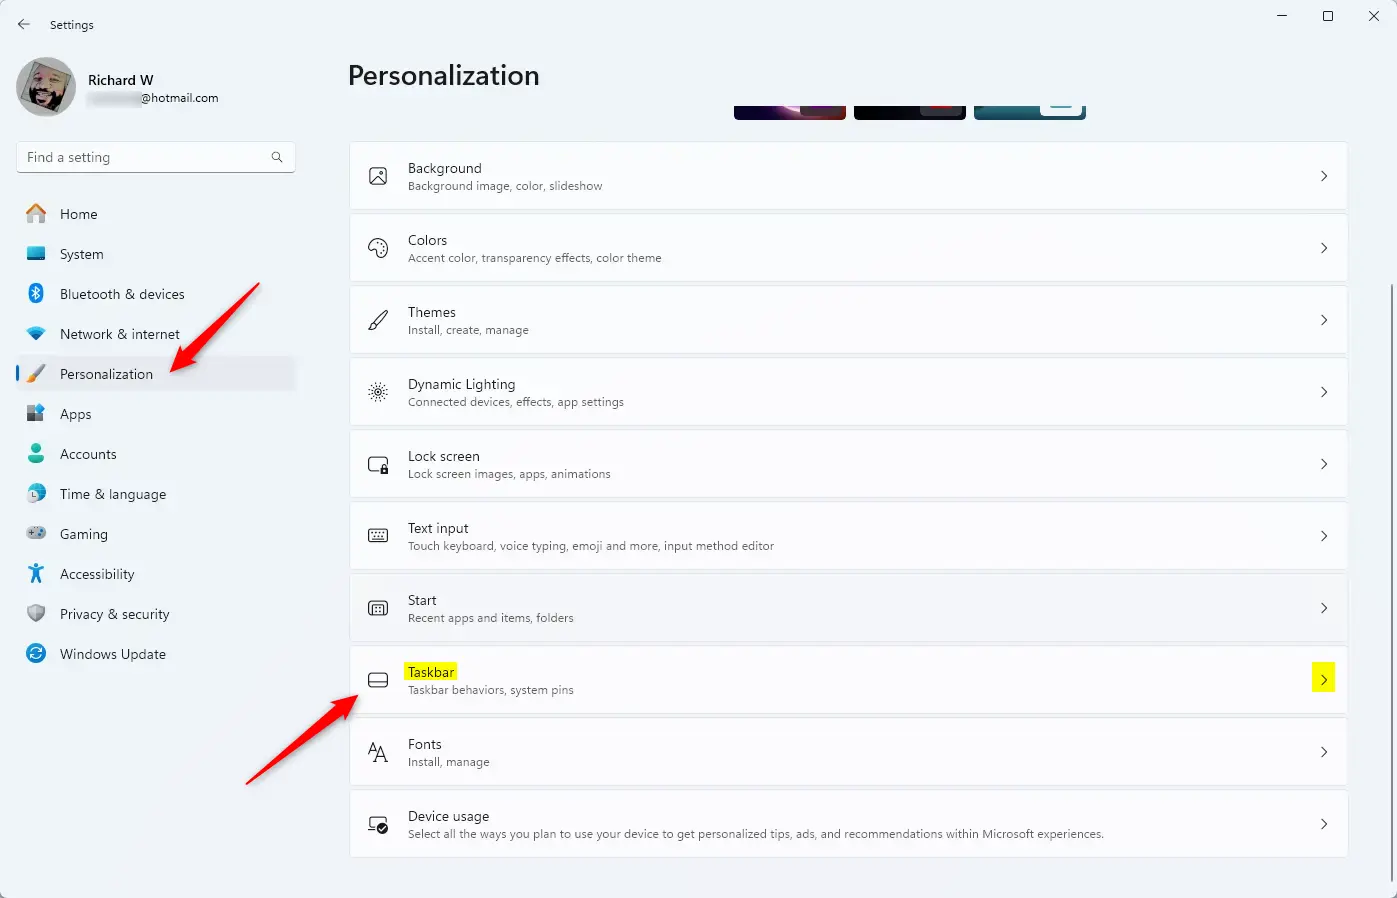
In Windows Settings, click on Personalization, then select Taskbar from the right pane of your screen, as shown in the image below.
Open the Taskbar settings pane, expand the Taskbar tray icon section, and toggle the switch to enable the Touch keyboard.
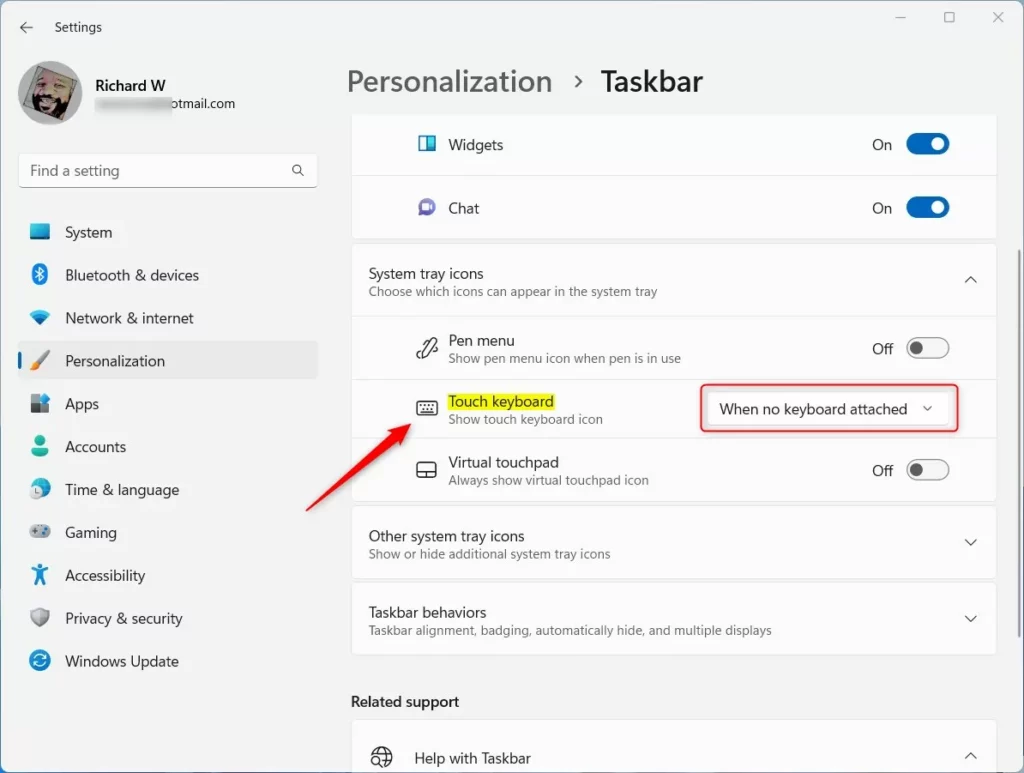
When you do, the on-screen virtual keyboard icon should appear on the Taskbar area to the right of your screen.

When you want to use the virtual keyboard, tap the icon to launch it.
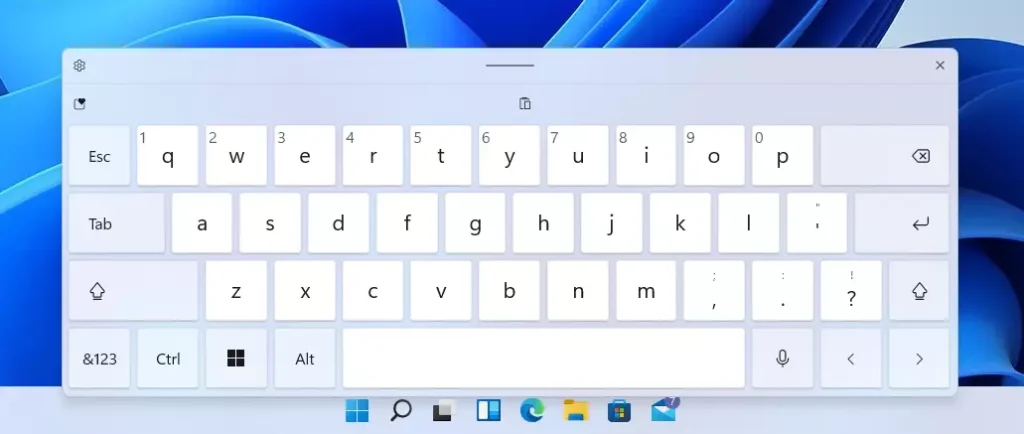
You can use the keyboard just like a physical one. When you’re finished, simply click the X to close it.
That should do it!
Conclusion:
- The Touch keyboard in Windows 11 provides convenient access for users in tablet mode.
- Enabling the Touch keyboard on the Taskbar allows for quick access whenever needed.
- The setup process is straightforward and can be easily reversed if the keyboard is not preferred.
- This feature enhances the usability of detachable laptop screens, making them more versatile.
- Familiarizing yourself with these settings can improve your overall experience with Windows 11.

Leave a Reply