
This article explains the steps to turn on or off the performance detector feature in the Microsoft Edge browser.
The Microsoft Edge browser is the default browser in Windows 11. However, users can switch to their preferred or favorite browser anytime. Edge is based on Chromium, similar to Google Chrome and other Chromium-based browsers today.
Microsoft Edge browser will attempt to detect your device performance and put tabs to sleep when memory pressure is high and your computer is slowing down.
This feature will proactively take steps to minimize resource usage when your device is under pressure to keep your device running smoothly.
Below is how to enable or disable the performance detector in the Microsoft Edge browser.
Turn on or off the performance detector in the Microsoft Edge browser
As described above, if your device is under high member pressure and it’s slowing down your computer, Edge will proactively take steps to minimize resource usage to keep it running smoothly using a performance detector.
Here’s how to turn it on or off.
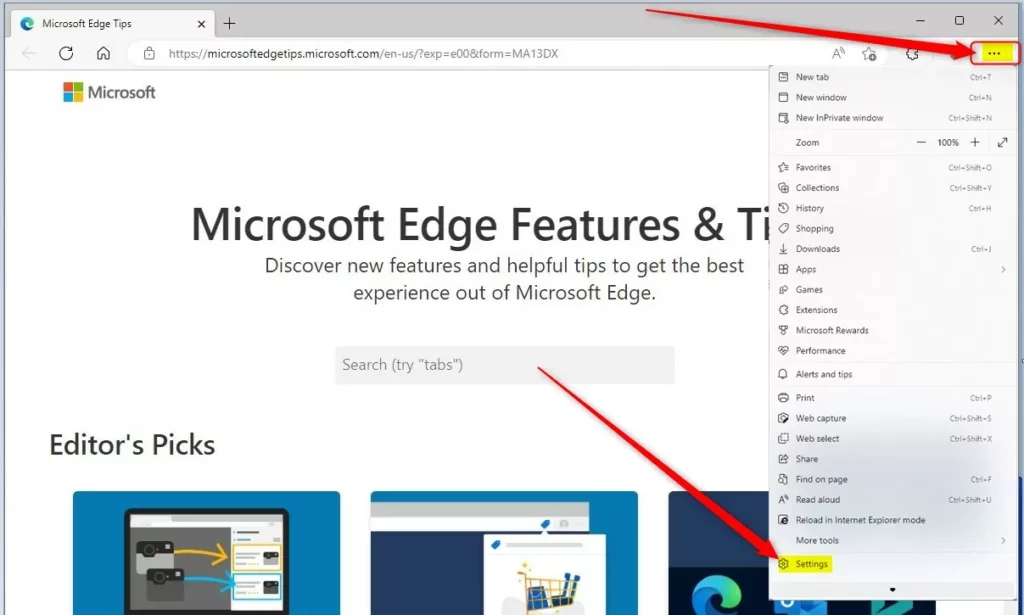
First, open the Microsoft Edge browser.
Then click on Setting and more (Alt+F) 3 horizontal dots button on the top right corner and select Settings.
Next, click on System and Performance on the left menu.

On the Settings -> System and Performance settings pane, under the Manage your performance section, toggle the button on the tile that says “Performance detector” to On or Off.
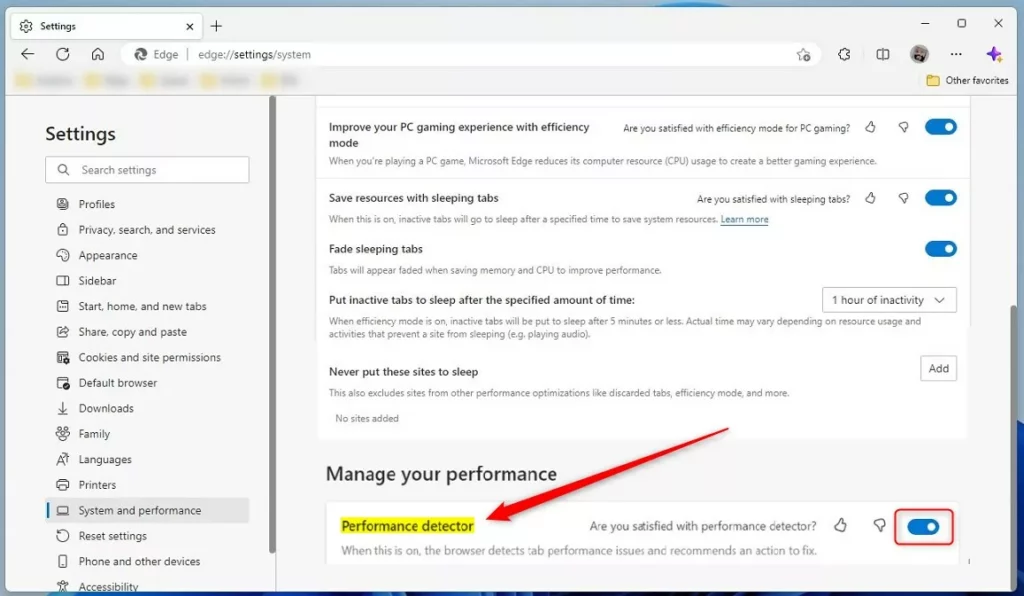
If enabled, Edge will detect tab performance and recommend an action to fix it. If disabled, the performance detector will not be used.
Turn on or off the performance detector feature via the Windows Registry Editor.
Alternatively, users can use the Windows registry editor to turn the performance detector feature on or off.
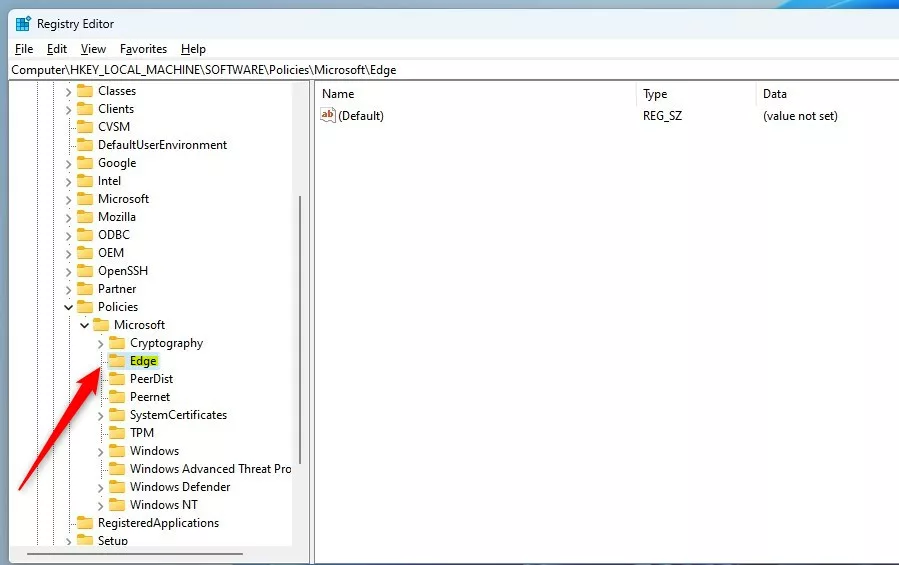
Open the Windows Registry and navigate to the folder key path listed below.
HKEY_LOCAL_MACHINE\SOFTWARE\Policies\Microsoft\Edge
If you don’t see the Edge folder key, right-click on the Microsoft parent key, then create the subkey (Edge) folder.
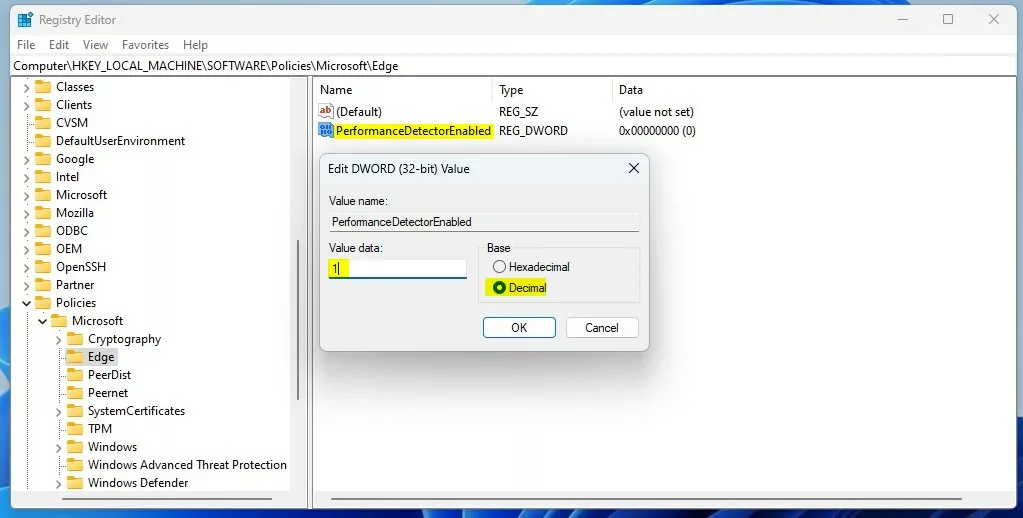
Right-click on the Edge folder key’s right pane and select New -> DWORD (32-bit) Value. Type a new key named PerformanceDetectorEnabled.
Double-click the new value name (PerformanceDetectorEnabled) and enter the Value data of 1 to enable the performance detector feature.
A Value data of 0 will disable the performance detector feature in Edge.
That should do it. Restart your computer to apply the changes.
That should do it!
Reference:
Conclusion:
- Enabling or disabling the performance detector feature in the Microsoft Edge browser can help optimize resource usage on your device.
- Users can toggle the performance detector feature on or off through the browser settings or the Windows Registry Editor.
- Following the steps will allow users to effectively manage the performance detector feature based on their preferences and system requirements.
Leave a Reply