

This article explains creating a desktop shortcut icon for Copilot in Windows 11.
Starting with Windows 11 build 23493, Microsoft rolled out the new Copilot experience that works with Bing Chat AI, allowing users to interact with the chatbot using natural language to change system settings and work across multiple applications.
For computers that have Copilot added, a new Copilot button will appear on the Taskbar. It will appear as a flyout interface when you press the button or use the keyboard shortcut (Windows key + C).
When Copilot is available on your device, you can pin or unpin the side pane, open Copilot when Windows starts, Turn Copilot on or off, enable or disable Copilot using content from Edge, refresh Copilot prompts, resize the Copilot side pane, delete recent activity, turn plugins for Copilot on or off, and more.
To launch Copilot, you must click the icon on the Taskbar. If you want a desktop icon, you must create one. By default, there’s no icon for Copilot on the desktop.
Creating a desktop shortcut icon for Copilot in Windows 11 allows you to access the Copilot feature quickly and easily directly from your desktop. Rather than navigating menus or searching for the feature, you can click on the desktop icon and launch Copilot.
Create a desktop shortcut for Copilot
As mentioned above, users can create a shortcut for Copilot on their desktop for quick and easy access.
Here’s how to do it.
First, right-click on an empty area on your desktop and select New -> Shortcut.
Learn more about creating a desktop shortcut here.

Next, copy and paste the line below and paste it into the location box.
microsoft-edge://?ux=copilot&tcp=1&source=taskbar
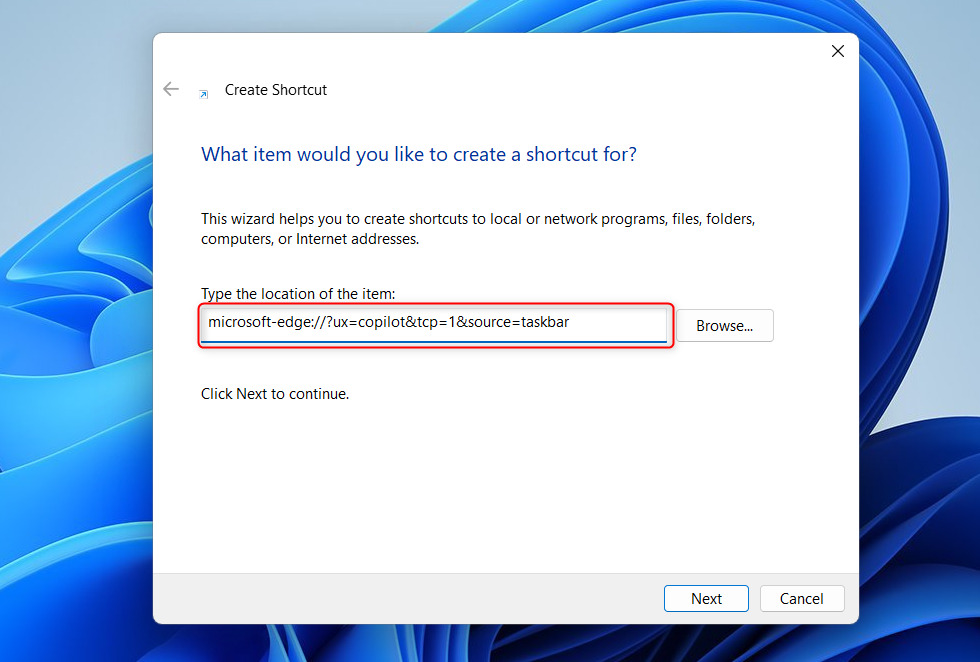
Click Next to continue. Then, type a name for the shortcut. (ex. Copilot).
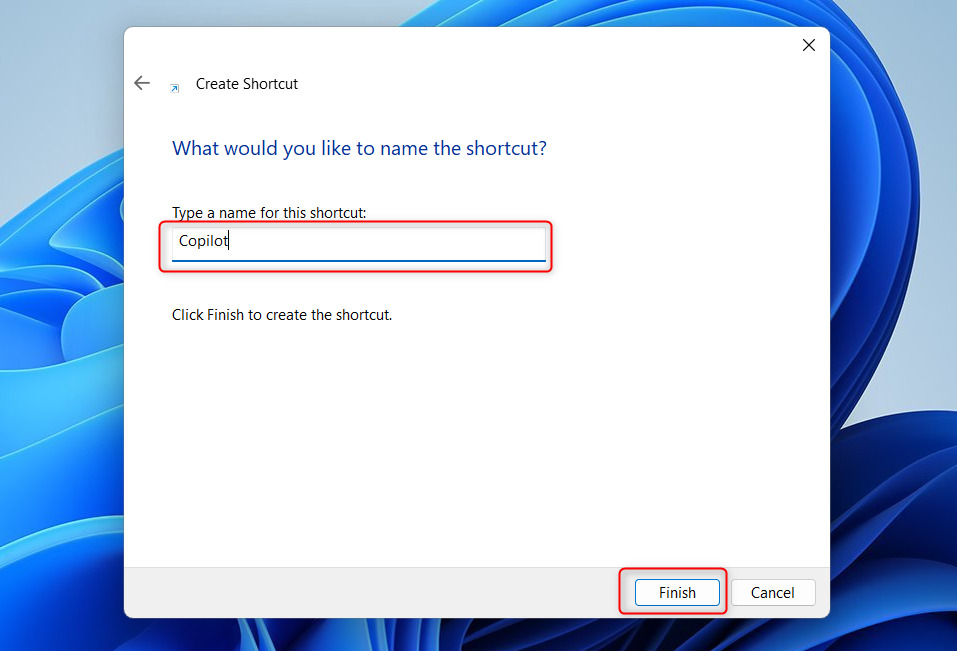
Click the Finish button when done. A new icon with the name you created above will appear on your desktop.
If you want to use the original Copilot’s icon, right-click on the newly created icon and select Properties.
On the Properties window, under the Web Document tab, select the Change Icon… button.
Next, download the icon from the link below. Then, use an online tool to convert the image to an ICO format. If you find an ICO format you can use, use it.
Using File Explorer, select the icon you download to use.
That should do it!
Conclusion:
- Creating a desktop shortcut for Copilot in Windows 11 allows quick and easy access to the feature directly from the desktop.
- Following the steps, users can efficiently launch Copilot without navigating menus or searching for the feature.
- Using the original Copilot icon adds a personalized touch to the desktop shortcut, enhancing the overall user experience.


Leave a Reply Cancel reply