How to Install Windows 11 from a Bootable USB
You install Windows 11 from a bootable USB drive to perform a clean installation, erasing your current system to start fresh.
This process completely wipes your existing operating system and data, making it perfect for fixing stubborn errors, boosting performance, or setting up a new PC.
To begin, you’ll need a USB flash drive with at least 8GB of space and Microsoft’s Windows 11 Media Creation Tool, which is free to download from their official website.
Install Windows 11 by creating a bootable USB with the Media Creation Tool, then restart your PC and select the USB drive from the boot menu. Follow the on-screen prompts to complete the installation.
What happens when done?
You will have a portable USB drive that can start up a computer to install a brand-new copy of Windows 11. Your computer will be reset to its factory-fresh state, removing all previous software and personal data from the target drive.
Hardware Requirements and Compatibility
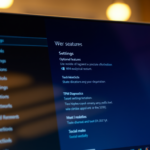
Before you begin, ensure your PC meets the minimum requirements for Windows 11. Your system must support TPM 2.0 and Secure Boot. You can check this using the PC Health Check app from Microsoft. If your PC does not meet these requirements, you may encounter errors during the setup process.
Creating the Installation USB
Microsoft provides a tool to make this process simple. You will need a blank USB drive with at least 8GB of space. Warning: Everything on this USB drive will be erased.
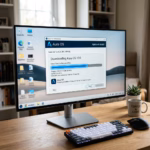
First, download the official tool on a working computer using this link: Download Windows Media Creation Tool
Note: You must have administrator privileges to run this tool. %📂%SC0%%
- Run the downloaded tool.
- Select Accept if you agree to the license terms.
- Choose Create installation media for another PC and click Next.
- Pick your language and the 64-bit version of Windows 11.
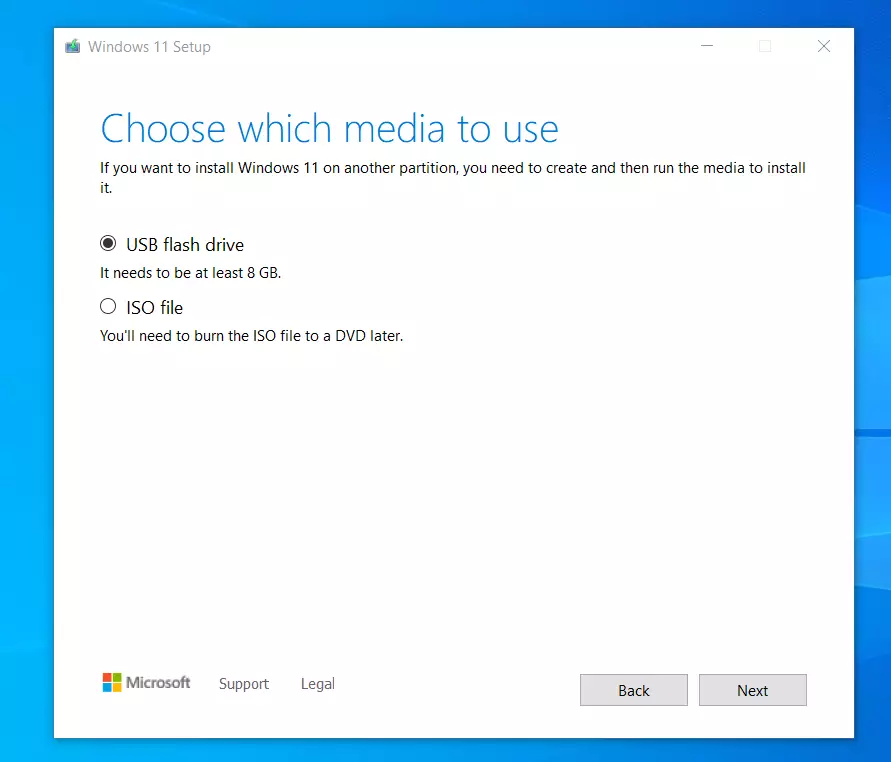
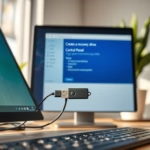
Next, choose your media:
- USB flash drive: Plug in your 8GB (or larger) drive.
- ISO file: This saves a file to your PC that you can burn to a DVD later.
- Select your USB drive from the list.
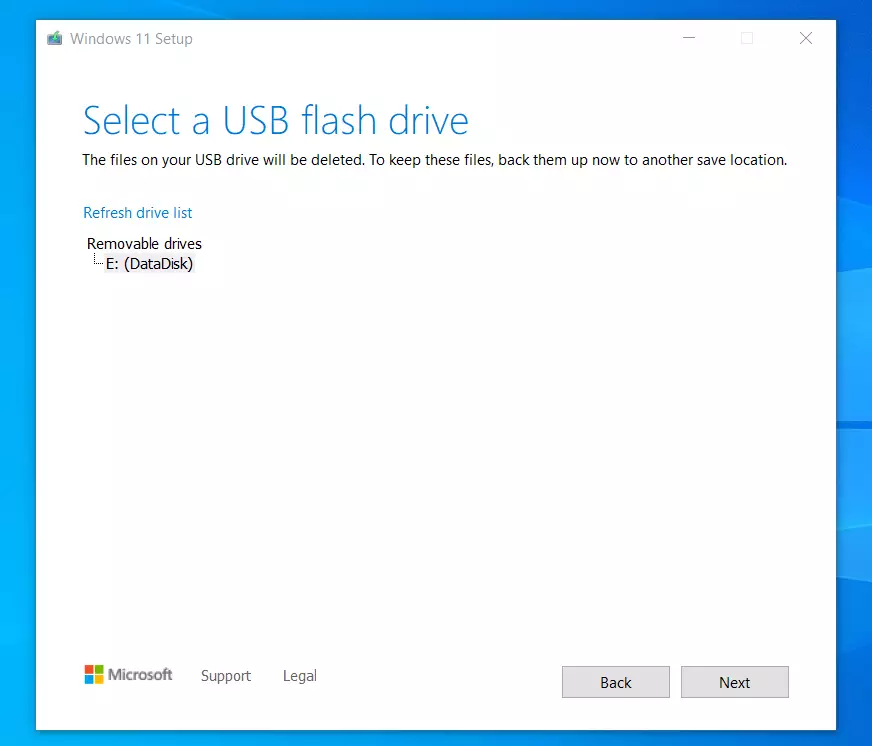
- Click Next to start the download. The tool will prepare the bootable USB drive for you.
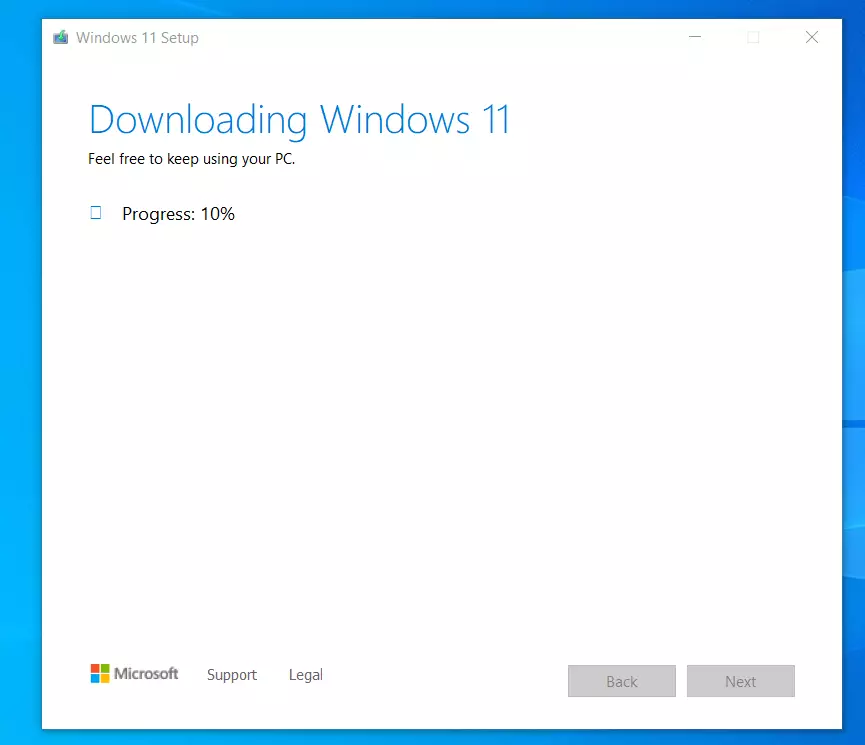
- Wait for the process to finish.
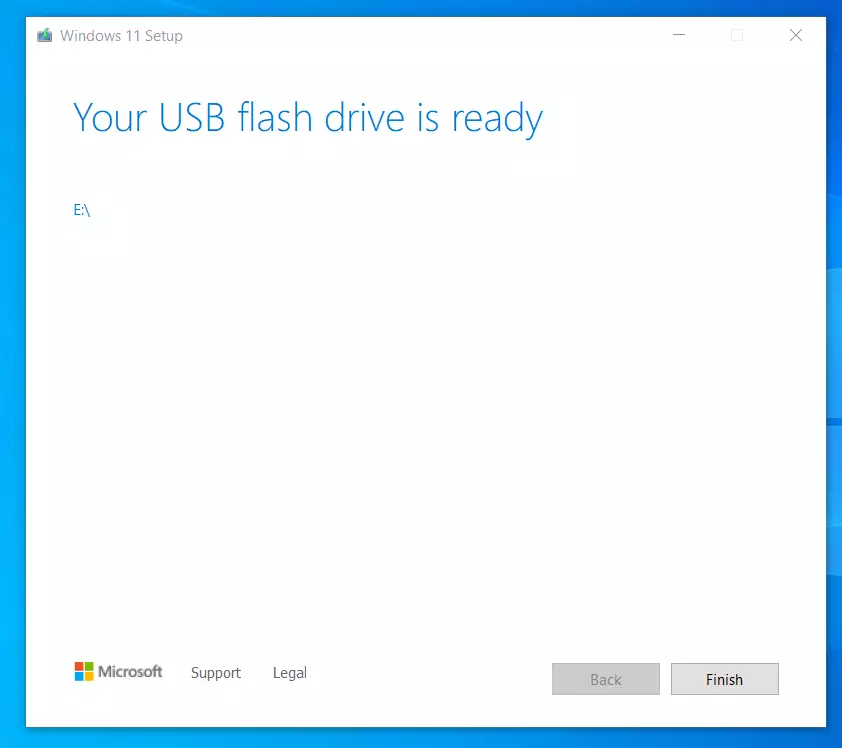
How to Install 🪟 Windows 11
Once the download is finished, take the USB drive to the computer where you want to install Windows 11. Important: Back up all your personal files to an external drive or cloud storage before proceeding, as a clean install will delete your data.
- Plug the USB drive into the computer.
- Restart the computer.
- Access the Boot Menu. You may need to press a key like F2, F12, Delete, or Esc immediately after turning the power on.
- Select the USB drive from the boot list.
- Follow the on-screen instructions for language and keyboard settings.
- Select Install Windows.
- Choose the disk partition where you want to install Windows.
- Once finished, remove the USB drive and log in to your new system.
Troubleshooting Installation Errors
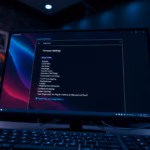
If the installation fails, ensure your BIOS is set to UEFI mode rather than Legacy BIOS. Check that Secure Boot is enabled in your BIOS settings. If you see a disk error, ensure your drive is formatted correctly during the installation setup.
Summary
Using the official Media Creation Tool is the safest way to prepare for a Windows 11 installation. A clean install is the best way to ensure your computer runs smoothly and is free from old errors. Always back up your important files before starting, as a clean install will erase your data.
Will installing 🪟 Windows 11 from USB delete my files?
Yes, performing a clean install of Windows 11 from a USB drive will format your primary hard drive. This process permanently deletes all files, applications, and settings currently stored on that drive. Always back up your important data to an external location before starting the installation process.
How do I access the boot menu on my specific laptop brand?
The boot menu key varies by manufacturer. Common keys include F12 for Dell, F9 or Esc for HP, and F12 for Lenovo. You must press this key repeatedly as soon as you turn on your computer. Check your manufacturer’s support website for the exact key for your specific model.
What should I do if my PC doesn’t meet 🪟 Windows 11 requirements?
If your PC does not meet the requirements, such as lacking TPM 2.0 or Secure Boot, you may not be able to install Windows 11 officially. You can check your hardware compatibility using the official Microsoft PC Health Check app to see exactly which components are preventing the installation.
How long does the 🪟 Windows 11 installation take?
The installation process typically takes between 20 to 45 minutes, depending on your computer’s hardware speed, specifically the type of storage drive (SSD vs HDD) and your processor. Ensure your laptop is plugged into a power source during the entire process to prevent it from shutting down unexpectedly.
Was this guide helpful?

About the Author
Richard
Tech Writer, IT Professional
Richard, a writer for Geek Rewind, is a tech enthusiast who loves breaking down complex IT topics into simple, easy-to-understand ideas. With years of hands-on experience in system administration and enterprise IT operations, he’s developed a knack for offering practical tips and solutions. Richard aims to make technology more accessible and actionable. He's deeply committed to the Geek Rewind community, always ready to answer questions and engage in discussions.
love it is cool like a lot windows 11 .