
Your username is the name Windows uses to identify your account. If you don’t like your current name or want something more personal, you can change it easily!
Why change your username? For privacy, you might want to use a nickname instead of your full name.
Change Your Local Account Username
If you use a local account (an account only on your computer), follow these steps to change your username:
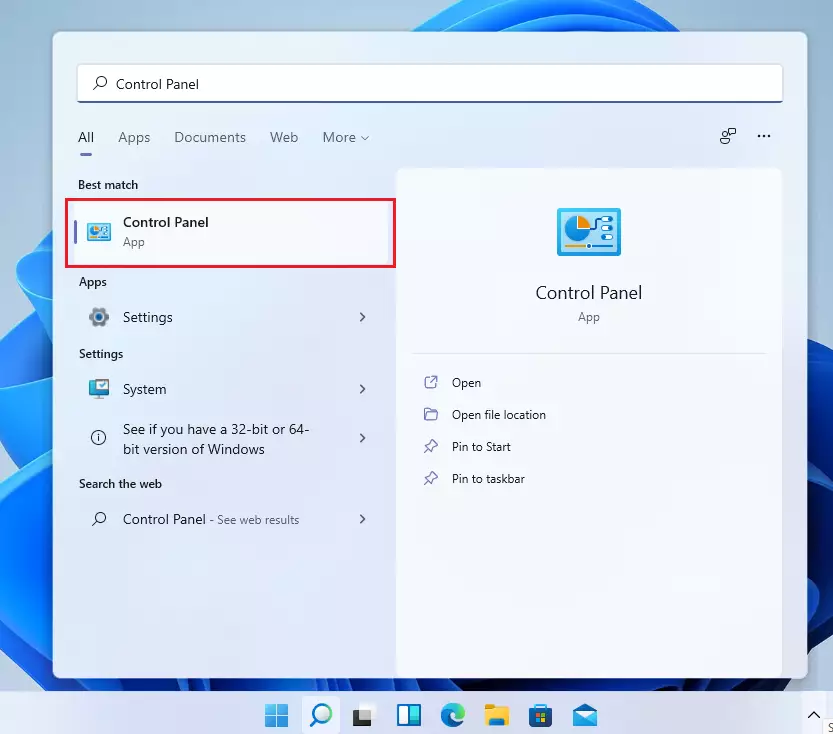
- Click the Start button (the Windows icon in the bottom-left corner).
- Type
Control Panelinto the search box. - Click on Control Panel when it appears.
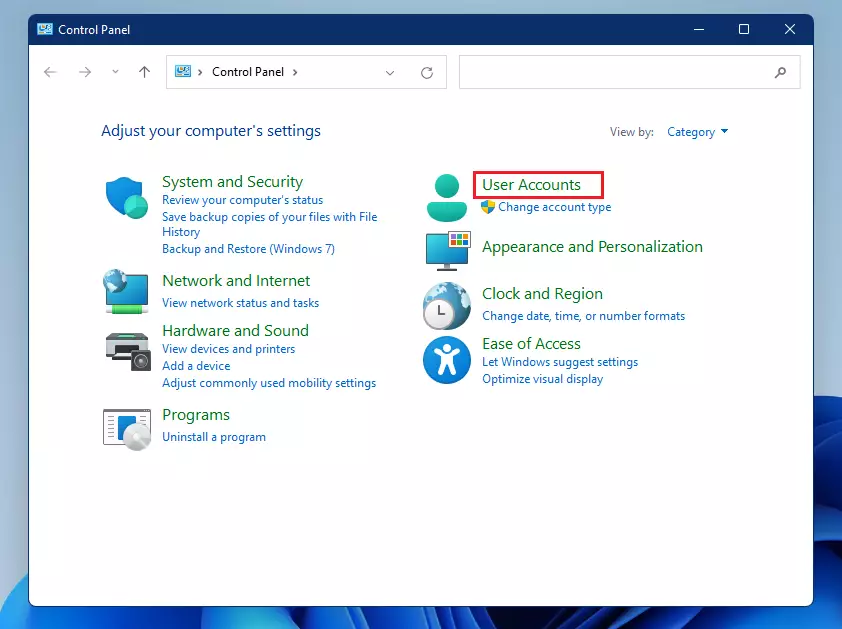
Inside Control Panel:
- Click on User Accounts.
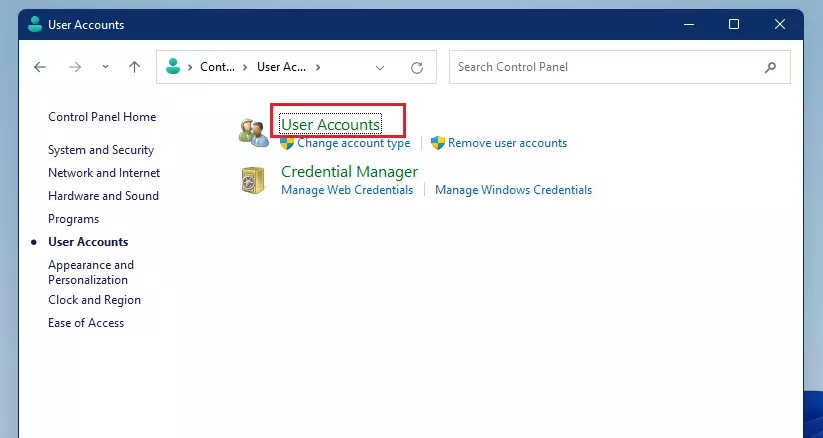
- Click User Accounts again on the next screen.
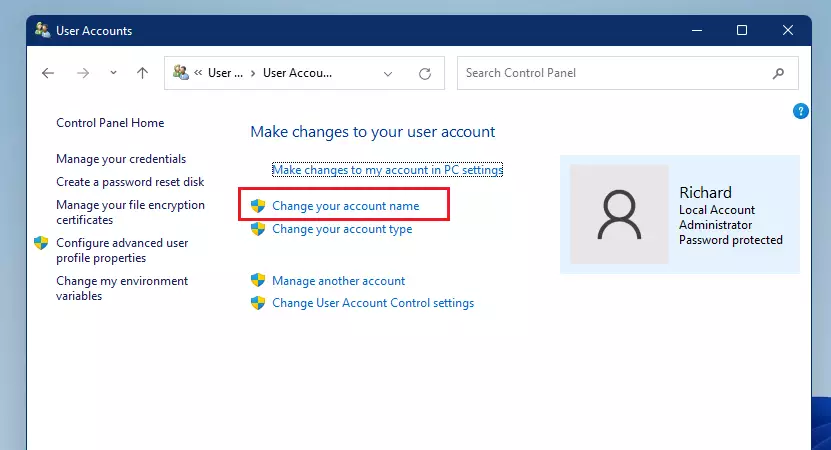
- Click the link that says Change your account name.
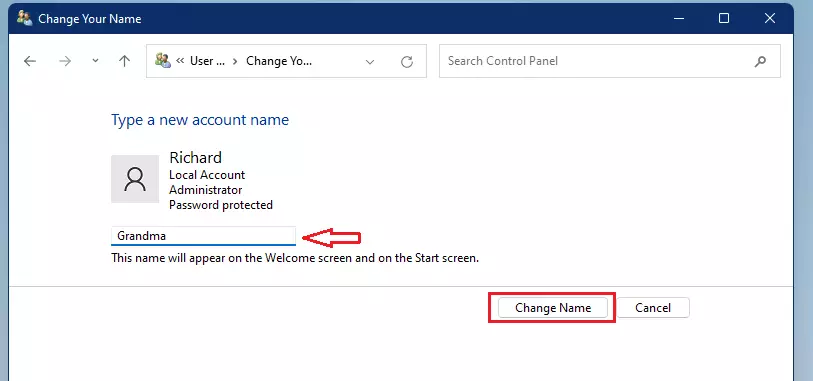
- Type the new name you want and click Change Name.
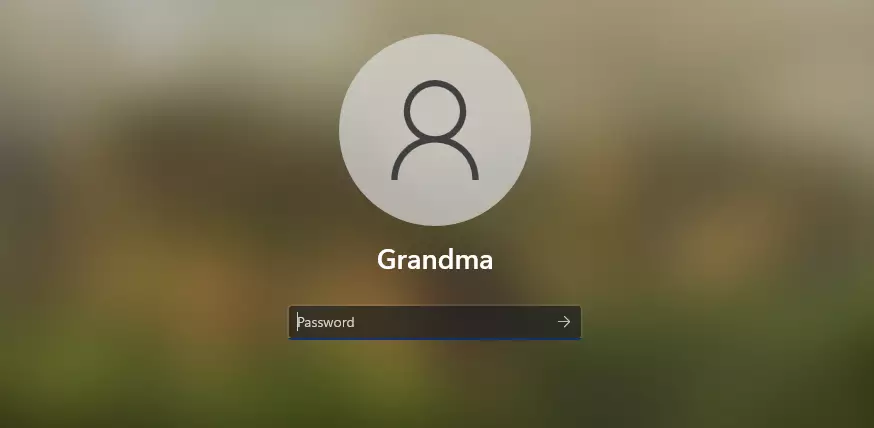
Finally, sign out and sign back in, or restart your computer. Your new name will show on the login screen.
Change Your Microsoft Account Name
Microsoft account usernames in Windows 11 are changed online through your Microsoft profile settings, not on your PC, because your username is linked to your Microsoft email account rather than stored locally. Access this through Settings > Accounts > Your info > Manage my Microsoft Account.
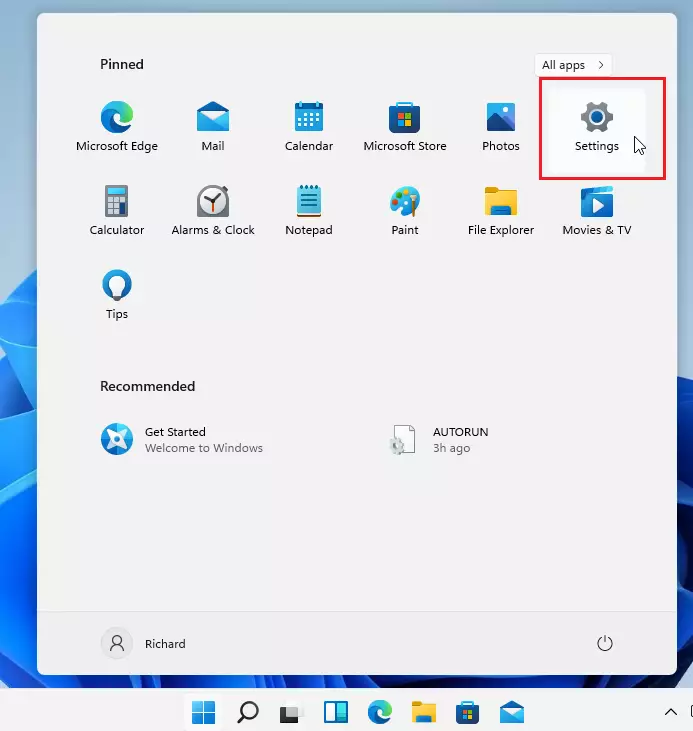
- Press the Windows key + I on your keyboard to open Settings, or click Start > Settings.
In Settings:
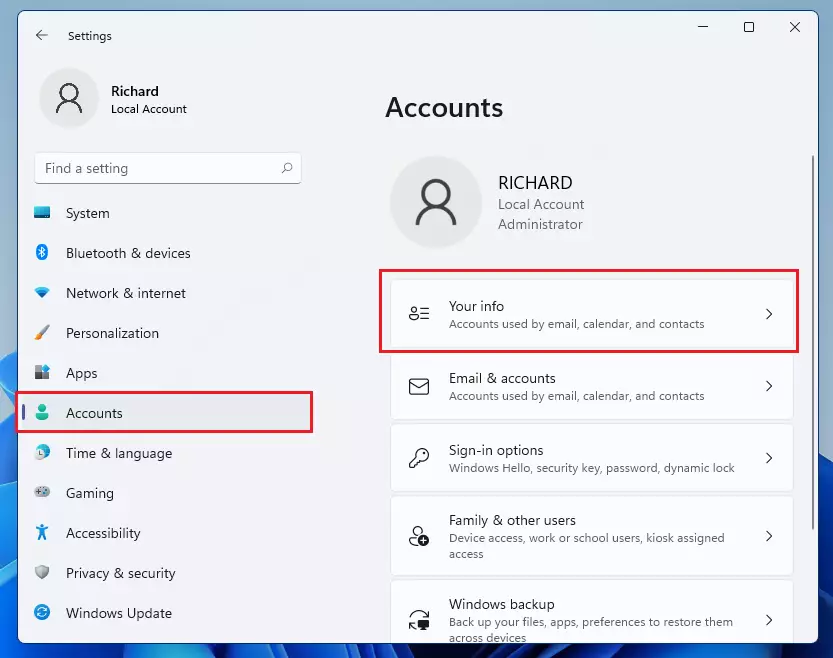
- Click on Accounts.
- Click Your info on the right side.
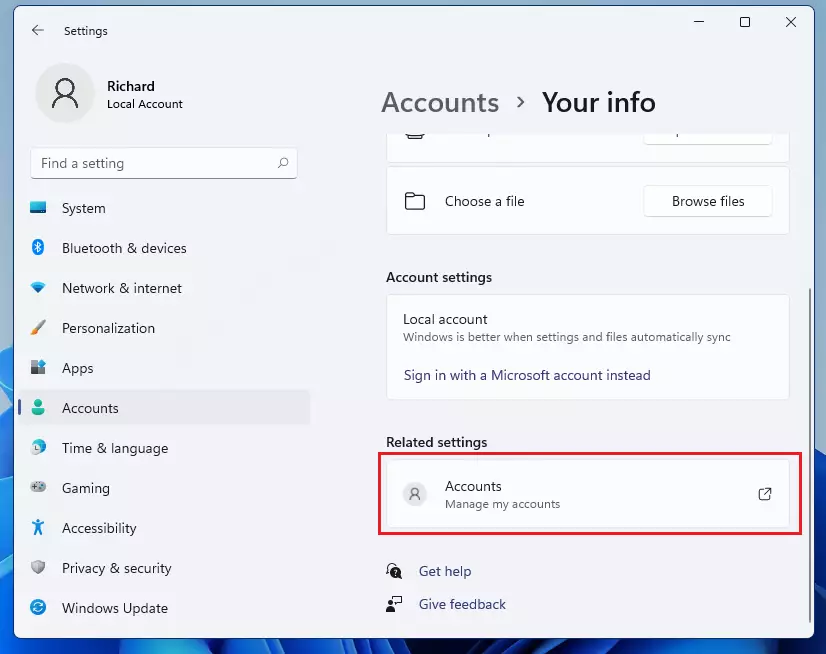
- Under Related settings, click Manage my Microsoft Account.
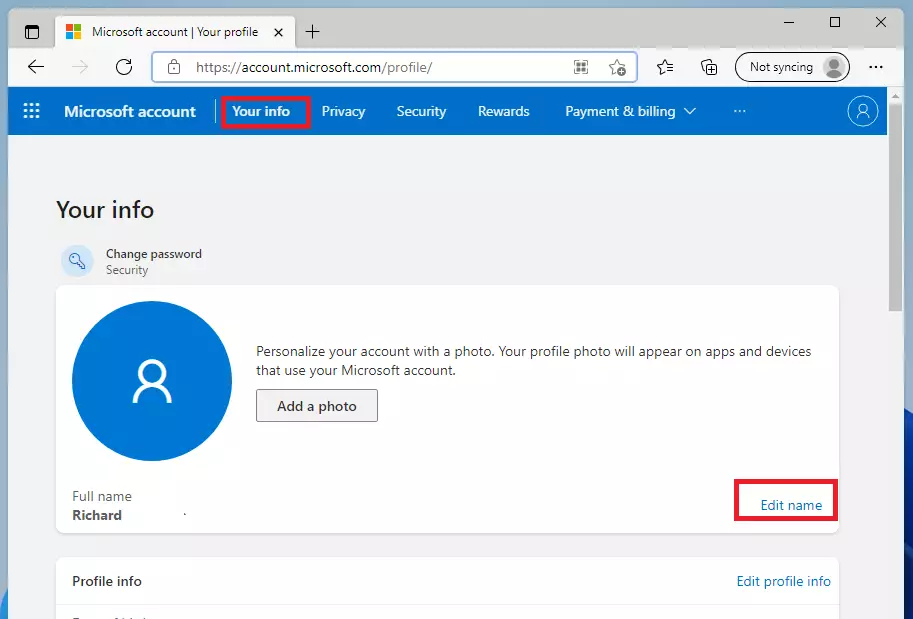
Alternatively, open your web browser and go to https://account.microsoft.com/profile/
- Sign in with your Microsoft email and password. Then:
- Click on Your info at the top menu.
- Click the Edit name link next to your current name.
- Type in your new name and click Save.
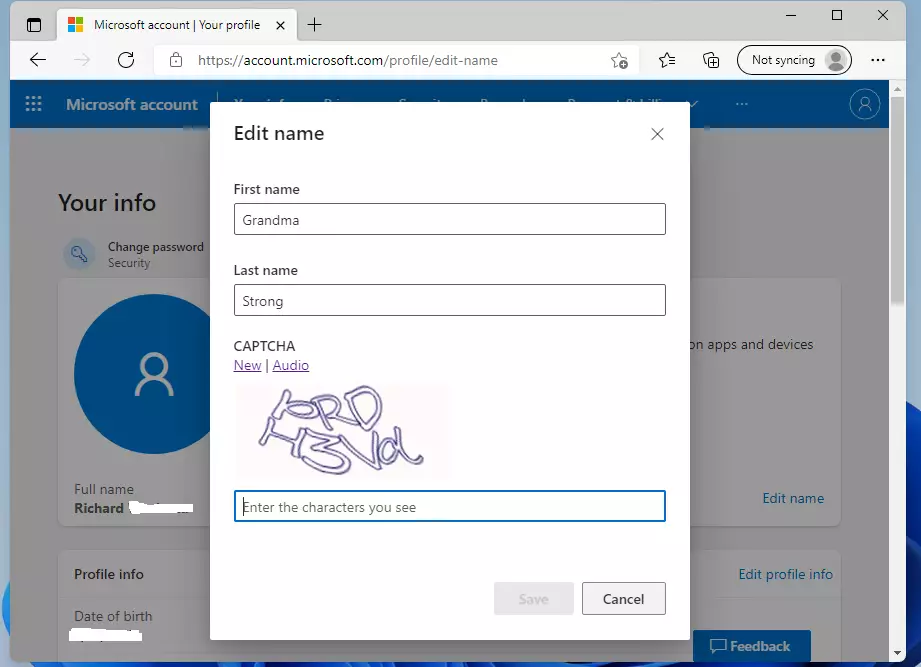
After changing this, your Microsoft account name will update across all Microsoft services, including Windows 11.
Summary
- Changing your username in Windows 11 is simple and quick.
- Local accounts are changed using the Control Panel on your PC.
- Microsoft accounts are changed online through your Microsoft profile.
- Remember to sign out or restart your PC to see the new name appear.
- Using a unique username can help personalize your computer and keep your information private.


Leave a Reply