
This article describes steps to change the Workgroup using a Windows 11 machine.
Every Windows machine comes with a default workgroup name, WORKGROUP. A Workgroup is a collection of network devices related to each other or in the same domain.
A workgroup provides the basis for files and printer sharing and allows the sharing of network resources within the same Workgroup. Devices members of the same Workgroup will access and share resources within that Workgroup.
Below is how to change a workgroup a computer belongs to with Windows 11.
Change the Workgroup a PC belongs to in Windows 11
As described above, a workgroup provides the basis for file and printer sharing and allows the sharing of network resources within the same workgroup.
Below is how to change the Workgroup on a PC with Windows 11
First, open the Windows Settings app.
You can do that by clicking on the Start menu and selecting the Settings app. Press the keyboard shortcuts (Windows key + I) to launch the Settings app.
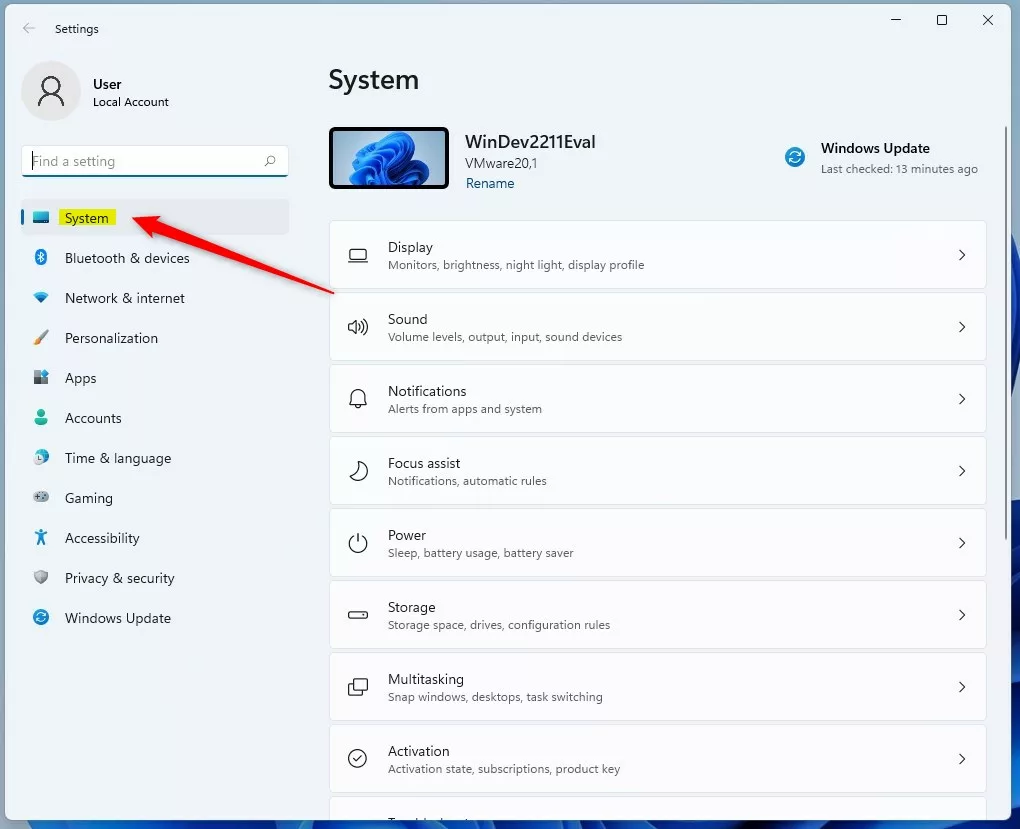
When the Settings app opens, click the System button on the left.
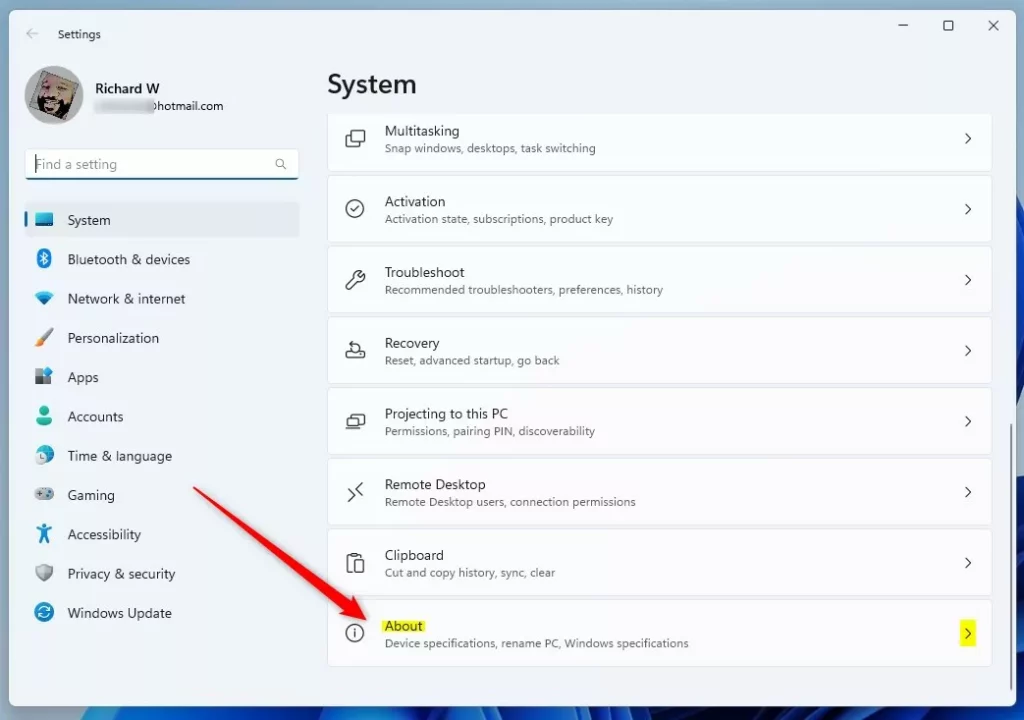
On the right, click on the About tile to expand.
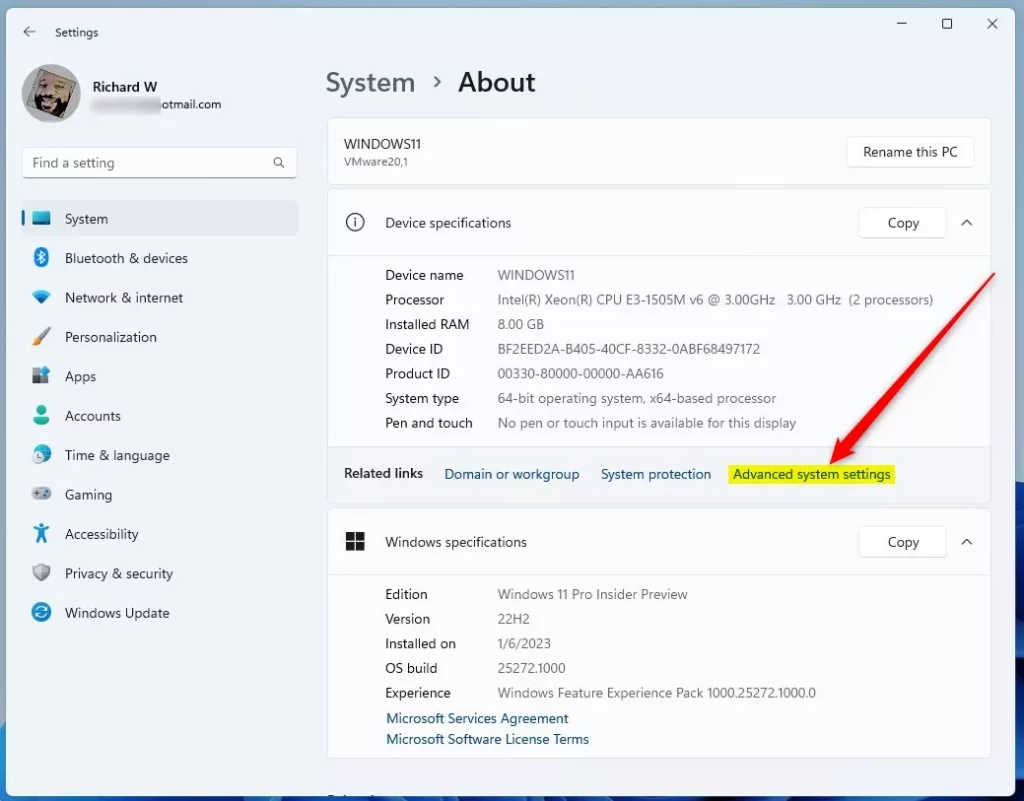
On the System -> About settings pane, click the Advanced system settings link as highlighted below.
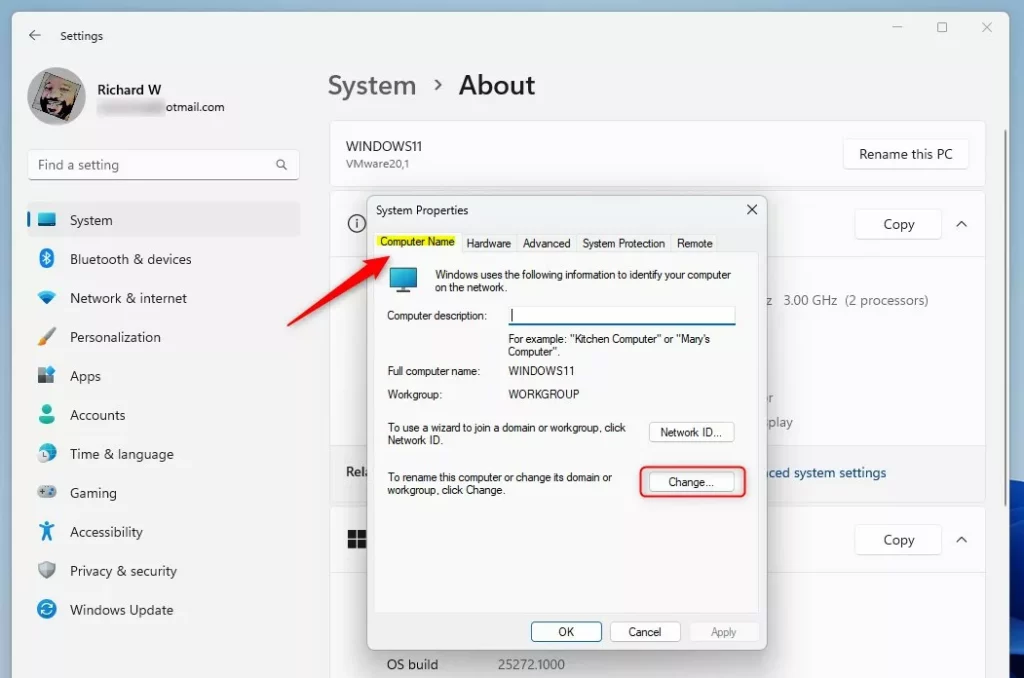
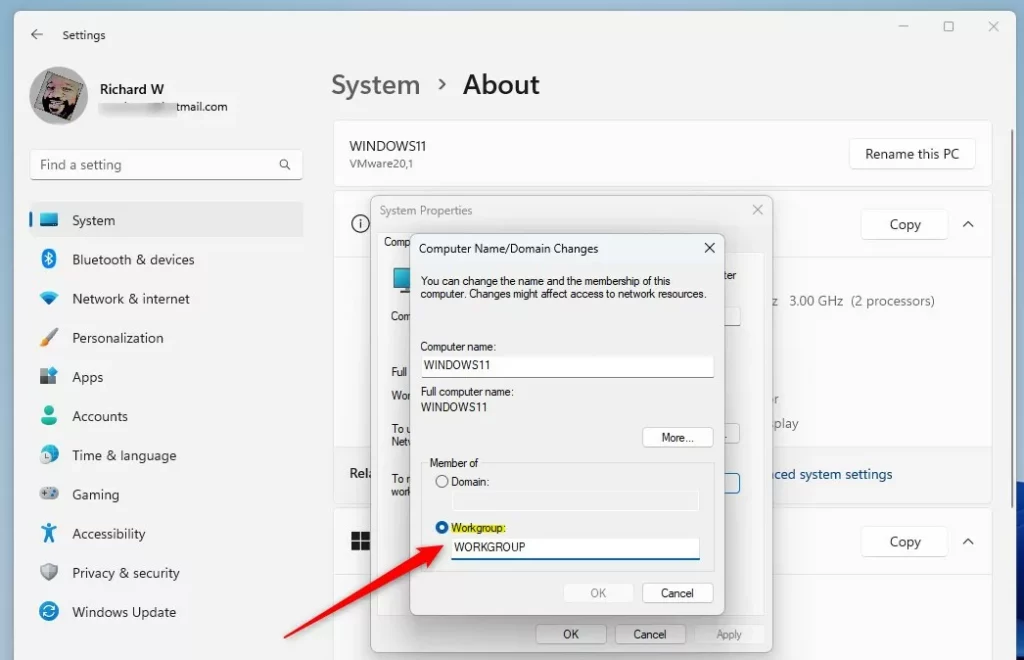
On the pop-up System Properties window, select the Computer Name tab. Then click on the Change button, as highlighted below.
On the pop-up Computer Name/Domain Changes window, select the Workgroup radio button, then type a new workgroup name in the box below Workgroup.
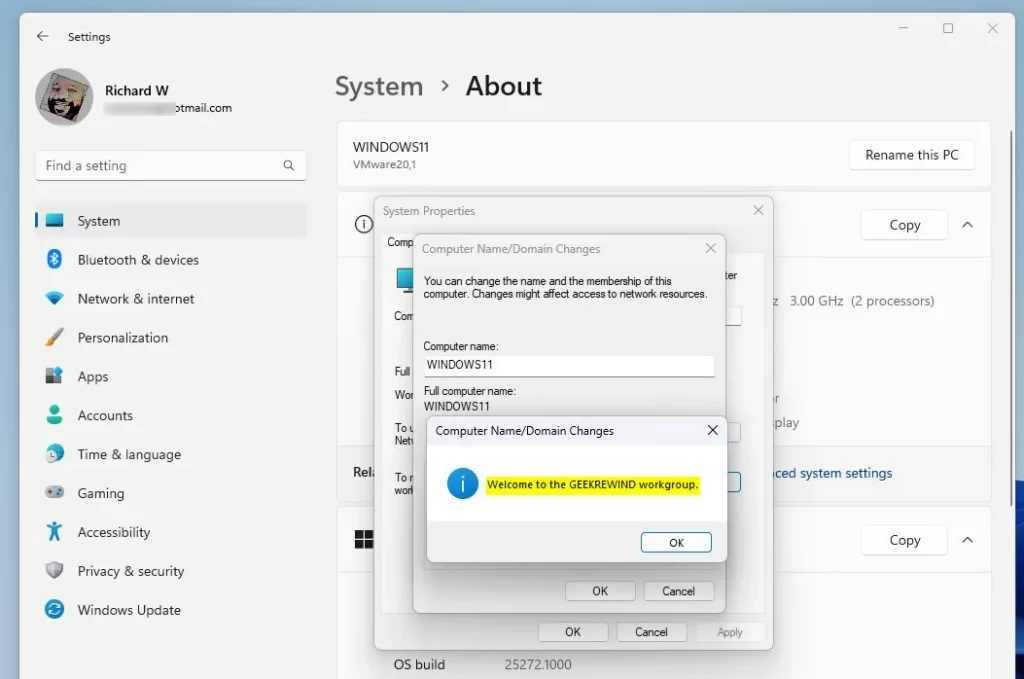
When you do that, you will get a prompt welcoming you to the new workgroup name. A workgroup name cannot contain spaces or special characters, including the ones below:
` ~ @ # $ % ^ & ( ) = + [ ] { } | ; : , ‘ “ . < > / ?
Click on OK, restart your computer, and you are done.
Change the workgroup name via Command Prompt
If you want to use the Command Prompt to change the workgroup name on a Windows 11 computer, then use the steps below.
First, open the Command Prompt as administrator.
Then run the format of the command below:
wmic computersystem where name="%computername%" call joindomainorworkgroup name="Type-Workgroup-Name"
Replace “Type-Workgroup-Name” with the name you want to change to. For example, type the command below to change to a new workgroup called GEEKREWIND.
wmic computersystem where name="%computername%" call joindomainorworkgroup name="GEEKREWIND"
Restart your computer for the changes to apply.
Change the workgroup name via Windows PowerShell
Users can also use the Windows PowerShell app to change the Workgroup for a PC running Windows 11. Below is how to do that.
First, open the Windows PowerShell app as administrator.
Then run the command format below:
Add-Computer -WorkGroupName "Type-Workgroup-Name"
Replace “Type-Workgroup-Name” with the name you want to change to. For example, type the command below to change to a new workgroup called GEEKREWIND.
Add-Computer -WorkGroupName "GEEKREWIND"
Restart your computer for the changes to apply.
That should do it!
Conclusion:
- Changing the workgroup name on a Windows 11 PC is essential for organizing network resources and enabling efficient file and printer sharing.
- The process can be completed with step-by-step guidance, whether using the Windows Settings app, Command Prompt, or Windows PowerShell.
- Remember to choose a workgroup name without spaces or special characters and restart your computer to apply the changes.
- Following these instructions, you can effectively modify the workgroup name on your Windows 11 PC and streamline network operations.


Leave a Reply Cancel reply