How to Enable Retail Demo Mode in Windows 11
Retail Demo Mode in Windows 11 lets stores showcase Windows features on display computers.
This special mode sets up Windows with pre-loaded apps, settings, and content, creating a consistent experience for customers trying out PCs in a store.
You’ve likely seen store PCs with generic logins like “User01” and default setups – these often use Retail Demo Mode.
It’s designed for retail environments to demonstrate Windows 11, not for everyday home or work computers.
Open Settings, go to System, then Activation. Click your Windows edition name five times. Select Advanced configuration, then Next to set duration or Off to disable. Click Finish to complete.
How to Turn On or Off Retail Demo Mode in 🪟 Windows 11
You can turn Retail Demo Mode on or off in Windows 11 by opening the Settings app. Go to System, then select Activation to find the options for this special demo feature. This is where you manage the Retail Demo Mode Windows 11 settings.
- Open the Settings app. You can do this by:
- Clicking the Start menu and selecting Settings.
- Or pressing Windows key + I on your keyboard.
Learn more about accessing Settings here: Open Settings in Windows 11.
- In Settings, click System on the left side panel.
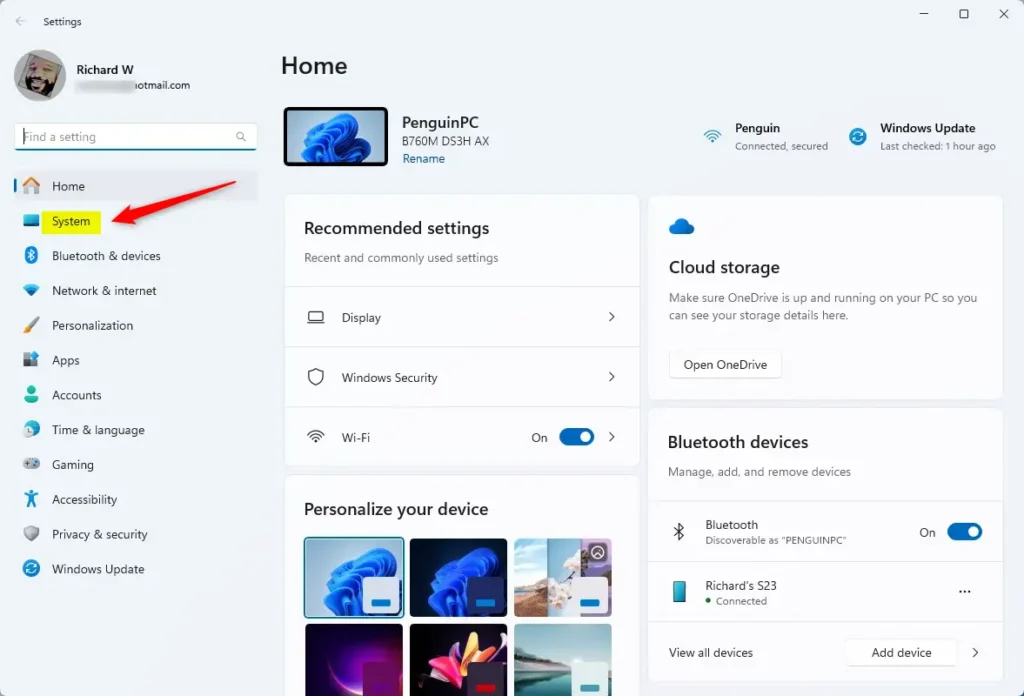
System in the Settings app - On the right side, find and click Activation.
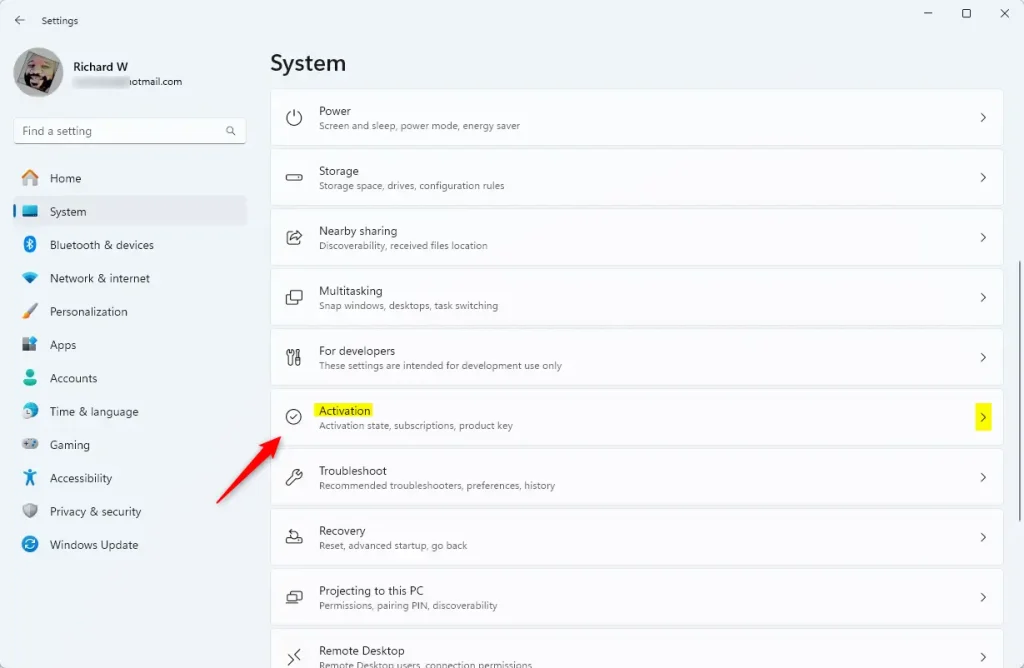
Windows 11 Activation tile - In the Activation page, click the Windows edition name (like “Windows 11 Pro”) five times quickly.
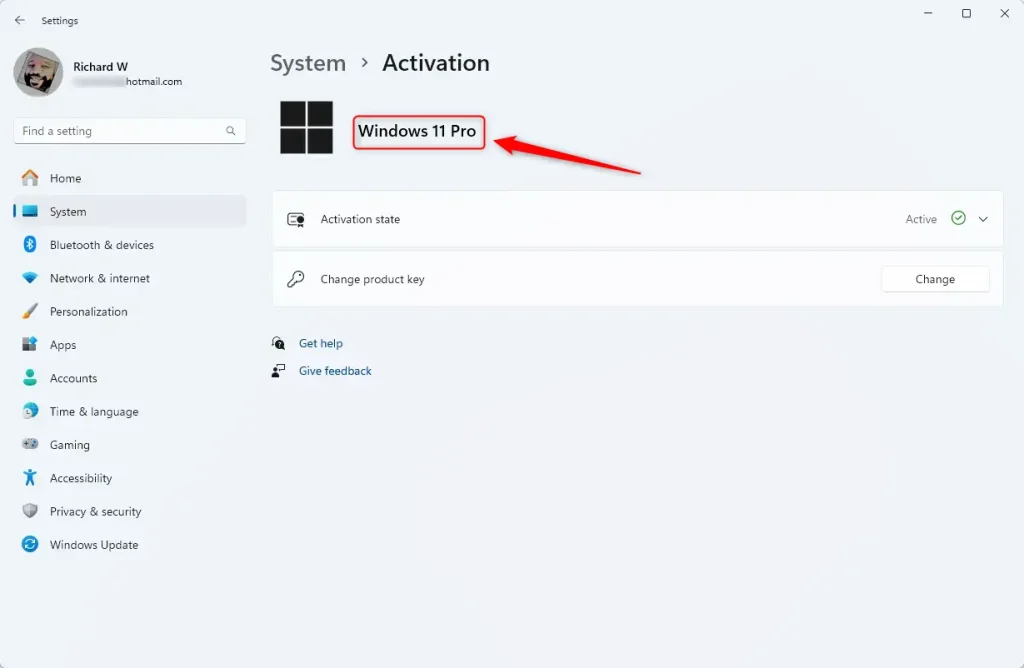
Windows 11 Activation computer version name - A prompt will appear. Click Change to continue.
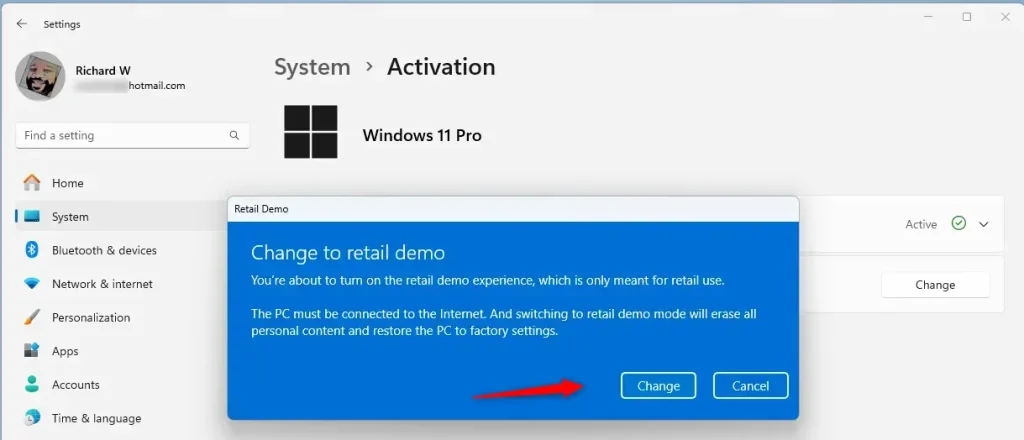
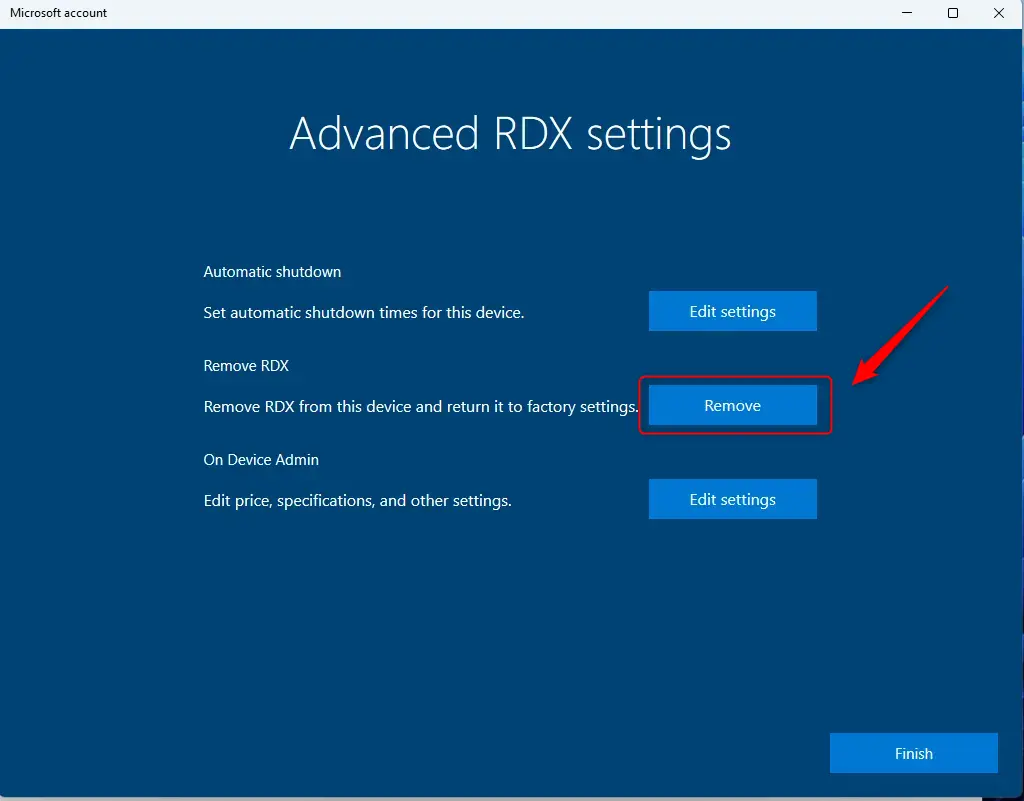
Windows 11 change to retail demo - [Admin privileges required] Click the Advanced configuration link to see more options.
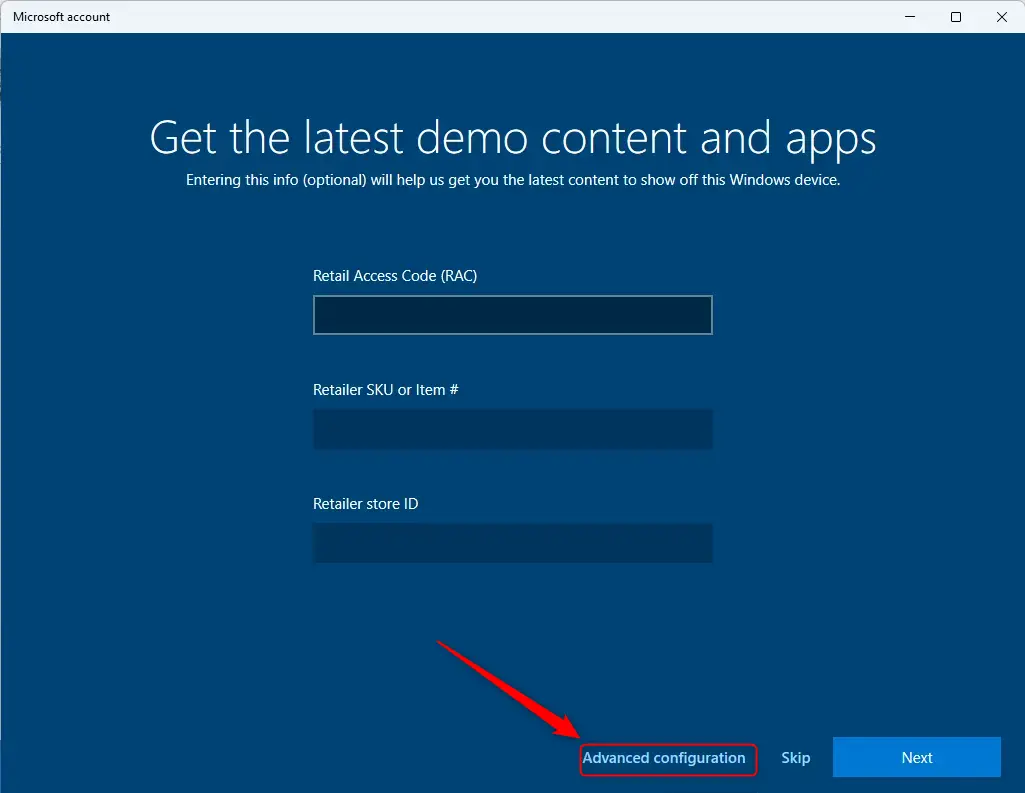
Windows 11 Retail Demo advanced settings - If you want, you can set the PC to automatically shut down after a set time. When ready, click Next.
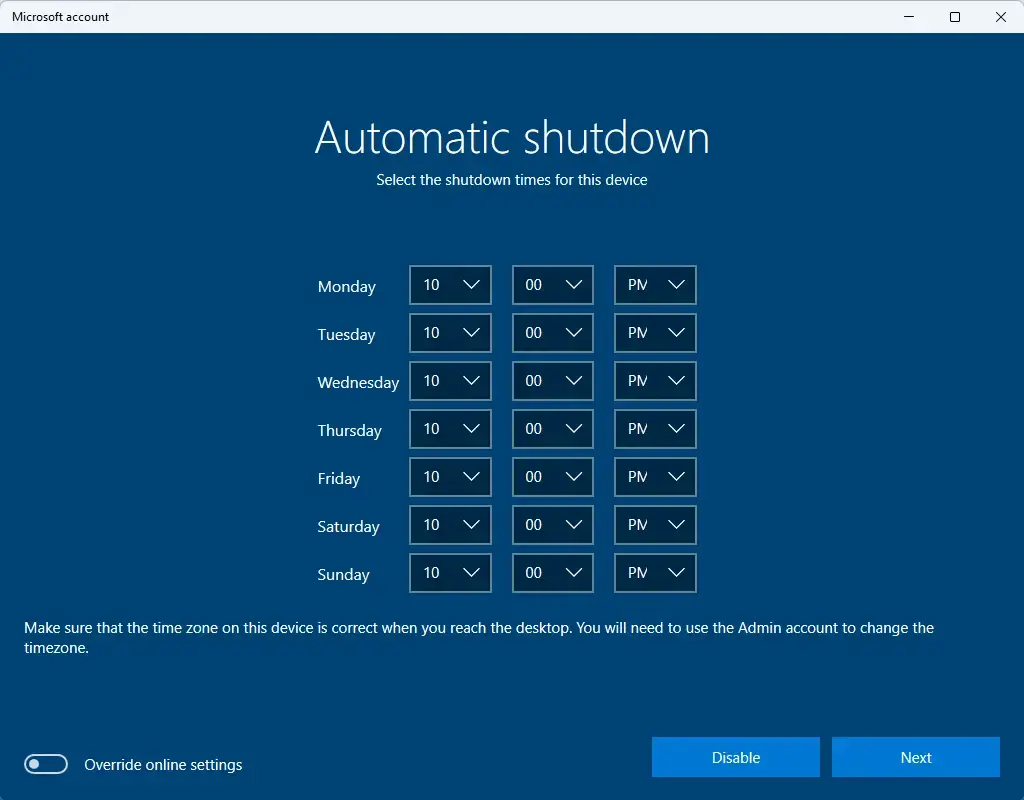
Windows 11 Retail Demo automatic shutdown option - Choose how long you want the Retail Demo to run before the admin account is removed. If you don’t want the admin account removed, toggle the switch to Off.
- If you turn it off, you will be asked to create a password for the admin account.
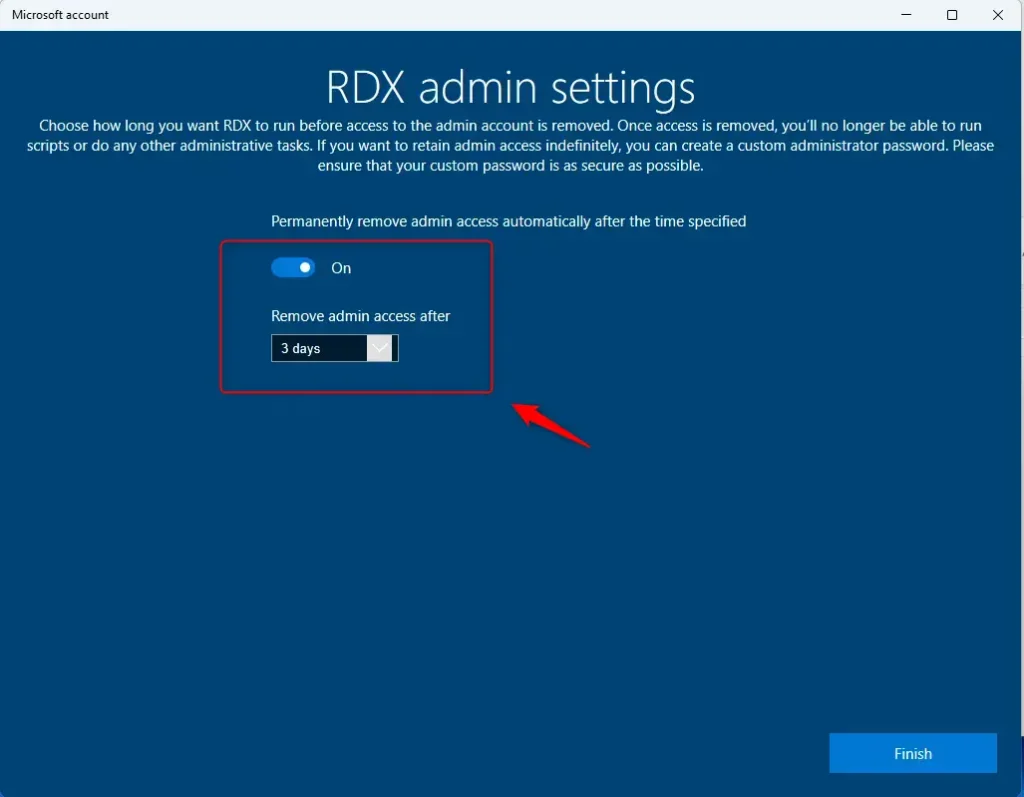
Windows 11 change to retail demo advanced settings admin account - Finally, click Finish to complete the process.
How to Remove Retail Demo Mode (Turn it Off)
Removing Retail Demo Mode in Windows 11 switches your PC back to normal settings. You do this by going to Settings, then System, and Activation. Click the Windows edition name five times, then click ‘Remove’ under Advanced configuration to turn off Retail Demo Mode.
- Go back to Settings > System > Activation.
- Click the Windows edition name five times again.
- [Admin privileges required] Click the Advanced configuration link.
- Click the Remove button and confirm your choice.

Summary
Retail Demo Mode in Windows 11 provides shops a special tool for display computers. Retail Demo Mode lets customers try out Windows in a controlled way. The controlled way helps shops show a consistent and polished experience to shoppers and makes it easy to manage demos.
What happens when you enable it? If you run a retail store or computer shop, enabling this mode can help keep demos consistent and controlled.
Windows 11 Retail Demo Mode allows store employees to showcase a computer's features for potential buyers. Users can turn Retail Demo Mode on or off for in-store product demonstrations. This special setup ensures the computer displays its capabilities without displaying any personal user settings, offering a clean demonstration every time.
What is retail demo mode?
Demo mode is usually activated by retail stores on their consumer electronics floor models. The demo mode may also be pre-enabled on the floor model. The purpose of a demo mode is threefold: It demonstrates the features of the unit in question.
Was this guide helpful?

About the Author
Richard
Tech Writer, IT Professional
Richard, a writer for Geek Rewind, is a tech enthusiast who loves breaking down complex IT topics into simple, easy-to-understand ideas. With years of hands-on experience in system administration and enterprise IT operations, he’s developed a knack for offering practical tips and solutions. Richard aims to make technology more accessible and actionable. He's deeply committed to the Geek Rewind community, always ready to answer questions and engage in discussions.


No comments yet — be the first to share your thoughts!