This article provides a clear guide on how to install and enable Hyper-V on Windows 11.
Hyper-V is a feature in Windows that enables users to create a virtualized environment on the host machine, allowing them to run virtual machines within Windows 11.
Enabling Hyper-V allows you to create multiple independent guest computers, each running its own operating system without requiring additional physical hardware.
With Hyper-V installed and enabled in Windows 11, power users can create additional virtual machines to run macOS, Linux, and Windows 10 without needing separate computers for each operating system.
Turn on Hyper-V in Windows 11
Hyper-V requires that the host machine have Hardware Virtualization enabled. Most modern computers come equipped with this feature; however, it might be disabled in the BIOS settings.
You may need to reboot your computer and enable Virtualization Technology (VTx) in the BIOS to turn it on.
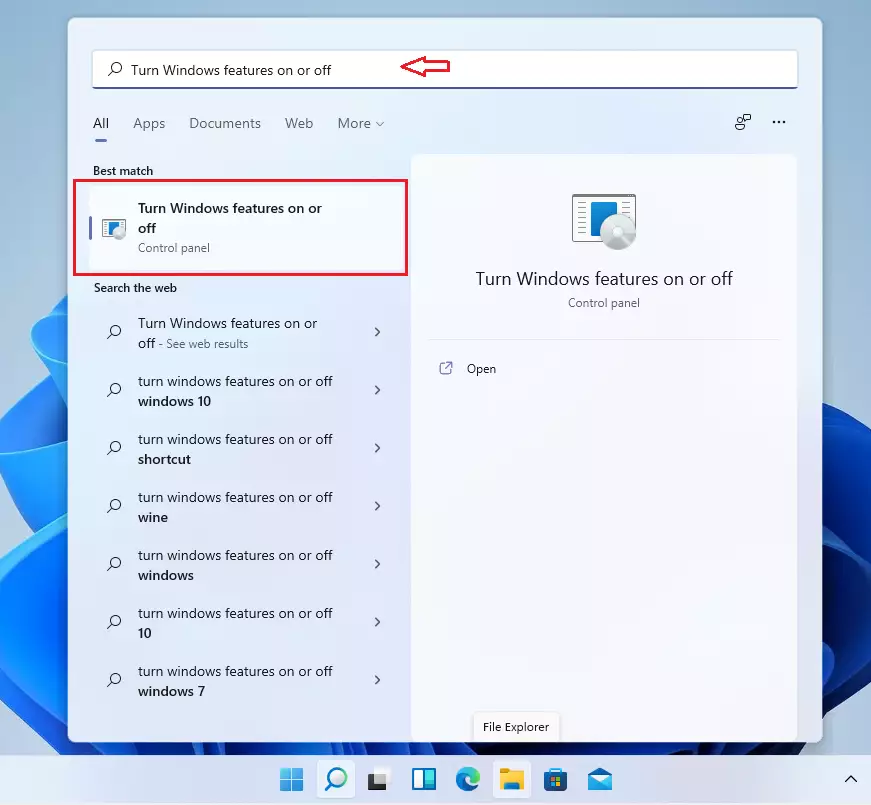
Once enabled, log back into Windows 11 and go to Start, then search for Turn Windows features on or off. Click on the result below to open the Windows Control Panel features pane.
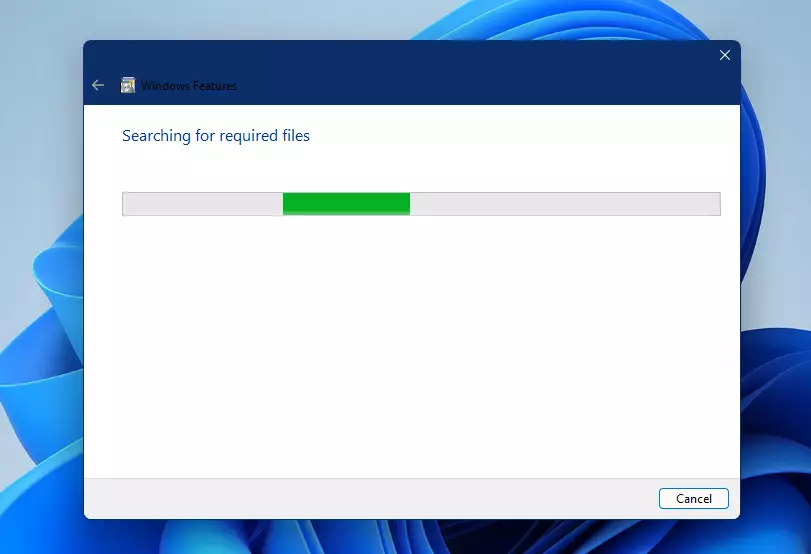
Once the Windows Features pane opens, scroll down and select the box next to Hyper-V and sub-boxes Hyper-V Management Tools and Hyper-V Platform.
Make sure these three boxes are checked, then click OK.

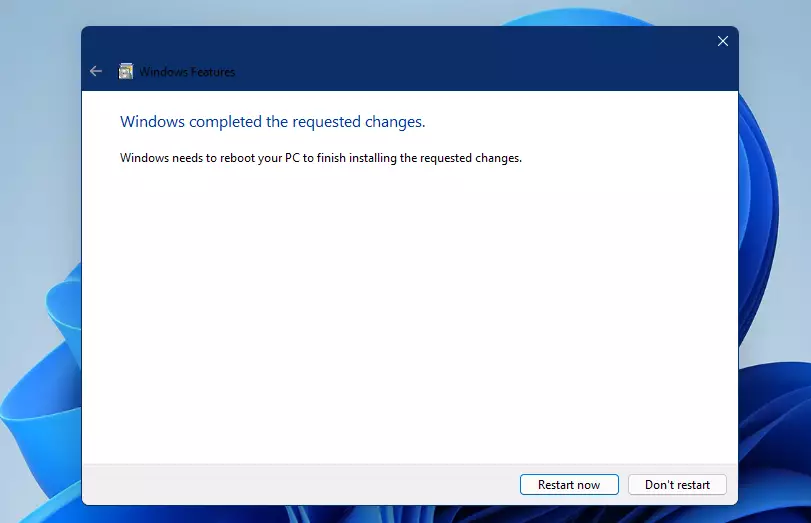
When will you apply your changes and be prompted to reboot to complete the process?
Once you reboot, the Hyper-V feature should be enabled, and you can start creating virtual machines to run other operating systems.
How to Enable Hyper-V from the Command Prompt
Another way to install Hyper-V is from the Windows Command Prompt. If the steps above aren’t right, simply install and enable Hyper-V using the command prompt method below.
First, you’ll want to run Windows Command Prompt as an administrator. Click on Start, then search for Command Prompt, right-click, and open as administrator.

When the Command Prompt opens, copy and paste the line below and press Enter.
DISM /Online /Enable-Feature /All /FeatureName:Microsoft-Hyper-V
When you run the command above, you’ll get a similar message below asking if you want to restart the computer—type Y for Yes.
Microsoft Windows [Version 10.0.22000.65]
(c) Microsoft Corporation. All rights reserved.

C:\WINDOWS\system32>DISM /Online /Enable-Feature /All /FeatureName:Microsoft-Hyper-V

Deployment Image Servicing and Management tool
Version: 10.0.22000.1

Image Version: 10.0.22000.65

Enabling feature(s)
[==========================100.0%==========================]
The operation completed successfully.
Restart Windows to complete this operation.
Do you want to restart the computer now? (Y/N)
Restart, and Windows Hyper-V should be installed and enabled.
How to Enable Hyper-V using Windows PowerShell in Windows 11
Yet, there is still another way to enable Hyper-V on Windows 11. If the above two methods aren’t good for you, open Windows PowerShell and install it from there.
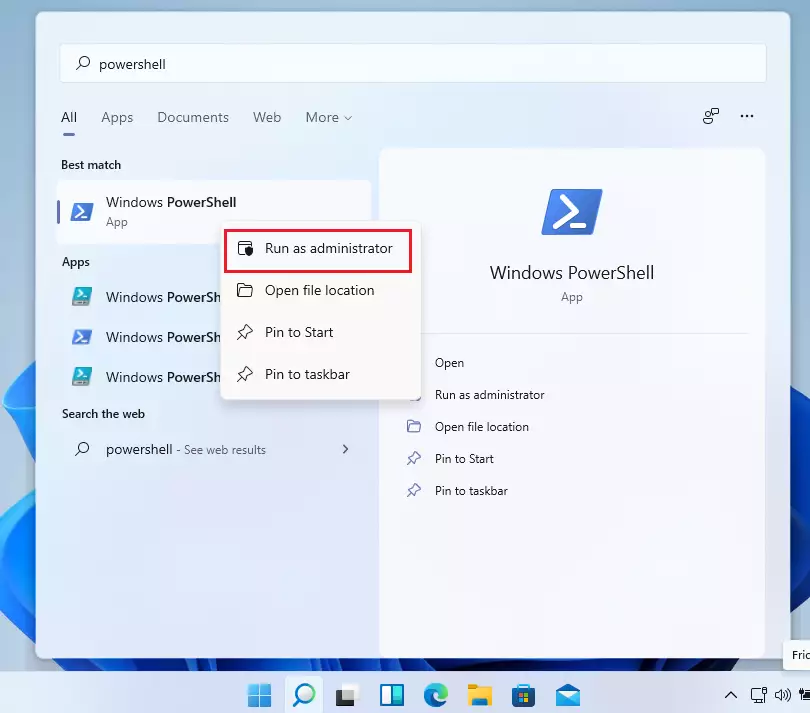
You’ll also need to run Windows PowerShell as an administrator. Click Start and search for PowerShell, as shown in the image below.
When Windows PowerShell opens, type the command below to enable Hyper-V.
Enable-WindowsOptionalFeature -Online -FeatureName Microsoft-Hyper-V -All
The command will download and enable Hyper-V packages. You’ll also be prompted to restart the computer.
Once you’re done, Hyper-V should be enabled and ready to use.
How to Create Virtual Machines on Windows 11 Hyper-V
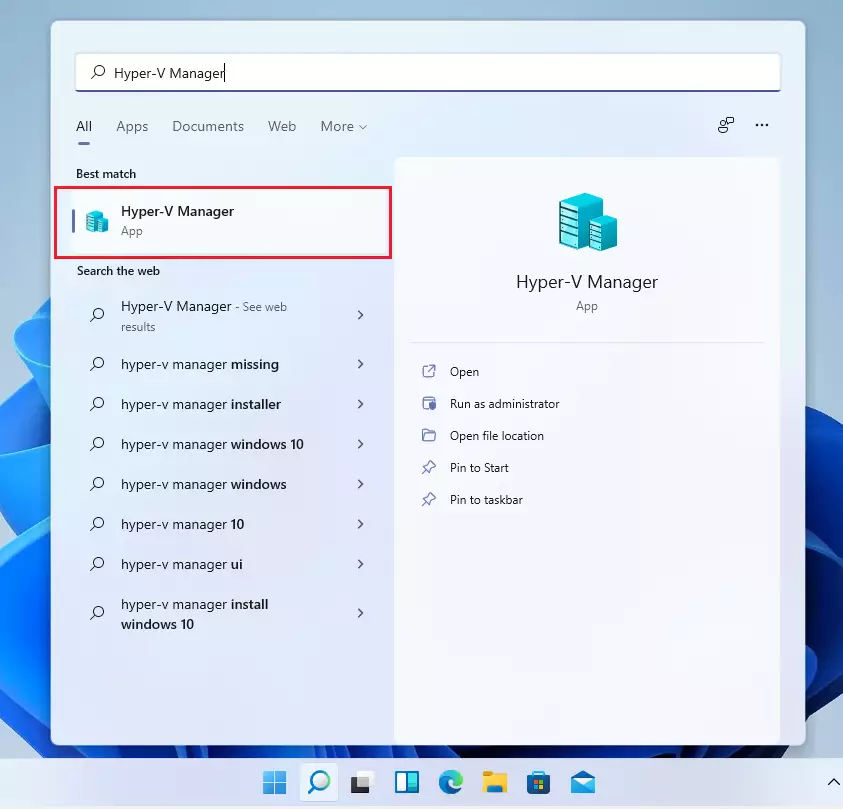
Now that Hyper-V is installed and enabled, click Start and search for Hyper-V Manager, as shown in the image below.
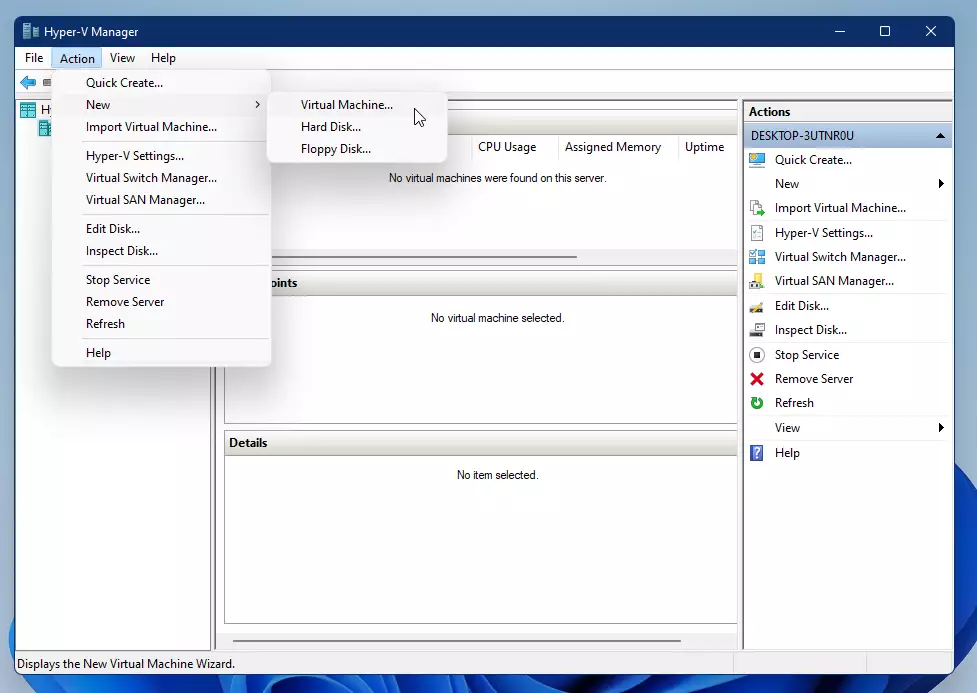
Once the app opens, go to Action ==> New ==> Virtual Machine.
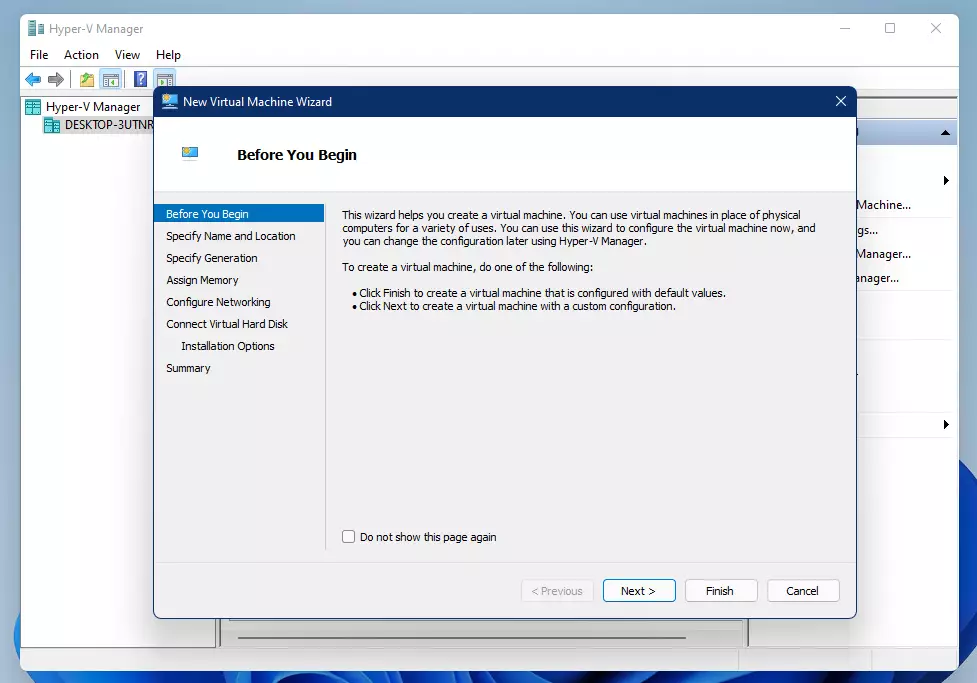
Follow the wizard and complete the creation of a new virtual machine.
That should do it!
Conclusion:
- Hyper-V is a powerful tool for advanced users looking to run multiple operating systems on a single device.
- Enabling Hyper-V on Windows 11 can be done easily through the Windows Features pane, Command Prompt, or PowerShell.
- After installation, users can create and manage virtual machines to test applications or learn about new operating systems without needing extra hardware.
- The ability to run different operating systems concurrently increases efficiency and flexibility for developers and tech enthusiasts alike.
- Always ensure your system supports virtualization before attempting to enable Hyper-V.
- With Hyper-V set up, users can explore and experiment in a safe, isolated environment.


Leave a Reply