How to Install Windows Subsystem for Linux (WSL) on Windows 11
This guide explains how to set up WSL on your Windows 11 computer.
Why use WSL? WSL lets you run Linux tools and apps right on your Windows computer. You do not need to set up a complicated virtual machine or restart your PC to switch between systems. It is great for developers or anyone wanting to learn Linux commands.
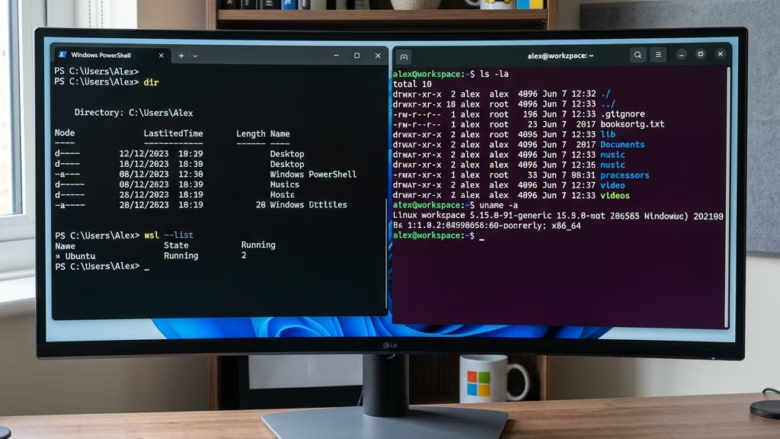
What happens when you are done? You will have a working Linux environment inside a window on your desktop. You can run Linux software right next to your regular Windows programs.
Prerequisites and Requirements
Before you install WSL on Windows 11, ensure your system is ready. You need a 64-bit version of Windows 11. Your computer must support virtualization. You can check this in the Task Manager under the Performance tab. Why do this? It ensures the Linux kernel runs smoothly without errors. What happens when you are done? Your computer will be ready to host a powerful Linux environment.
The easiest way to install WSL is using the command line. Note: This process requires admin privileges.
wsl --install
This command enables the Virtual Machine Platform and ubuntu-linux-file-system-on-windows-wsl/" class="sal-link" rel="noopener" target="_blank" data-sal-id="19979">Windows Subsystem for Linux features automatically. It also downloads the latest Linux kernel and the default Ubuntu distribution.
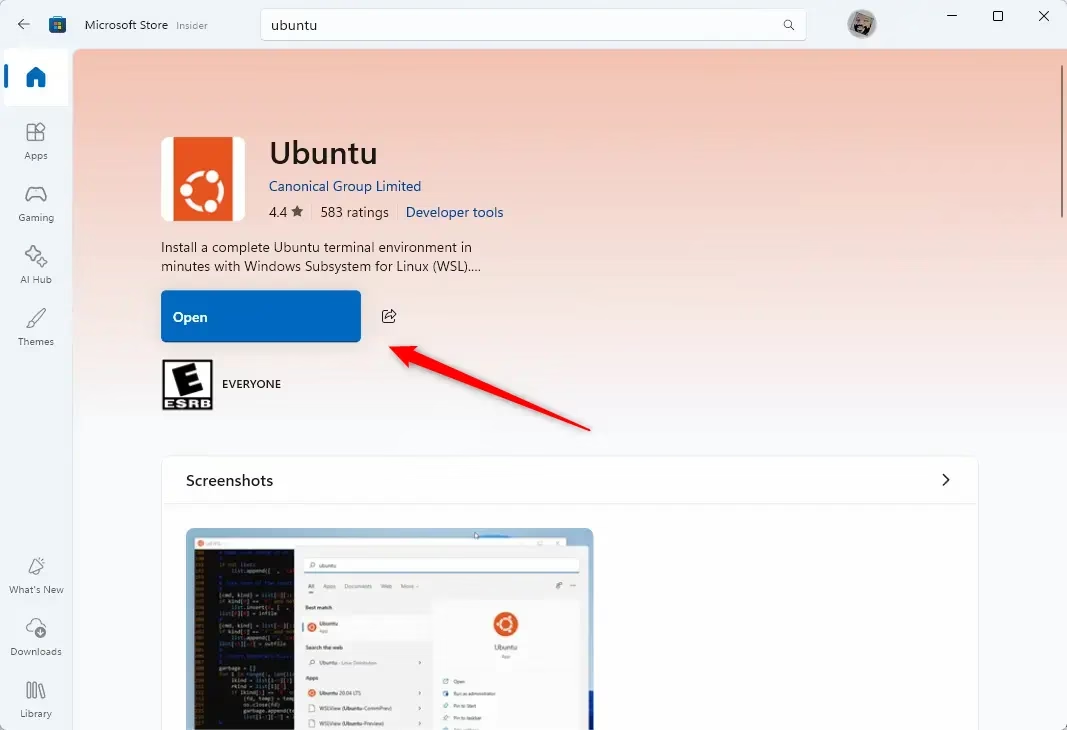
Option One: Install via Microsoft Store
- Visit the Microsoft Store.
- Search for your preferred Linux distribution, such as Ubuntu, Debian, or Kali Linux.
- Click Get or Install.
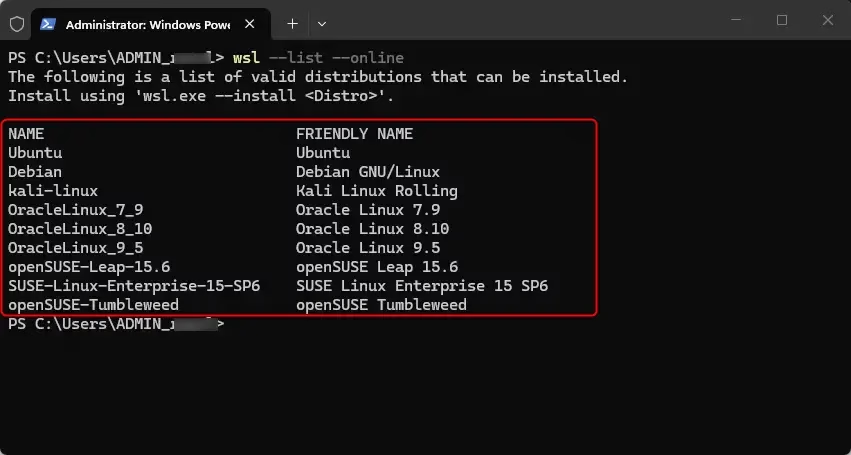
Option Two: Install via Command Line
- Open PowerShell as an administrator.
- Run
wsl --list --onlineto see available distributions. - Run
wsl --install -d <DistroName>to install a specific one.
WSL 1 vs WSL 2
WSL 1 translates Linux system calls to Windows system calls. WSL 2 uses a real Linux kernel inside a lightweight virtual machine. WSL 2 is faster and supports full system call compatibility. Most users should choose WSL 2 for better performance.
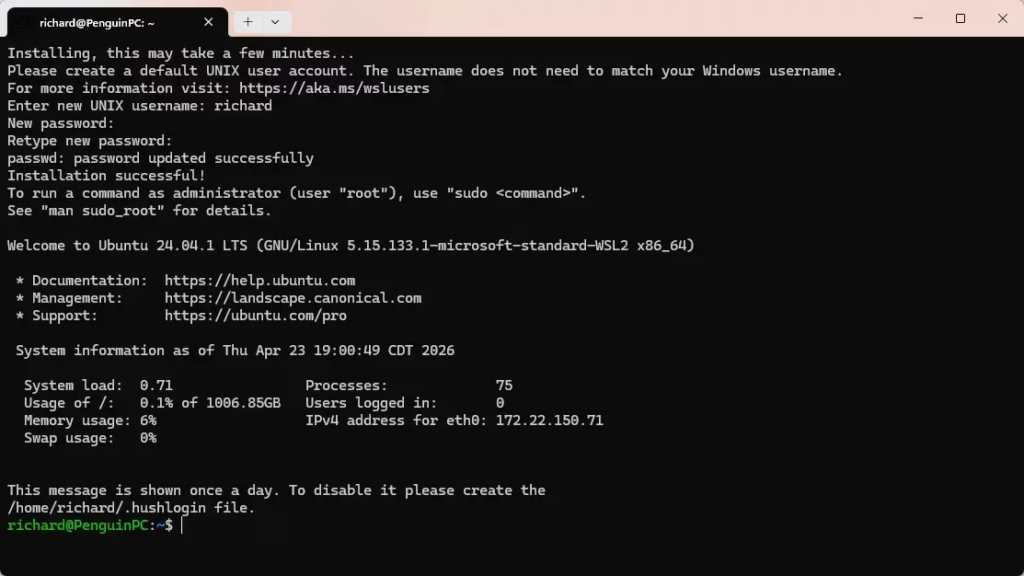
Post-Installation Setup
Once installed, launch the Linux app from your Start menu. You will be prompted to create a UNIX username and password. This is separate from your Windows account.
Was this guide helpful?


Leave a Reply