Sometimes, you might want to hide files or folders on your Windows 11 computer to keep them private or just tidy up your folders. This guide will show you simple ways to hide and unhide files and folders using easy steps anyone can follow.
What Does “Hidden” Mean?
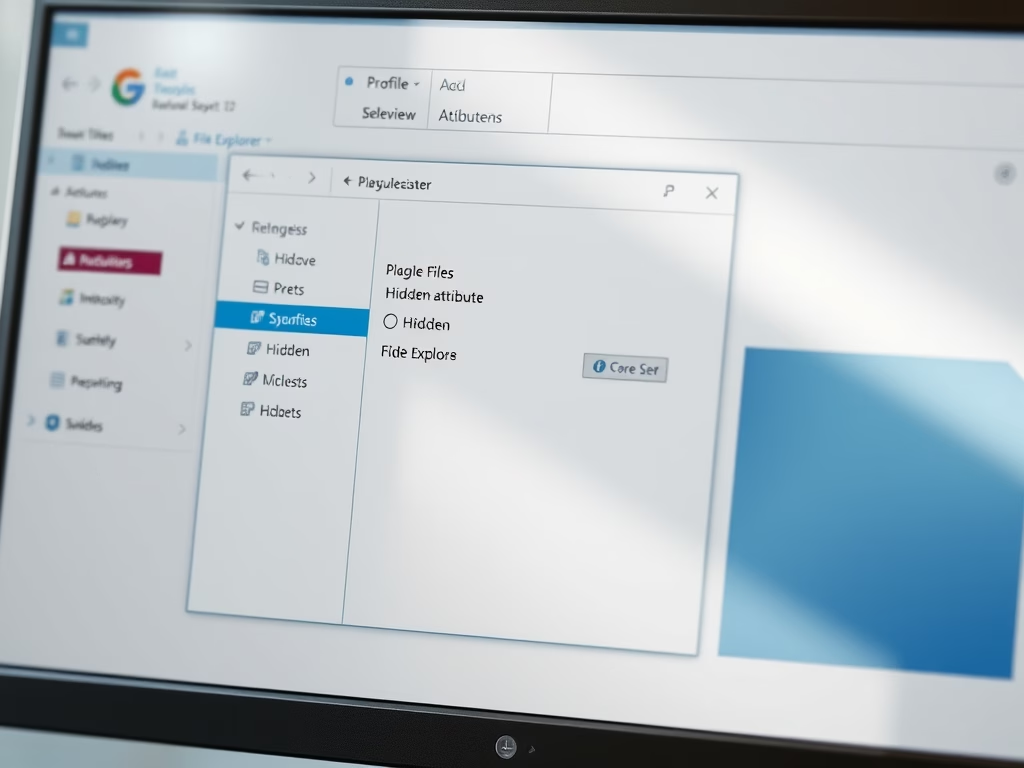
Windows lets you mark files and folders as hidden. When something is hidden, it doesn’t show up in the normal folder view unless you tell Windows to show hidden items. Hidden files appear faded or dimmed in File Explorer to show they are hidden.
If you want to see hidden files, you can turn on the option in File Explorer. Here’s a quick guide on how to do that:
How to Show Hidden Files in Windows 11.
How to Hide or Unhide Files and Folders
There are two easy ways to hide or unhide files and folders: using the Properties window or the Command Prompt/PowerShell. We’ll explain both.
Method 1: Using the Properties Window
This is the easiest way, and it uses the mouse and menus.
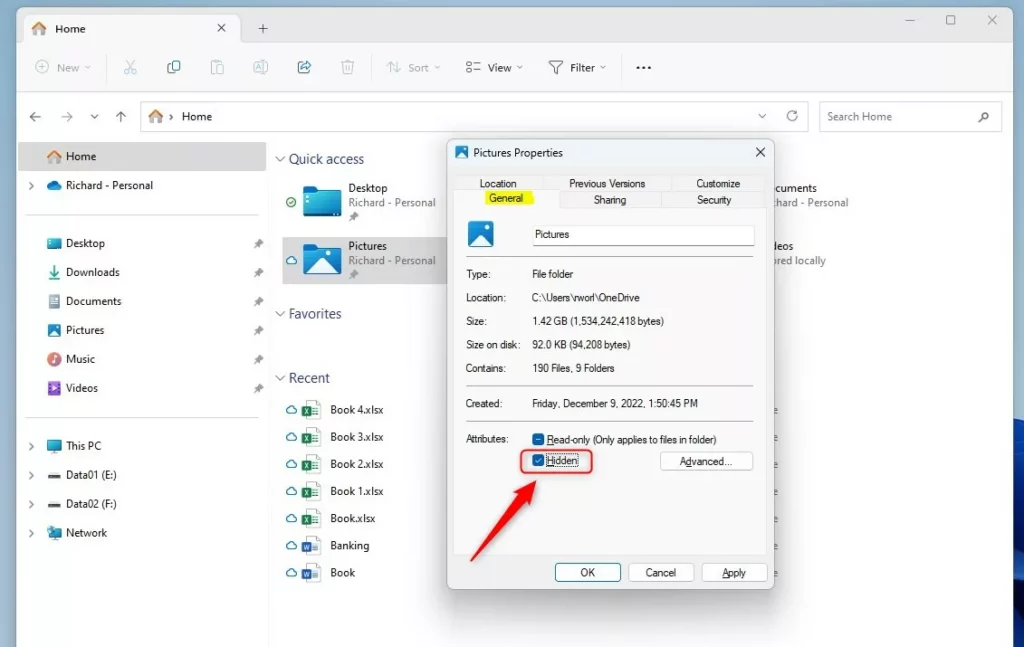
- Open File Explorer and find the file or folder you want to hide or unhide.
- Right-click the file or folder.
- Click Properties from the menu. (You can also select the file/folder and press Alt + Enter on your keyboard.)
- In the Properties window, under the General tab, look for the Attributes section.
- To hide the item, check the box next to Hidden. To unhide, uncheck the box.
- Click OK to save.
- A small window will pop up asking if you want to apply changes to just this folder/file, or to all files and subfolders inside. Choose the option you want and click OK.
Method 2: Using Commands in Command Prompt or PowerShell
If you like using keyboard commands, you can hide or unhide files and folders with a simple command.
Here’s how:
- Open Windows Terminal by right-clicking the Start button and selecting it, or search for “Windows Terminal” in the Start menu.
- Make sure you are using either the Command Prompt or PowerShell tab.
- Type the command to hide or unhide, then press Enter.
Commands
To hide a folder:
attrib +h "full-path-to-folder"To unhide a folder:
attrib -h "full-path-to-folder"Example: To hide your Pictures folder, replace <username> with your Windows username:
attrib +h "C:UsersPictures" To unhide it again:
attrib -h "C:UsersPictures" Note: To hide/unhide all files and subfolders inside a folder, use these commands:
attrib +h "full-path-to-folder" /s /d
attrib -h "full-path-to-folder" /s /d
Bonus: How to Show Hidden Files in File Explorer
If you want to see hidden files or folders after hiding/unhiding them, follow these steps:
- Open File Explorer.
- Click on the View menu at the top.
- Select Show → Hidden items.
Now, any hidden files or folders will show up but their icons will look faded.

Summary
- You can hide or unhide files and folders easily using the Properties window or Command Prompt/PowerShell.
- Hidden files won’t show in File Explorer unless you turn on “Show hidden items”.
- Using these tools, you can keep your files private or just keep your folders clean and organized.
If you want more step-by-step help, check out this easy guide on Geek Rewind.


Leave a Reply