Pubvana, formally known as Open Blog, is a free, easy, and secure content management system (CMS) for personal blogging and small business portals.
It’s easy to set up and install. Download and install with a few clicks, and you’re done!
If you want a Content Management System (CMS) that is easy to use and manage, then Pubvana CMS is an excellent place to start. Pubvana is built with a robust Twitter Bootstrap front-end framework. Bootstrap is the most popular HTML, CSS, and JS framework for developing responsive, mobile-first projects on the web.
This CMS platform is designed for ease of use to allow enterprises and business owners to collaborate and automate engaging experiences with users across multiple devices, including mobile.
For more about Pubvana CMS, please check their Homepage
Install Nginx HTTP Server
Pubvana CMS requires a web server, and the Nginx HTTP server is probably the second most popular open-source web server available today. To install the Nginx server, run the commands below:
sudo apt update
sudo apt install nginx
After installing Nginx, the commands below can be used to stop, start, and enable the Nginx service to always start up with the server boots.
sudo systemctl stop nginx.service
sudo systemctl start nginx.service
sudo systemctl enable nginx.service
Now that Nginx has been installed browse your browser to the URL below to test whether the web server works.
http://localhost
If you see the page above, then Nginx is successfully installed.
Install MariaDB Database Server
Pubvana also requires a database server to store its content. MariaDB is a great place to start if you want a genuinely open-source database server. To install MariaDB, run the commands below:
sudo apt-get install mariadb-server mariadb-client
After installing MariaDB, the commands below can stop, start, and enable the service to start when the server boots.
Run these on Ubuntu 16.04 LTS
sudo systemctl stop mysql.service
sudo systemctl start mysql.service
sudo systemctl enable mysql.service
Run these on Ubuntu 18.10 and 18.04 LTS
sudo systemctl stop mariadb.service
sudo systemctl start mariadb.service
sudo systemctl enable mariadb.service
Next, run the commands below to secure the database server with a root password if you were not prompted to do so during the installation.
sudo mysql_secure_installation
When prompted, answer the questions below by following the guide.
- Enter current password for root (enter for none): Just press the Enter
- Set root password? [Y/n]: Y
- New password: Enter password
- Re-enter new password: Repeat password
- Remove anonymous users? [Y/n]: Y
- Disallow root login remotely? [Y/n]: Y
- Remove test database and access to it? [Y/n]: Y
- Reload privilege tables now? [Y/n]: Y
Once MariaDB is installed, run the commands below to test whether the database server was installed.
sudo mysql -u root -p
Type the root password when prompted.

The server was successfully installed if you see a similar screen.
Install PHP 7.2-FPM and Related Modules.
Pubvana CMS is a PHP-based CMS, and PHP is required. However, PHP 7.2-FPM may not be available in Ubuntu default repositories. To run PHP 7.2-FPM on Ubuntu 16.04 and previous, you may need to run the commands below:
sudo apt-get install software-properties-common
sudo add-apt-repository ppa:ondrej/php
Then update and upgrade to PHP 7.2-FPM
sudo apt update
Next, run the commands below to install PHP 7.2 and related modules.
sudo apt install php7.2-fpm php7.2-common php7.2-mysql php7.2-gmp php7.2-curl php7.2-intl php7.2-mbstring php7.2-xmlrpc php7.2-gd php7.2-xml php7.2-cli php7.2-zip
After installing PHP 7.2, run the commands below to open Nginx’s PHP default configuration file.
sudo nano /etc/php/7.2/fpm/php.ini
The lines below are a good setting for most PHP-based CMS. Update the configuration file with these and save.
file_uploads = On
allow_url_fopen = On
short_open_tag = On
memory_limit = 256M
cgi.fix_pathinfo = 0
upload_max_filesize = 100M
max_execution_time = 360
date.timezone = America/Chicago
Restarting the Nginx web server whenever you change the PHP configuration file would be best. To do so, run the commands below:
sudo systemctl restart nginx.service
Once PHP is installed, create a test file called phpinfo.php in the Nginx default root directory. ( /var/www/html/)
sudo nano /var/www/html/phpinfo.php
Then, type the content below and save the file.
<?php phpinfo( ); ?>
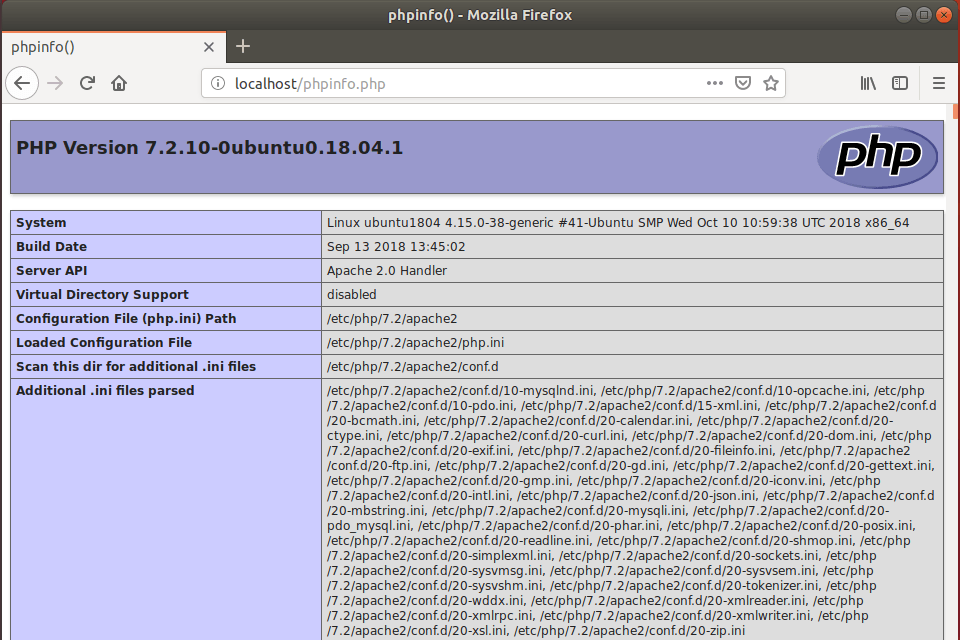
Next, open your browser and browse to the server’s hostname or IP address, followed by phpinfo.php
http://localhost/phpinfo.php
You should see the PHP default test page.
Create Pubvana Database
Once you’ve installed all the packages required for Pubvana to function, continue below to start configuring the servers. First, run the commands below to create a blank Pubvana database.
To log on to the MariaDB database server, run the commands below.
sudo mysql -u root -p
Then, create a database called pubvana
CREATE DATABASE pubvana;
Create a database user called pubvanauser with a new password
CREATE USER 'pubvanauser'@'localhost' IDENTIFIED BY 'new_password_here';
Then, grant the user full access to the database.
GRANT ALL ON pubvana.* TO 'pubvanauser'@'localhost' IDENTIFIED BY 'user_password_here' WITH GRANT OPTION;
Finally, save your changes and exit.
FLUSH PRIVILEGES;
EXIT;
Download Pubvana’s Latest Release
To get Pubvana’s latest release, you may use the GitHub repository. Install Composer, Curl, and other dependencies to get started.
sudo apt install curl git
curl -sS https://getcomposer.org/installer | sudo php -- --install-dir=/usr/local/bin --filename=composer
After installing curl and Composer above, change into the Nginx root directory and download Pubvana packages from Github.
cd /var/www/html
sudo composer create-project enlivenapp/pubvana
Then, run the commands below to set the correct permissions for the Pubvana root directory and give Nginx control.
sudo chown -R www-data:www-data /var/www/html/pubvana/
sudo chmod -R 755 /var/www/html/pubvana/
Configure Nginx
Finally, configure the Apahce2 site configuration file for Pubvana. This file will control how users access Pubvana content. Run the commands below to create a new configuration file called pubvana
sudo nano /etc/nginx/sites-available/pubvana
Then copy and paste the content below into the file and save it. Replace the highlighted line with your domain name and directory root location.
server {
    listen 80;
    listen [::]:80;
    root /var/www/html/pubvana;
    index  index.php index.html index.htm;
    server_name  example.com www.example.com;

     client_max_body_size 100M;

     autoindex off;

     location / {
        try_files $uri $uri/ /index.php$is_args$args;
      }

    location ~ \.php$ {
         include snippets/fastcgi-php.conf;
         fastcgi_pass unix:/var/run/php/php7.2-fpm.sock;
         fastcgi_param SCRIPT_FILENAME $document_root$fastcgi_script_name;
         include fastcgi_params;
    }
}
Save the file and exit.
Enable the Pubvana
After configuring the VirtualHost above, please enable it by running the commands below.
sudo ln -s /etc/nginx/sites-available/pubvana /etc/nginx/sites-enabled/
sudo systemctl restart nginx.service
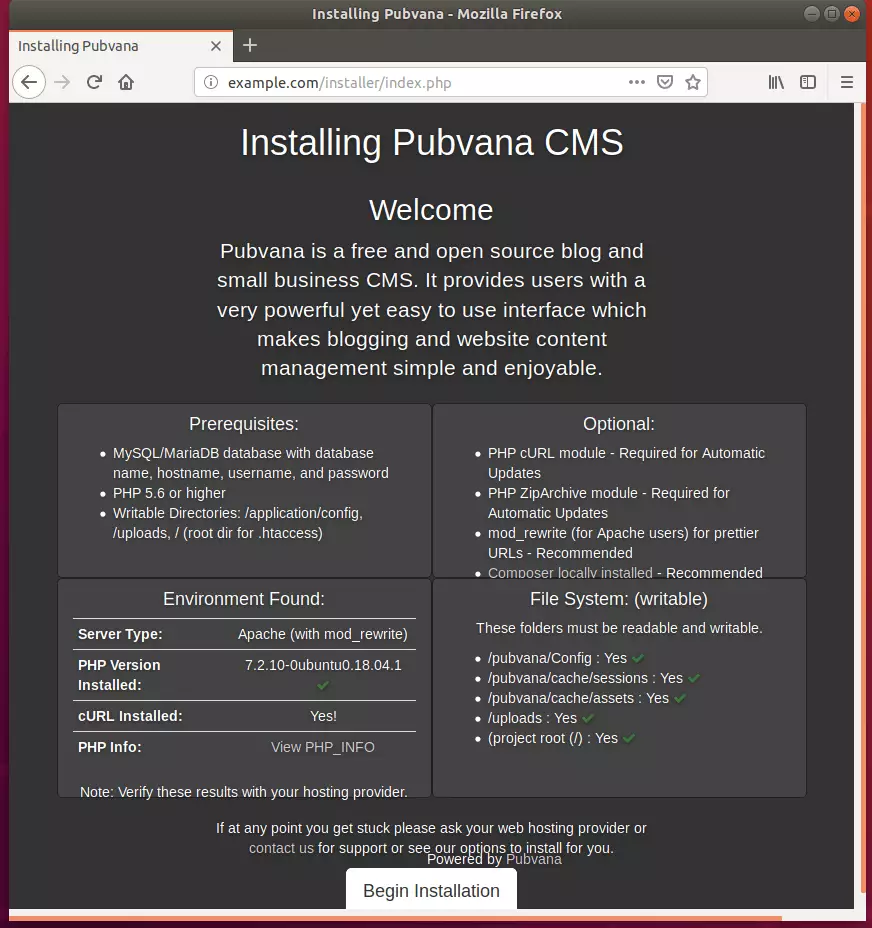
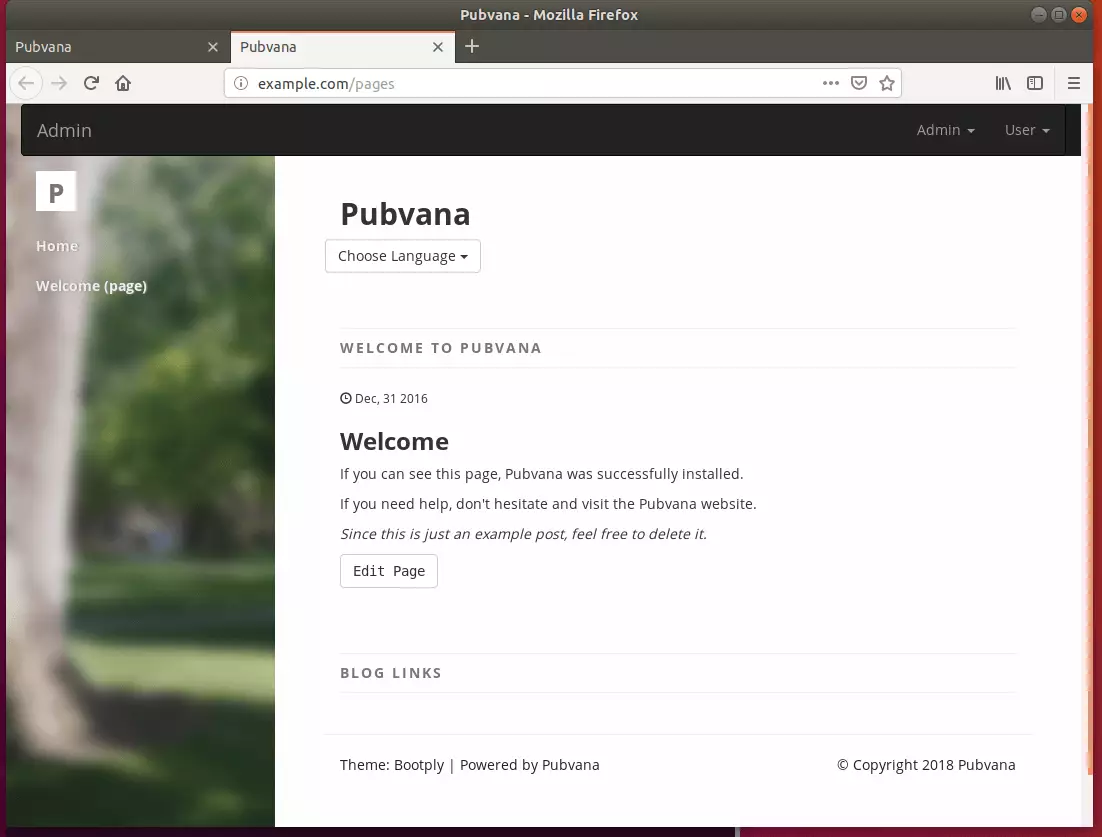
Then open your browser and browse to the server domain name. You should see the Pubvana setup wizard complete. Please follow the wizard carefully.
http://example.com/installer/index.php
Then, follow the on-screen instructions. Confirm that all the requirements are met and continue.
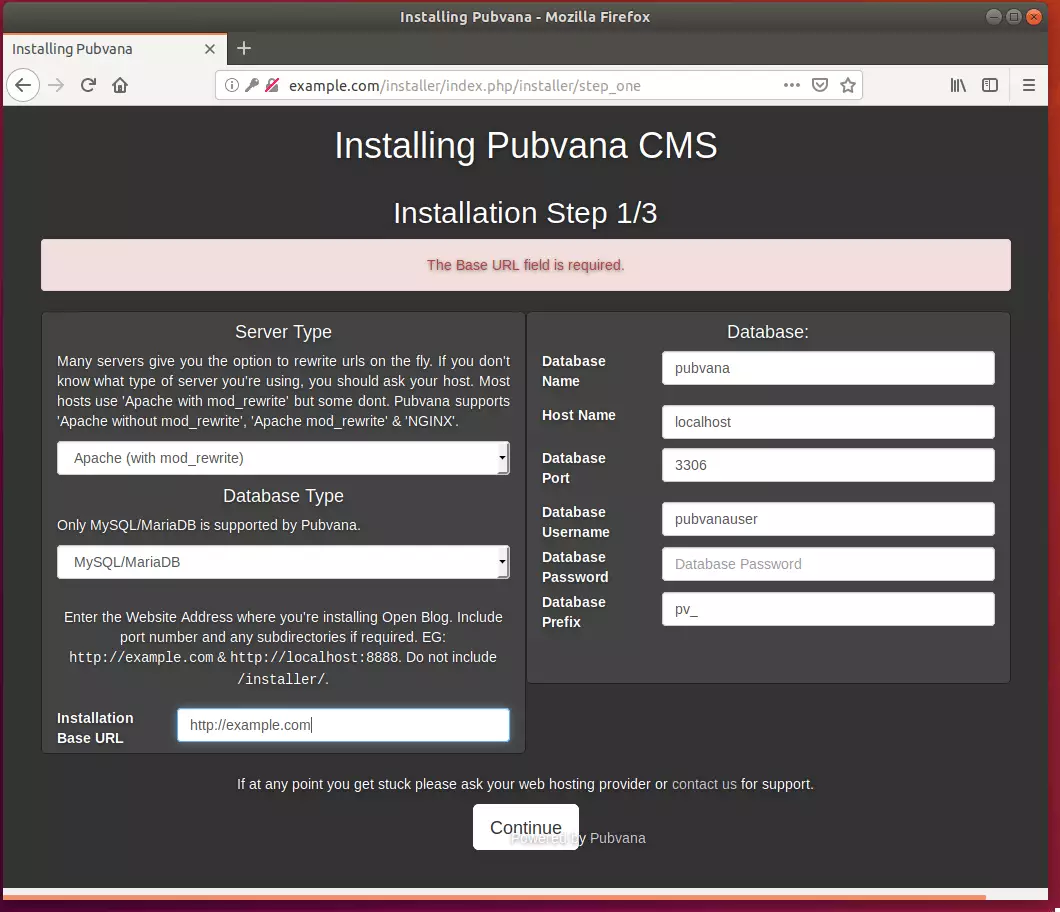
Next, type in the database info you created above and your domain URL and continue.
After, create a backend admin account and complete the installation.
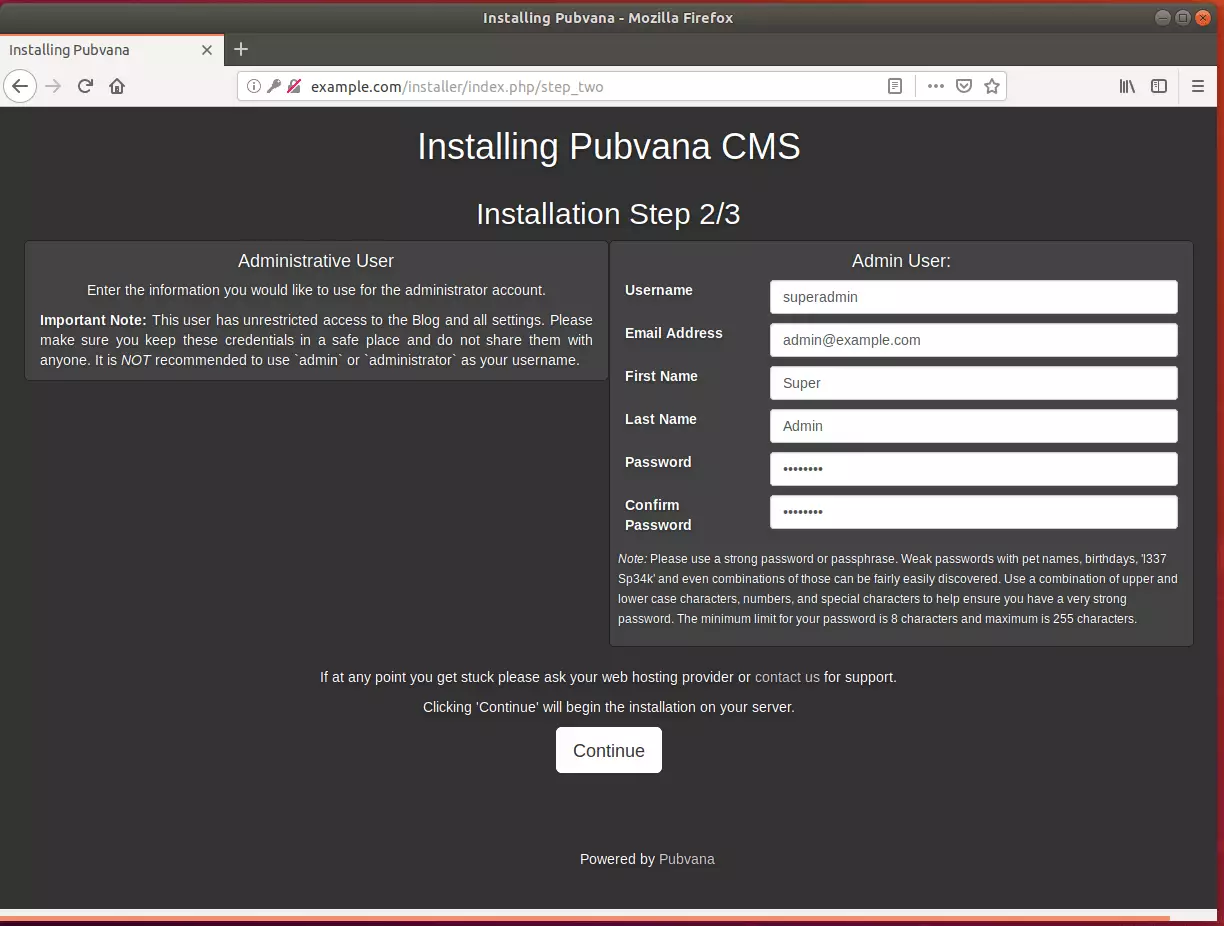
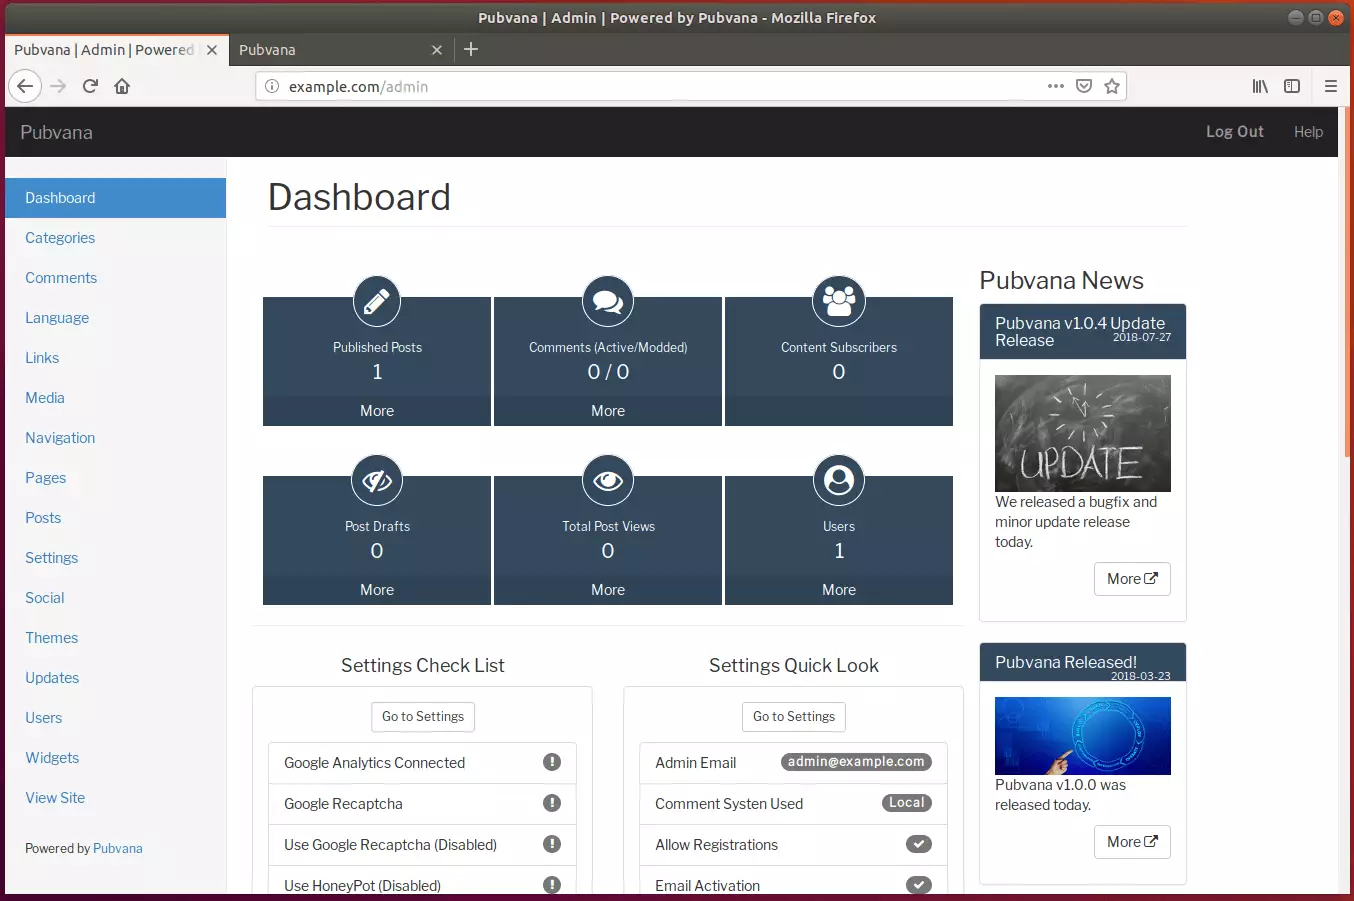
When you’re done, log on and begin configuring your site.
That’s it!
Don’t forget to delete the installer directory.
sudo rm -rf /var/www/html/pubvana/installer
Congratulation! You have successfully installed Pubvana CMS on Ubuntu 16.04 | 18.04 and 18.10.
You may also like the post below:


Leave a Reply