CMSimple_XH is an open-source, flat file Content Management System (CMS) that can help you create your personal or business websites in minutes without a separate database server. In addition, it offers features that may not be available to other PHP-based CMS, like WordPress, Joomla, or Drupal.
For one, it doesn’t need a database server; all its data is stored in the file system (file-based, flat file CMS). It also provides native markdown WYSIWYG support and a friendly, flexible CSS framework without installation.
For more about CMSimple_XH, please check its homepage.
This brief tutorial shows students and new users how to install CMSimple_XH on Ubuntu 16.04 / 18.10 / 18.04 LTS with Apache2 and PHP 7.2 support.
When you’re ready to get CMSimple_XH working, continue with the steps below:
Install Apache2 HTTP Server on Ubuntu
Apache2 HTTP Server is the most popular web server in use. Install it since CMSimple_XH needs it.
To install Apache2 HTTP on the Ubuntu server, run the commands below.
sudo apt update
sudo apt install apache2
After installing Apache2, the commands below can stop, start, and enable the Apache2 service to always start up with the server boots.
sudo systemctl stop apache2.service
sudo systemctl start apache2.service
sudo systemctl enable apache2.service
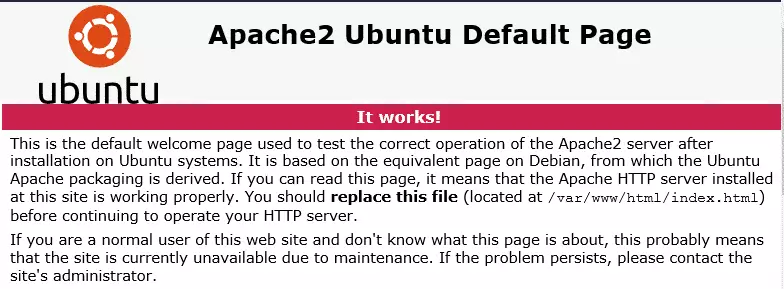
To test the Apache2 setup, open your browser and browse to the server hostname or IP address. You should see the Apache2 default test page, as shown below. When you see that, then Apache2 is working as expected.
http://localhost
Install PHP 7.2 and Related Modules
PHP 7.2 may not be available in Ubuntu default repositories for some systems. So, you will have to get it from third-party repositories if you need it.
Run the commands below to add the below third party repository to upgrade to PHP 7.2
sudo apt-get install software-properties-common
sudo add-apt-repository ppa:ondrej/php
Then update and upgrade to PHP 7.2
sudo apt update
Next, run the commands below to install PHP 7.2 and related modules.
sudo apt install php7.2 libapache2-mod-php7.2 php7.2-common php7.2-mbstring php7.2-xmlrpc php7.2-sqlite3 php7.2-soap php7.2-gd php7.2-xml php7.2-cli php7.2-curl php7.2-zip
After installing PHP 7.2, run the commands below to open the PHP default config file for Apache2.
sudo nano /etc/php/7.2/apache2/php.ini
Then, save the changes on the following lines below in the file. The value below is an excellent setting to apply in your environment.
file_uploads = On
allow_url_fopen = On
memory_limit = 256M
upload_max_filesize = 100M
max_execution_time = 360
date.timezone = America/Chicago
After making the change above, please save the file and close it.
After installing PHP and related modules, you must restart Apache2 to reload PHP configurations.
To restart Apache2, run the commands below
sudo systemctl restart apache2.service
To test PHP 7.2 settings with Apache2, create a phpinfo.php file in the Apache2 root directory by running the commands below
sudo nano /var/www/html/phpinfo.php
Then, type the content below and save the file.
<?php phpinfo( ); ?>
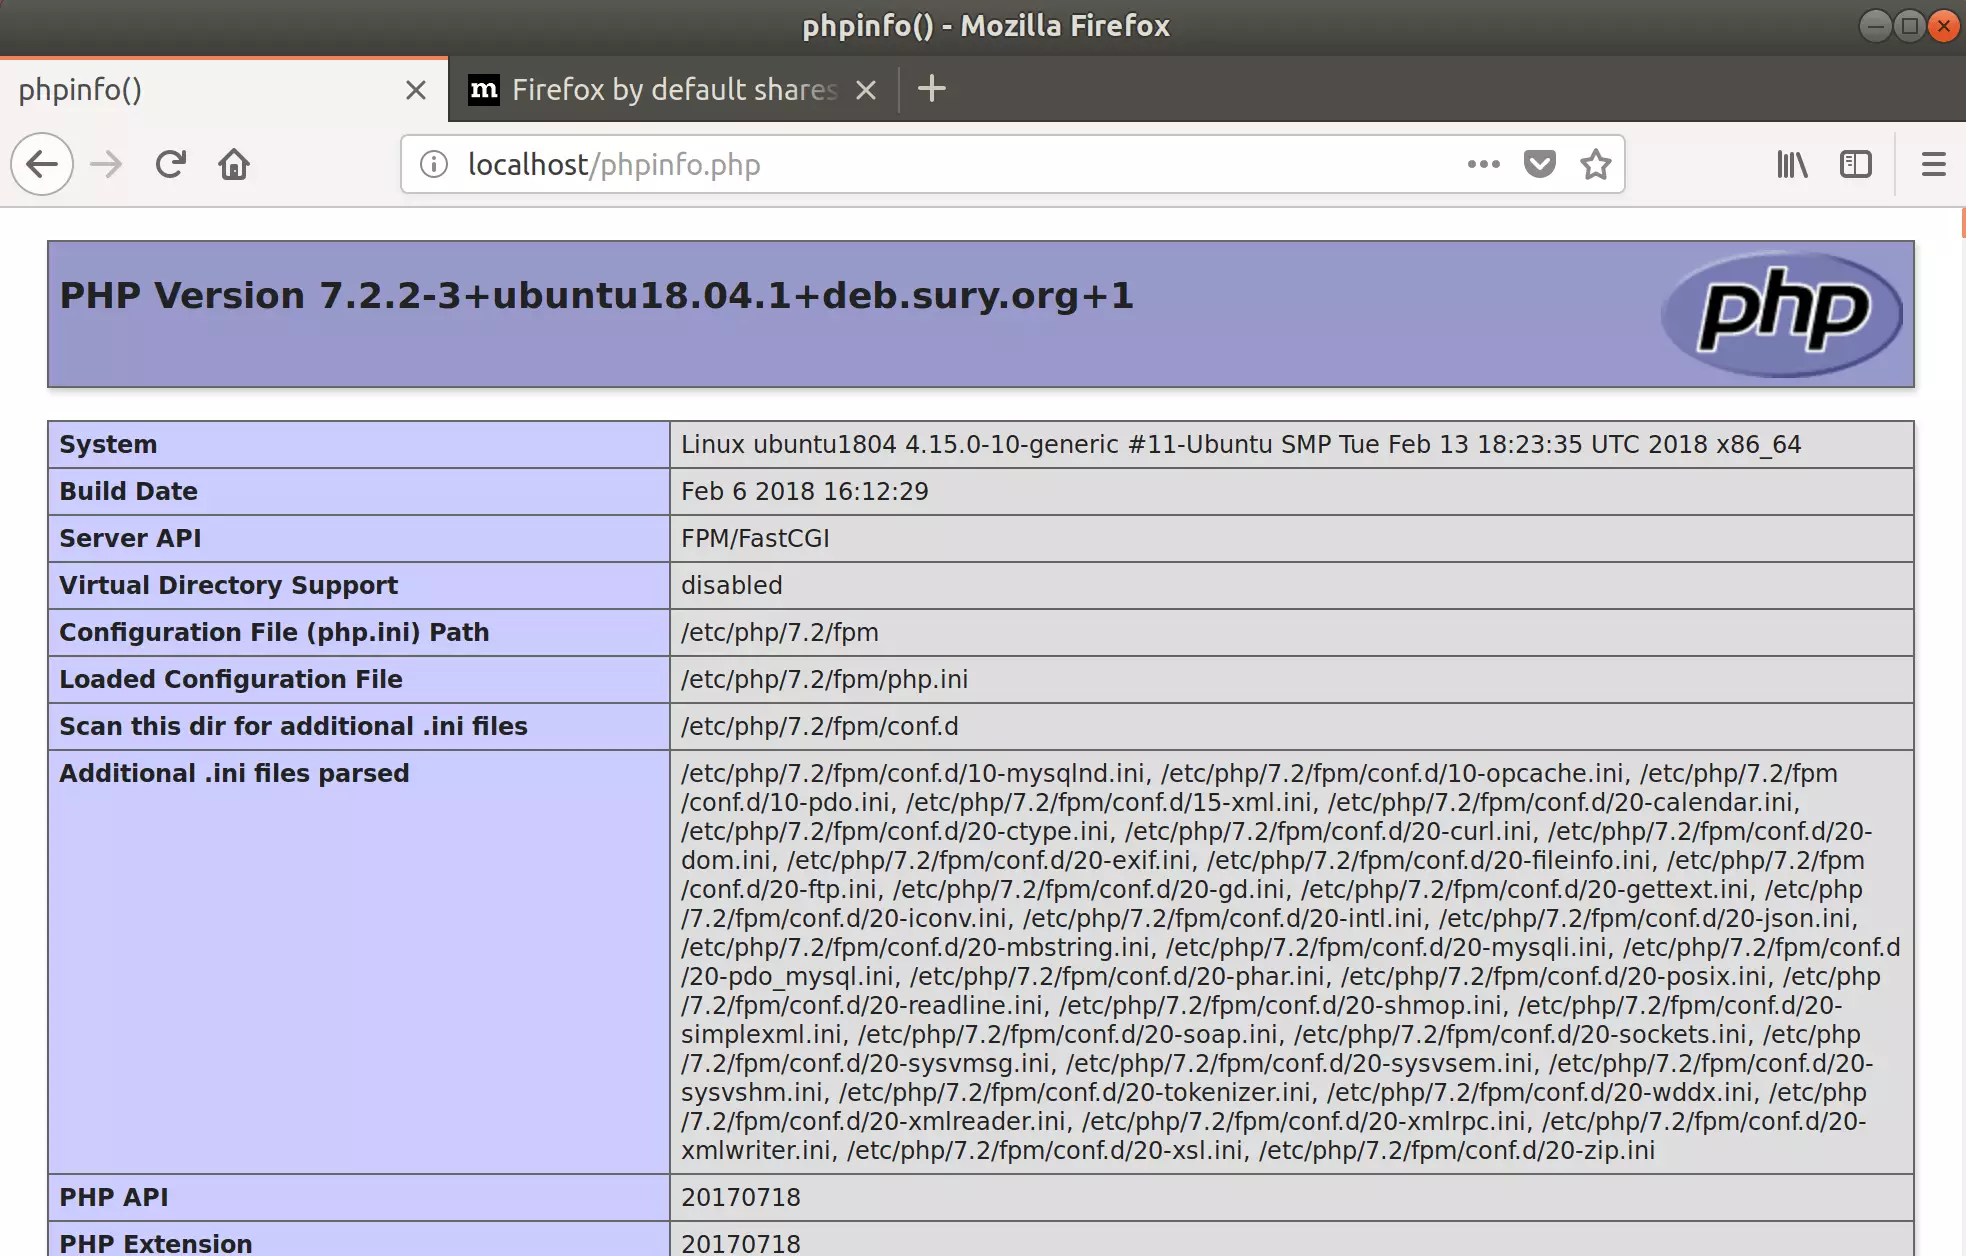
Save the file. Then browse to your server hostname followed by /phpinfo.php
http://localhost/phpinfo.php
You should see the PHP default test page.
Download CMSimple_XH Latest Release
Next, visit the CMSimple_XH site and download the latest package. Or run the commands below to download CMSimple_XH packages from GitHub.
After downloading, run the commands below to extract the downloaded file and move it into a new CMSimple_XH root directory. After that, change it into the CMSimple_XH root directory to install the PHP-required packages.
Take notes of the branch number. If there are newer branch numbers, replace the one below with them.
cd /var/www/html/
sudo apt install git
sudo git clone --branch 1.7 https://github.com/cmsimple-xh/cmsimple-xh.git cmsimplexh
cd /var/www/html/cmsimplexh
sudo composer install
Then, run the commands below to set the correct permissions for CMSimple_XH to function correctly.
sudo chown -R www-data:www-data /var/www/html/cmsimplexh/
sudo chmod -R 755 /var/www/html/cmsimplexh/
Configure Apache2 CMSimple_XH Site
Finally, configure the Apache2 configuration file for CMSimple_XH. This file will control how users access CMSimple_XH content. Run the commands below to create a new configuration file called simplex.conf.
sudo nano /etc/apache2/sites-available/cmsimplexh.conf
Then copy and paste the content below into the file and save it. Replace the highlighted line with your domain name and directory root location.
<VirtualHost *:80>
     ServerAdmin [email protected]
     DocumentRoot /var/www/html/cmsimplexh/
     ServerName example.com
     ServerAlias www.example.com

     <Directory /var/www/html/cmsimplexh/>
          Options FollowSymlinks
          AllowOverride All
          Require all granted
     </Directory>

     ErrorLog ${APACHE_LOG_DIR}/error.log
     CustomLog ${APACHE_LOG_DIR}/access.log combined

</VirtualHost>
Save the file and exit.
After configuring the VirtualHost above, please enable it by running the commands below.
Enable the CMSimple_XH Site and Rewrite Module
After configuring the VirtualHost above, please enable it by running the commands below, then restart the Apache2 server.
sudo a2ensite cmsimplexh.conf
sudo a2enmod rewrite
Restart Apache2
sudo systemctl restart apache2.service
Next, open your browser and browse the server hostname or IP address. You should see the CMSimple_XH page. Login and change your password.
http://example.com

CMSimple_XH is a database-less flat file content management system. Its structure allowed you to have just the amount of functionality needed in a flat file CMS solution, adding extensions (blade packs) for additional functionality while allowing setup on simple servers with no database.
You’ll have to log in to make changes to the system. To do this, go to example.com/?&login at the bottom. (The login link is usually placed in the footer.) Next, the standard password is set to test. Finally, you reach the admin mode, sometimes called “backend.”
http://example.com/?&login
Use the temporary password test.
The administration menu (Admin menu) is CMSimple_XH’s control center. After logging in, a dark bar is displayed at the top of the screen.
At first, you’ll have to change the default password:
Admin menu ⇒ Settings ⇒ Password
Always change the default password first! This is the most important step to prevent unauthorized access to the CMS.
The most important place to do that is:
Admin menu ⇒ Settings ⇒ Configuration
Here, you should activate the contact form. Enter your e-mail address (section mailform) and select your preferred language for the backend. You should also check all the other settings.
Admin menu ⇒ Settings ⇒ Language
Here, only the first three points are essential at the beginning: the Site title and the two meta-specifications for search engines. After that, those and all other settings can be modified anytime.
Enjoy!
You may also like the post below:


Leave a Reply