How to Enable Mouse Pointer Indicator in Windows 11
The Mouse Pointer Indicator in Windows 11 puts a colored circle around your mouse cursor.
This makes it much simpler to see where your mouse is on the screen, which is a big help if you find the standard cursor hard to track.
You can change the color and size of this indicator to best suit your needs. For instance, a bright red circle can make it stand out against almost any background image.
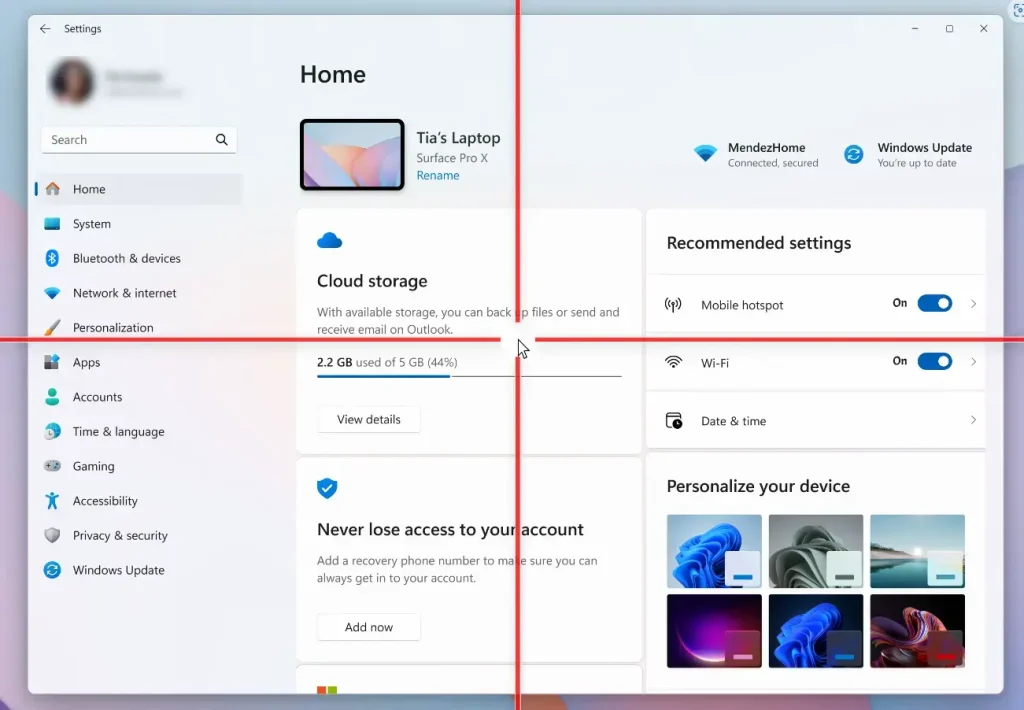
Go to Settings, then Accessibility, and click Mouse pointer and touch. Toggle the Pointer indicator option to On to enable the feature, and choose a color. You can also use the shortcut ⊞ Win+Ctrl+X to toggle it.
What is the Mouse Pointer Indicator?
The mouse pointer indicator in Windows 11 adds a colored circle around your cursor, making it much easier to spot on your screen.
Once turned on, this feature can be quickly toggled on or off by pressing Win + Ctrl + X on your keyboard.
How to Turn On or Off the Mouse Pointer Indicator
- Open Settings. Click the Start button and select Settings, or press
Windows key + Ion your keyboard. - In Settings, click Accessibility on the left menu.
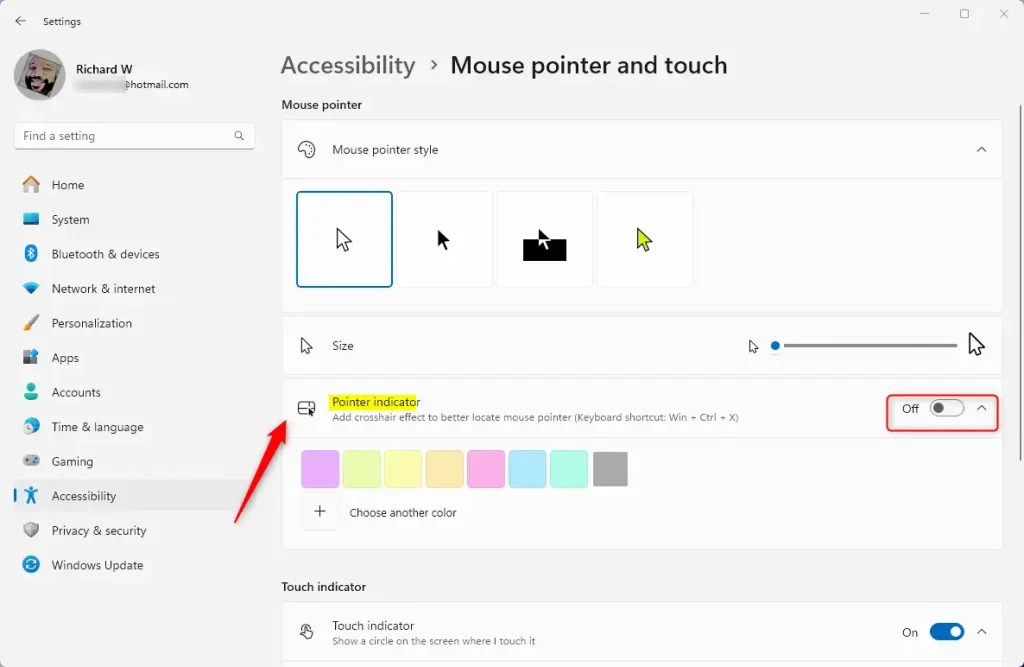
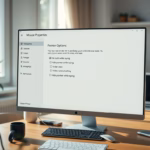
- On the right side, find and click Mouse pointer and touch under the Vision section.
- Click on the Pointer indicator option.
- Toggle the switch to On to enable the pointer indicator. You can also pick a color for the circle around your pointer.
- To turn it off, just toggle the switch to Off.
Turning the mouse pointer indicator on or off in Windows 11 is done using the Settings app. This feature adds a colored circle around your mouse cursor, making it easier to see. Open Settings, navigate to Accessibility, then Mouse pointer and touch, and finally click on Pointer indicator to adjust the setting.
When enabled, it can be turned on or off quickly using the keyboard shortcut Win + Ctrl + X.
Alternative Method: Using the Windows Registry Editor
Another way to change the mouse pointer indicator in Windows 11 is by using the Registry Editor. Before you begin changing registry settings, it is wise to back up your registry file. Mistakes made when editing the registry can cause serious problems for your computer.
- ★ Admin privileges required: Open the Registry Editor. You can do this by pressing
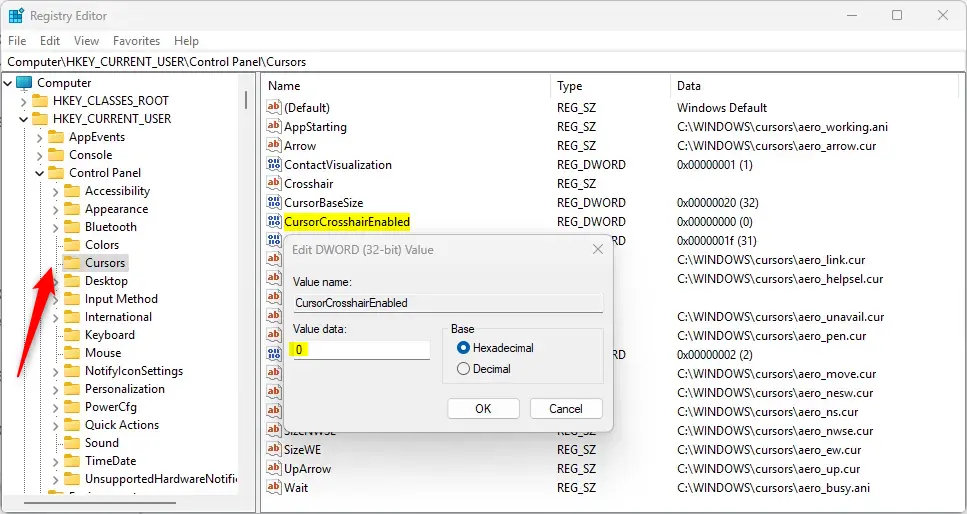
Windows key + R, typingregedit, and pressingEnter. - Navigate to this folder path:
Computer\HKEY_CURRENT_USER\Control Panel\Cursors - In the right panel, find the entry named
CursorCrosshairEnabled. - Double-click on it and change its value:
- Set to
1to turn the Mouse Pointer Indicator ON. - Set to
0to turn it OFF.
- Set to
- Click OK and close the Registry Editor.
- Restart your computer to apply the change.
Summary
- The Mouse Pointer Indicator helps you find your mouse pointer easily by adding a colored circle around it.
- You can turn it on or off quickly using the keyboard shortcut
Win + Ctrl + X. - To enable or disable the feature, use the Windows Settings app or the Registry Editor if you prefer.
- This feature makes Windows 11 more user-friendly, especially for people with vision difficulties.
The mouse pointer indicator in Windows 11 surrounds your cursor with a colored circle. This indicator helps you locate the pointer more easily. The mouse pointer indicator can be turned on or off using the ⊞ Win+Ctrl+X shortcut or through Windows Settings. This setting is useful if you have difficulty seeing the pointer.
Where is the mouse pointer icon in 🪟 Windows 11?
Settings related to the mouse pointer icon in Windows 11 can be found within the ‘Mouse’ section of Settings.
Was this guide helpful?

About the Author
Richard
Tech Writer, IT Professional
Richard, a writer for Geek Rewind, is a tech enthusiast who loves breaking down complex IT topics into simple, easy-to-understand ideas. With years of hands-on experience in system administration and enterprise IT operations, he’s developed a knack for offering practical tips and solutions. Richard aims to make technology more accessible and actionable. He's deeply committed to the Geek Rewind community, always ready to answer questions and engage in discussions.


No comments yet — be the first to share your thoughts!