
This article describes how to enable or disable Storage Sense in Windows 11.
Windows comes with a Storage Sense feature that can automatically free up drive space for you by removing items you don’t need, like temporary files and items in your Recycle Bin.
By default, Storage Sense is disabled and only works on your Windows System drive. It typically has a drive label Local Disk (C:) when enabled.
Even though the feature is disabled by default, Windows may turn on Storage Sense to manage select temporary files and notify you.
Microsoft will automatically turn on Storage Sense in future releases to begin automatically cleaning up and freeing storage space.
Below is how to turn storage sense on or off in Windows 11.
How to enable or disable storage sense in Windows 11
As described above, Storage Sense can automatically free up drive space for you by removing items you don’t need, like temporary files and items in your Recycle Bin.
Here’s how to enable or disable it in Windows.
First, open the Windows Settings app.
You can do that by clicking on the Start menu and selecting Settings. You can also use the keyboard shortcut (Windows key + I) to launch the Settings app.

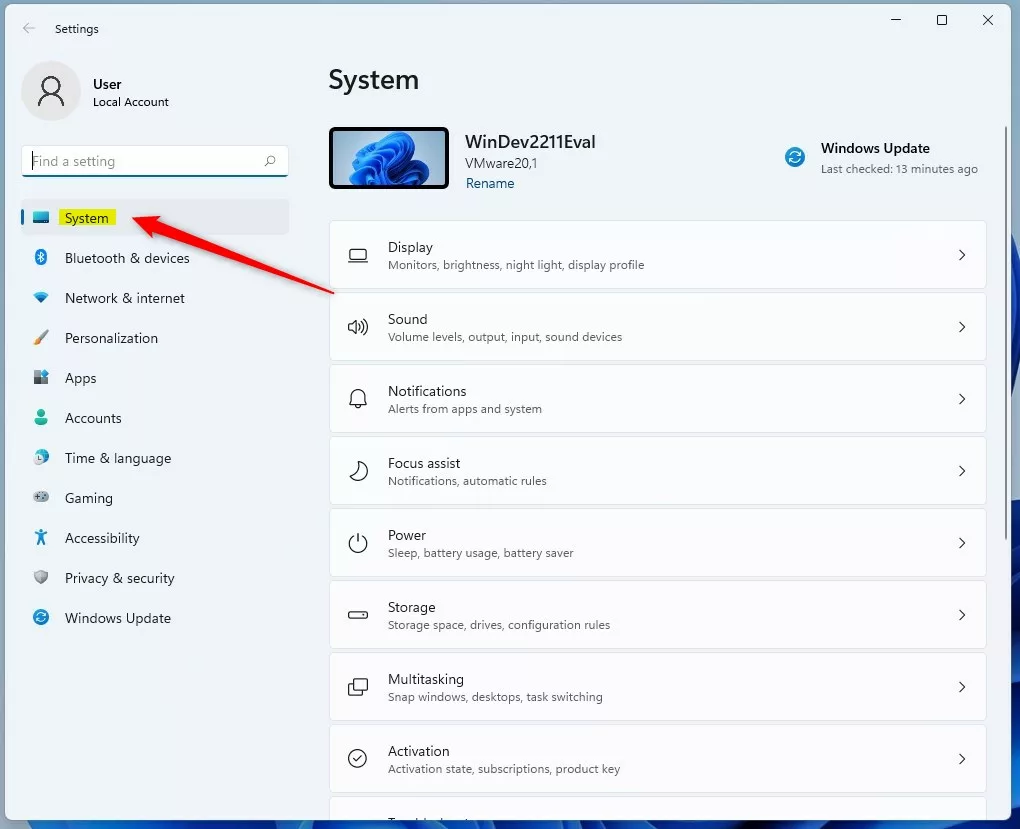
When the Settings app opens, click the System button on the left.
On the right, select the Storage tile to expand.

Select the Storage Sense tile on the System -> Storage setting pane to expand.
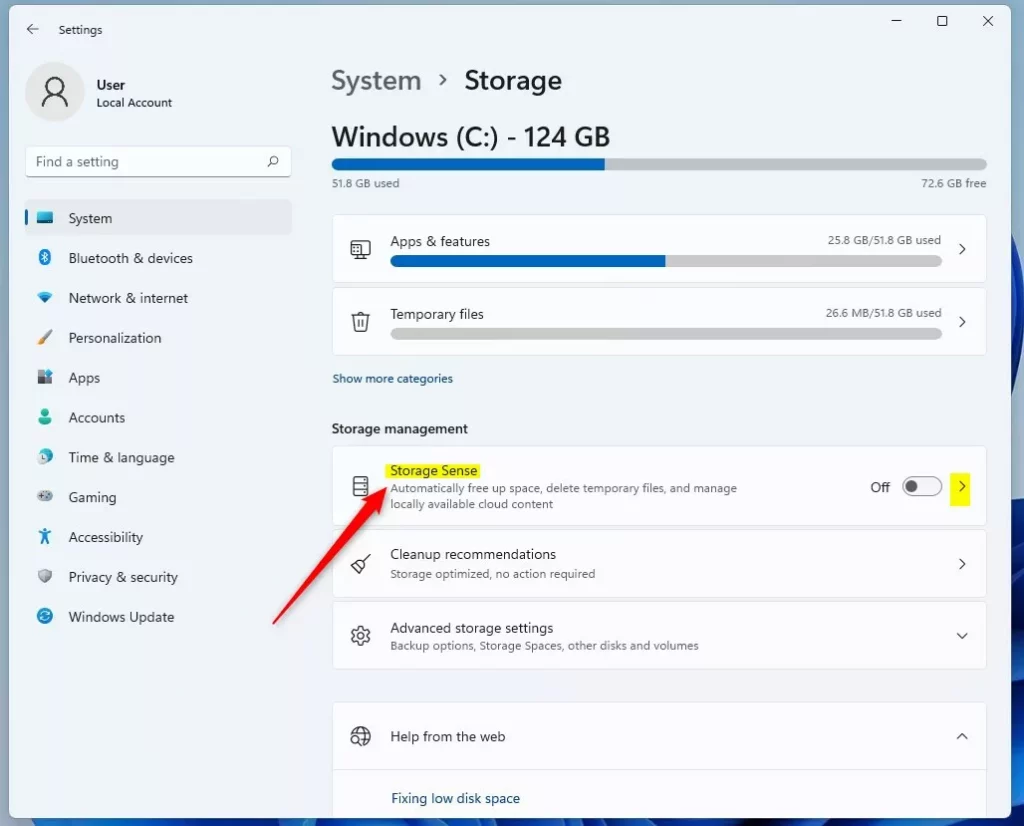
On the System -> Storage -> Storage Sense settings pane, under Automatic User content cleanup, toggle the button to the On position to enable Storage Sense.
To disable it, toggle the button back to the Off position.

If you turn on Storage Sense, the default settings will run when your device is low on disk space. Note that the Downloads folder and cloud content will not be managed unless you specify.
How to turn on or off storage sense via Windows Registry
Another way to enable or disable Storage Sense is via Windows Registry. Although it’s possible to do it using the registry, you should always be cautious editing Windows Registry.
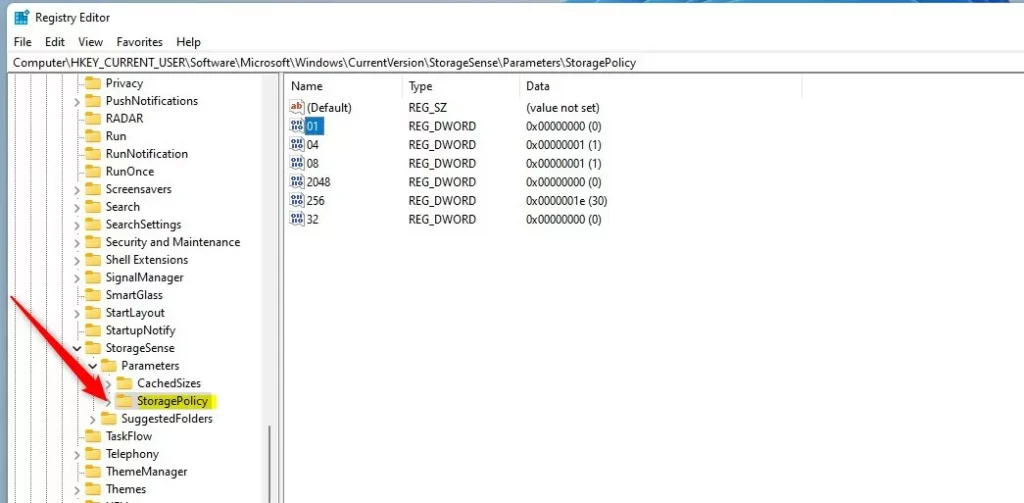
To do that, first, open the Windows Registry, and navigate to the folder key path as listed below.
HKEY_CURRENT_USER\Software\Microsoft\Windows\CurrentVersion\StorageSense\Parameters\StoragePolicy
If you don’t see the StoragePolicy folder key, right-click on the Parameters key, then create the subkey (StoragePolicy) folders.
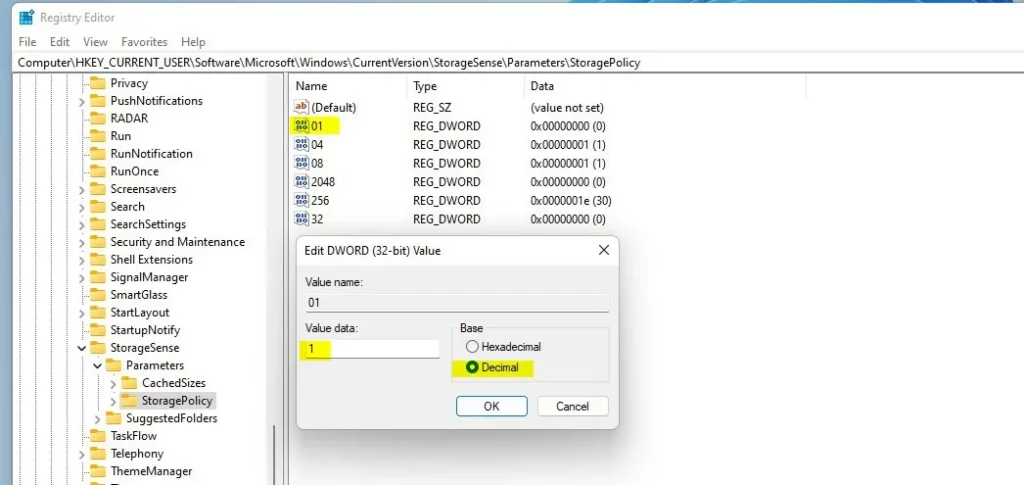
On the right pane of the StoragePolicy folder key, right-click and select New -> DWORD (32-bit) Value. Next, type a new key named 01.
Double-click the new value name (01) and enter the Value data as 1 to turn on Storage Sense in Windows 11.
A Value data of 0 will turn off Storage Sense in Windows 11.
That should do it!
Reference:
Conclusion:
- Enabling or disabling Storage Sense in Windows 11 is a straightforward process that can help manage drive space efficiently.
- The feature automatically removes unnecessary files, freeing disk space without manual intervention.
- Users can enable or disable Storage Sense via the Windows Settings app or the Windows Registry, choosing the method that best fits their preferences and comfort level with system modifications.
- Adhering to best practices, exercising caution when editing the Windows Registry, and considering potential impacts on system stability are important.
- Following the steps outlined in this article, users can optimize their storage management experience on Windows 11 and ensure a more streamlined computing environment.

Leave a Reply to How to enable or disable “Allow Storage Sense temporary files cleanup” in Windows 11 – Geek Rewind Cancel reply