

This post describes steps to turn On or Off “Set time zone automatically” in Windows 11.
The “Set time zone automatically” feature in Windows allows the operating system to set your device’s time zone automatically based on location. When this feature is turned on, Windows will use your device’s location data to determine the correct time zone and adjust the system date and time accordingly.
This feature also automatically updates daylight saving time changes. However, if you turn off this feature, you must manually set your device’s time zone and adjust the clock for daylight saving time changes if necessary.”
Your schedules and alarms also depend on your computer’s time zone settings; therefore, choosing the correct time zone is very important.
How to enable or disable set time zone automatically in Windows 11
As mentioned above, you can automatically turn On or Off Set time zones in Windows. If you don’t allow Windows to automatically set the system time zone, you must put it manually.
Below is how to enable or disable it.
Windows 11 has a centralized location for the majority of its settings. As a result, everything can be done, from system configurations to creating new users and updating Windows from its System Settings pane.
To get to System Settings, you can use the Windows key + I shortcut or click on Start ==> Settings, as shown in the image below:

Alternatively, you can use the search box on the taskbar and search for Settings. Then select to open it.
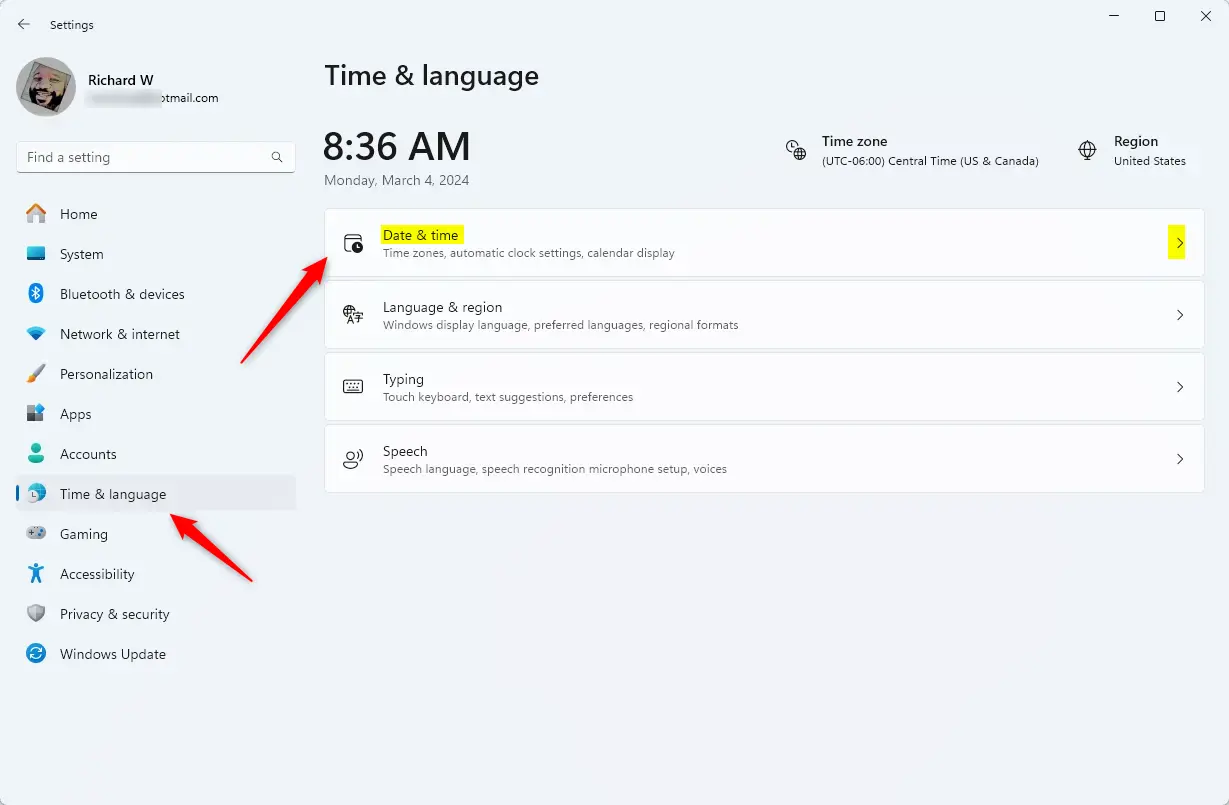
On the Windows Settings app, click the Time &Timeguage on the left, then select the Date & time tile on the right pane to expand it.
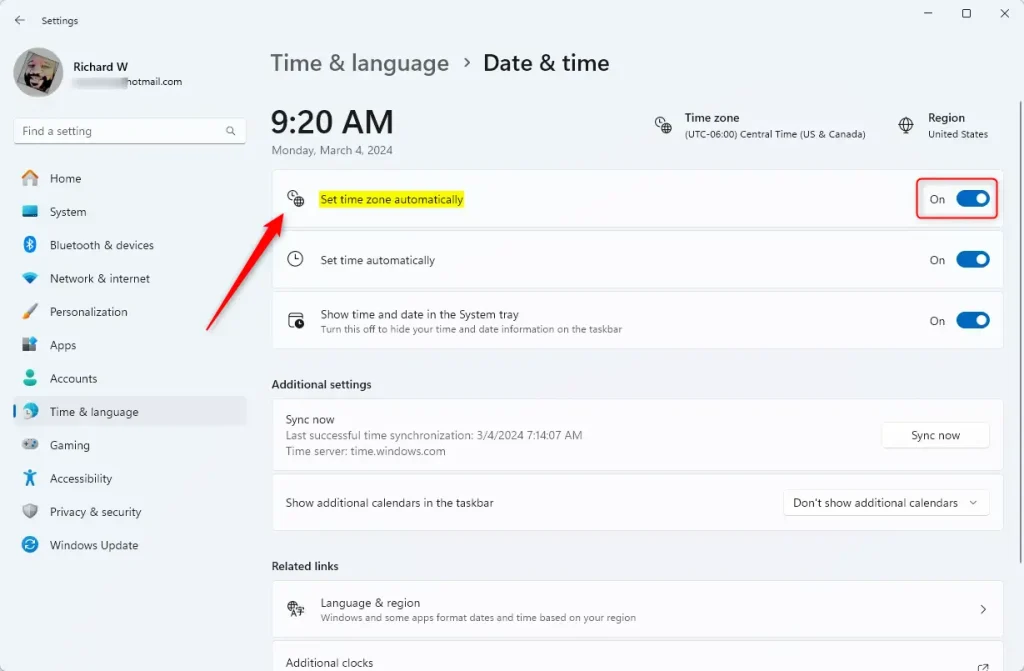
On the System > Time & language > Date & time settings pane, select the “Set time zone automatically” tile. Then, toggle the switch button to the On position to allow Windows to set the Time automatically.
To turn it off, toggle the switch button to the Off position.
That should do it! You can now close the Windows settings app.
Turn on or off Set Time zone automatically using the Windows Registry
Another way to allow Windows to turn the “Set the Time zone automatically” is to use the Windows Registry editor.
First, open the Windows Registry and navigate to the folder key path below.
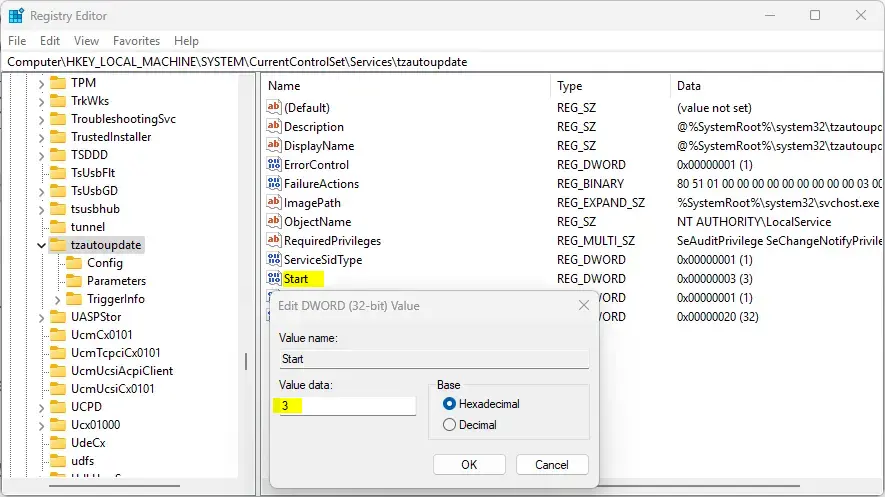
ComputerHKEY_LOCAL_MACHINESYSTEMCurrentControlSetServicestzautoupdate
Next, double-click the Type (REG_DWORD) name on the Parameters key’s right pane to open it.
Then, use the values below to adjust the time settings in Windows
- Enter
3to allow Windows to set the Time zone automatically. - Enter
4to set the time zone manually.
If you do not see the “Start” item, right-click a blank area and create a new REG_DWORD registry item.
Then, enter the name “Start” and the value you want.
Save your changes and restart your computer.
Conclusion:
- Allowing Windows to set the time zone automatically ensures accurate time and date settings on your device, including updates for daylight saving time changes.
- Manually setting the time zone may be necessary if you prefer more control over these settings or if the automatic feature is not functioning correctly.
- Remember that your schedules and alarms rely on the accuracy of your computer’s time zone configuration, highlighting the importance of choosing the correct setting for your location.
- In addition to using the Windows Settings app, the Windows Registry provides an alternative method to enable or disable the “Set time zone automatically” feature, offering flexibility in managing this aspect of your system.


Leave a Reply Cancel reply