How to Turn On or Off “Ask to Save Edited Screenshots” in Windows 11
You turn on or off the “Ask to save edited screenshots” setting in Windows 11’s Snipping Tool to control whether the app prompts you before saving changes you make to a screenshot.
The Snipping Tool is Windows 11’s built-in utility for capturing your screen, offering options for full screen, window, or custom area captures. This tool also provides basic editing capabilities.
Previously, edited screenshots in the Snipping Tool saved automatically to your Videos folder, but a recent update introduced a toggle to manage this behavior.
This setting is crucial if you frequently edit screenshots and want to avoid accidental saves or prefer to confirm each edited version before it’s permanently stored.
Open Snipping Tool, click the three dots, select Settings, and toggle “Ask to save edited screenshots” on or off. This controls whether Windows prompts you to save edited screenshots or saves them automatically.
How to Turn On “Ask to Save Edited Screenshots”
Follow these easy steps:
- Open the Snipping Tool app on your Windows 11 PC. You can find it by typing Snipping Tool in the Start menu search.
- Click the three dots (See more) button in the top right corner of the app window, then choose Settings from the dropdown menu.
- In the Settings panel, find the “Ask to save edited screenshots” option.
Snipping Tool settings on menu - Click the toggle switch next to that option to turn it ON or OFF as you like.
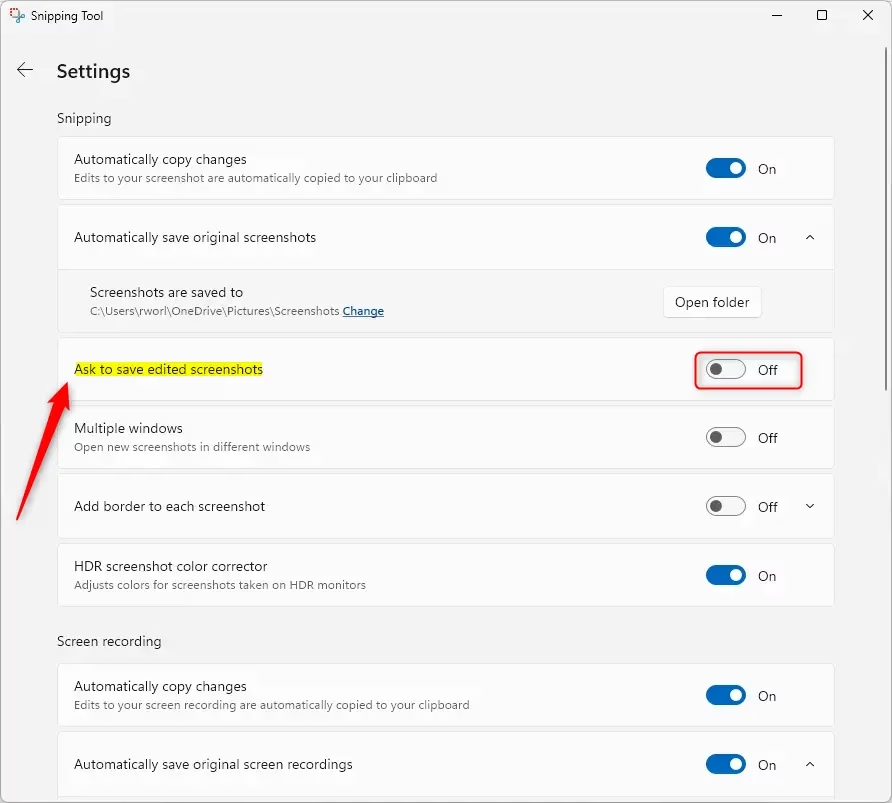
Toggle for Ask to save edited screenshots in Snipping Tool - Close the Settings window when you’re done.
That’s it! Now, when you edit a screenshot, Windows will ask if you want to save it (if turned on), or save it automatically without asking (if turned off).
Summary
The Snipping Tool in Windows 11 lets you customize how screenshots are saved.
You can easily turn on or off the “Ask to save edited screenshots” feature in the app’s settings.
This helps you control whether Windows asks you to save edits or saves automatically.
Knowing these options can make taking and saving screenshots faster and easier for you.
For more tips on using the Snipping Tool, check out these helpful guides:
How to Blur or Hide Text in Screenshots
Was this guide helpful?

About the Author
Richard
Tech Writer, IT Professional
Richard, a writer for Geek Rewind, is a tech enthusiast who loves breaking down complex IT topics into simple, easy-to-understand ideas. With years of hands-on experience in system administration and enterprise IT operations, he’s developed a knack for offering practical tips and solutions. Richard aims to make technology more accessible and actionable. He's deeply committed to the Geek Rewind community, always ready to answer questions and engage in discussions.

No comments yet — be the first to share your thoughts!