
This article explains how to mount a folder as a drive in Windows 11.
Mounting a folder as a drive can be particularly useful if you access certain files regularly. It allows you to access your data quickly from a dedicated drive letter. Windows 11 includes a built-in utility called ‘subst‘ to map any of your folders as a drive.
With just a few simple steps, you can create a virtual drive in Windows 11 using the ‘subst‘ command and easily access your files. It can also help you organize your files and make them easily accessible.
Below, we’ll walk you through the process step-by-step.
Mount a folder as a drive with Windows Terminal
To mount a folder as a drive, open the Windows Terminal app. Then select Windows PowerShell or the Command Prompt.
On the command line console, type the command below to list any folders mounted as drives.
subst
Any folder already mounted will be listed when you run the command above.
Use the Subst Command
In the Terminal console window, type the subst command, the letter you want to assign to the new drive, and the folder path you want to mount.
subst X: C:YourFolderPath
Replace X with your preferred drive letter that is not currently in use. Also, replace C:YourFolderPath with the full path to the desired folder.
Press Enter to execute the command.
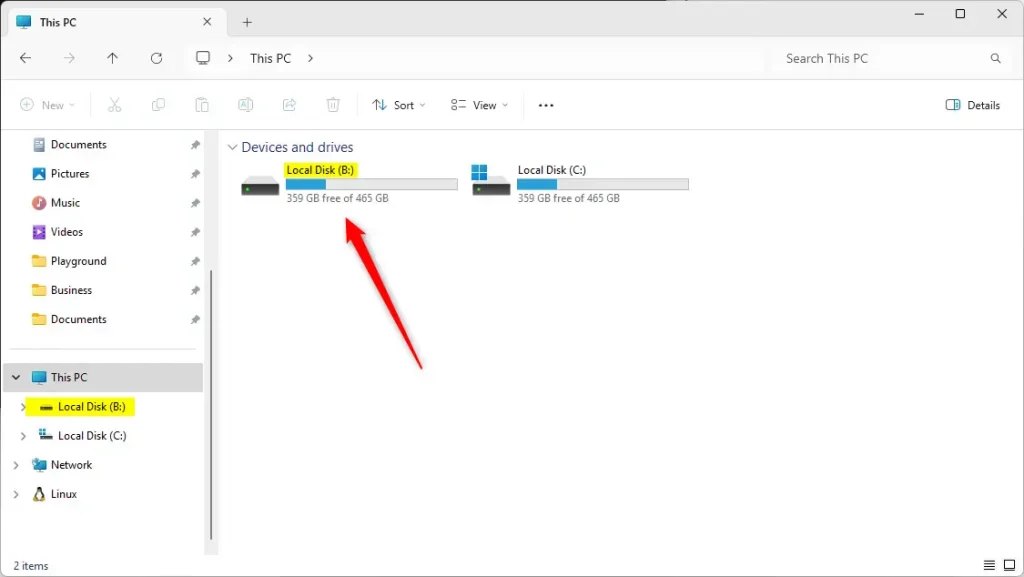
If you have executed the command correctly, Windows will now use the specified letter for the folder, accessible via ‘This PC‘ or ‘My Computer.’
For example, you can mount the Business folder within your Documents folder with a drive letter B by running the command below.
subst B: "C:UsersRichardDocumentsBusiness"
You should see a new drive mounted to the folder in File Explorer.
Using the command, you’ve successfully mounted a folder as a drive in Windows 11. If you ever want to remove this virtual drive, you can do so using the Command Prompt with the /D switch:
subst B: /D
Replace B with the letter of the drive you want to remove.
That should do it!
Conclusion:
- Mounting a folder as a drive in Windows 11 can provide quick access to frequently used files, improving workflow efficiency.
- The ‘subst‘ utility in Windows 11 allows for easy mapping of folders as drives, enhancing file organization and accessibility.
- Following the step-by-step guide, you can seamlessly create and remove virtual drives, tailoring the system to your needs.
- We welcome participation via the comments section below if you encounter difficulties or wish to contribute insights.


Leave a Reply