How to Enable or Disable Lock Screen Background in Windows 11
The Windows 11 lock screen background lets you change the picture you see before you sign in. You can turn this feature on or off to show a custom image or just a solid color.
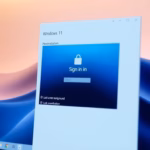
This background appears when your computer is locked or just starting up, before you enter your password or PIN. By default, Windows 11 displays a picture, but some users prefer a simpler, cleaner look.
You can disable the lock screen background for a tidier sign-in screen. This setting is controlled by the ‘Get fun facts, tips, tricks, and more on your lock screen’ option, found in Settings under Personalization and then Lock screen.
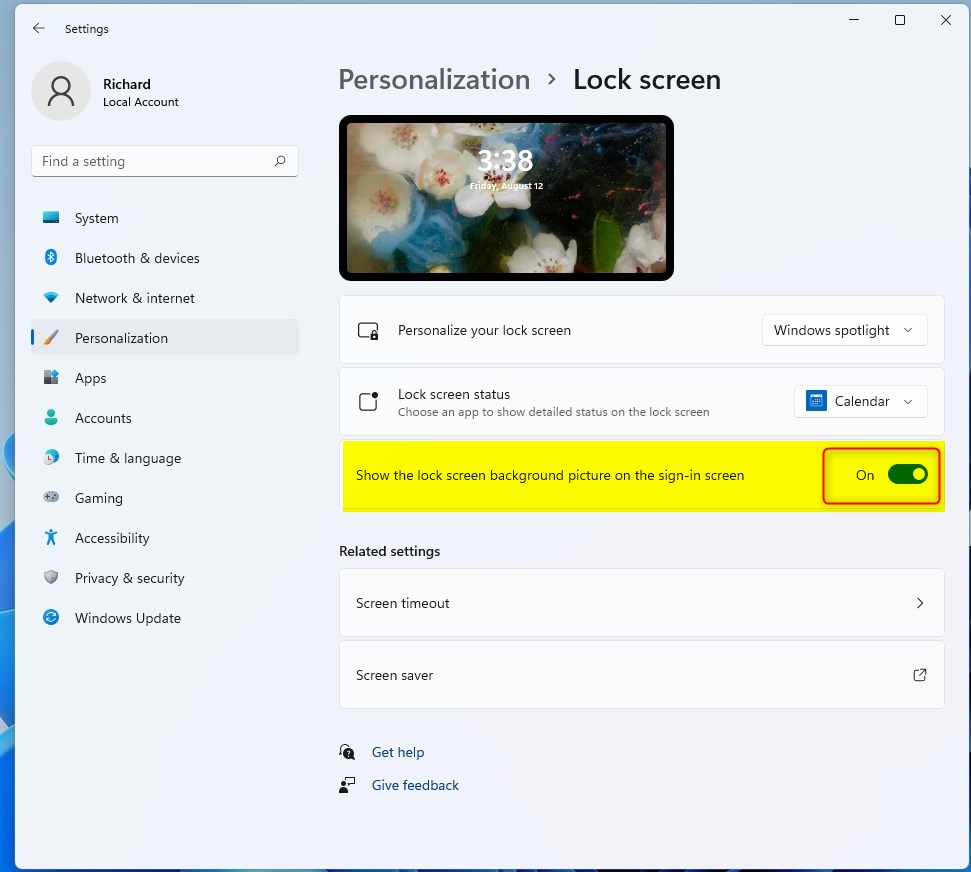
Go to Settings > Personalization > Lock screen and toggle off “Show the lock screen background picture on the sign-in screen” to disable it. To enable it, simply toggle the switch back on.
Method 1Using Personalization Settings
The Windows 11 lock screen background picture can be disabled at the sign-in screen using the Personalization settings. Open Settings, navigate to Personalization, select Lock screen, and then turn off the option showing the lock screen background on the sign-in screen.
- Open the Settings app by pressing Windows key + I.
- Click on Personalization in the left menu.
- Select Lock screen.

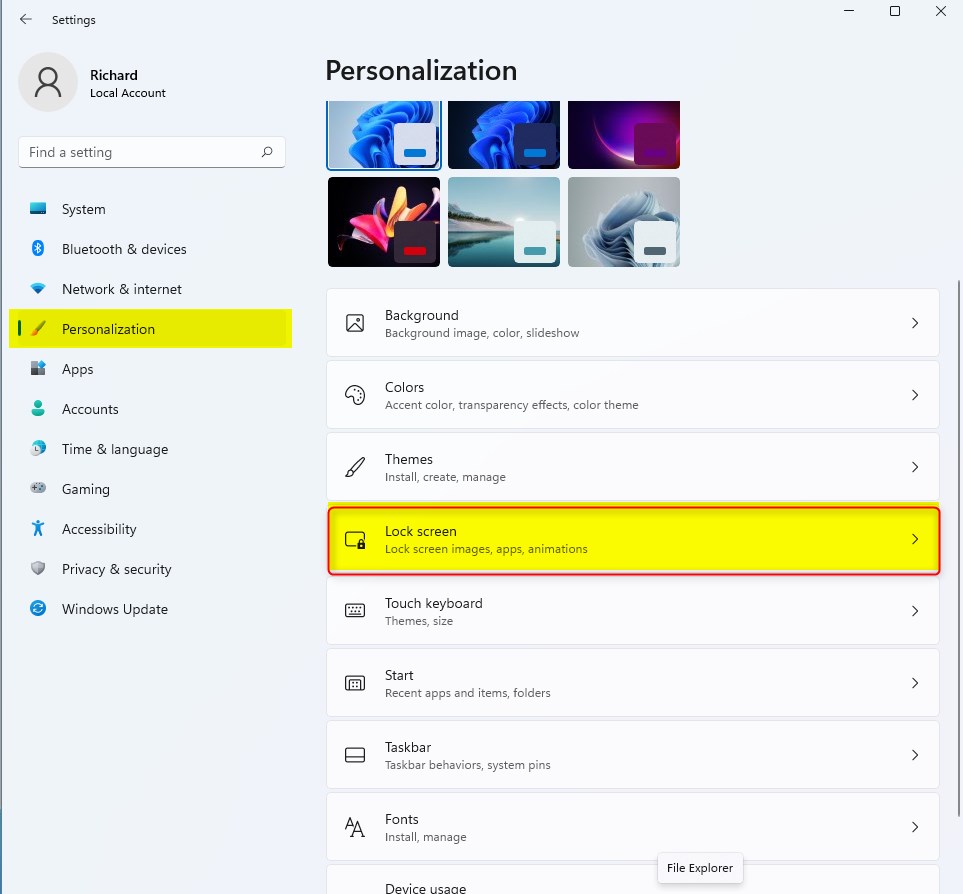
- Find the option: Show the lock screen background picture on the sign-in screen.
- Toggle the switch to Off.
Method 2Using the Registry Editor (Advanced)
If you’re comfortable with advanced settings, the lock screen background can be disabled using the Registry Editor in Windows 11. This method involves navigating to a specific key and creating a new value. Be cautious, as incorrect changes to the registry can cause system issues.
- Press Windows key + R, type regedit, and press Enter.
- Navigate to: 🗝️HKEY_LOCAL_MACHINE\SOFTWARE\Policies\Microsoft\Windows\System
- If the System key does not exist, right-click Windows, select New > Key, and name it System.
- Right-click in the right pane, select New > DWORD (32-bit) Value, and name it DisableLogonBackgroundImage.
- Double-click it and set the Value data to 1 to disable the image.
Method 3Using Group Policy Editor (Pro/Enterprise)
For Windows 11 Pro and Enterprise editions, the lock screen background can be disabled using the Group Policy Editor. This tool lets you control various system settings, including the appearance of your lock screen. Navigate to a specific policy and enable it to remove the background.
- Press Windows key + R, type gpedit.msc, and press Enter.
- Go to Computer Configuration > Administrative Templates > Control Panel > Personalization.
- Find Turn off lock screen background.
- Double-click it and select Enabled to remove the background.
Pro Tip: Windows Spotlight vs. Picture Mode
Windows Spotlight automatically downloads new images from the internet. If you prefer a fixed image, select Picture in the Lock screen settings. Disabling the background offers a plain screen choice.
Summary
Managing your Windows 11 lock screen background is possible using standard settings or advanced tools like the Registry Editor and Group Policy Editor.
Does disabling the lock screen background improve system performance?
Turning off the background image can slightly reduce the resources used when you sign in. While the performance boost is minor on modern computers, it can help older systems feel more responsive by not needing to load high-resolution images before the desktop is fully ready.
Why is the ‘Personalize’ option greyed out on my lock screen settings?
If the personalization options are greyed out, it’s usually because your version of Windows isn’t activated, or a Group Policy setting is overriding your local configuration. Check your activation status in Settings or ask your system administrator if you’re on a managed work or school computer.
Was this guide helpful?

About the Author
Richard
Tech Writer, IT Professional
Richard, a writer for Geek Rewind, is a tech enthusiast who loves breaking down complex IT topics into simple, easy-to-understand ideas. With years of hands-on experience in system administration and enterprise IT operations, he’s developed a knack for offering practical tips and solutions. Richard aims to make technology more accessible and actionable. He's deeply committed to the Geek Rewind community, always ready to answer questions and engage in discussions.

[…] surfaces slightly transparent, including context menus, File Explorer, Quick Settings, Settings, sign-in screen, Start menu, and […]