
This article explains how to set up Moodle on Ubuntu Linux with Nginx and Cloudflare support.
Moodle, a free and open-source course management system (CMS), works out of the box after installation. However, to give your students and users the best experience, you may consider using Cloudflare CDN, SSL, and protection.
Setting up Moodle with Nginx and Cloudflare on Ubuntu Linux provides several benefits. Moodle is a free and open-source course management system that requires a server to host.
Using Nginx as the web server, you can handle more concurrent connections and requests, leading to faster page loads and better user experience. Cloudflare CDN and SSL services can improve performance, security, and protection against DDoS attacks.
Cloudflare also offers free and paid features that help optimize and secure websites, making it a great option for hosting Moodle and other CMSs.
When you’re ready to set up your server and Cloudflare to use Origin Certificate, follow the steps below:
How to sign up for Cloudflare
The first step in this tutorial is to sign up for a Cloudflare account. This post assumes that you already have registered a domain name. If you don’t, then go and get one before continuing further.
If you already have a Cloudflare account, then skip the registration below.
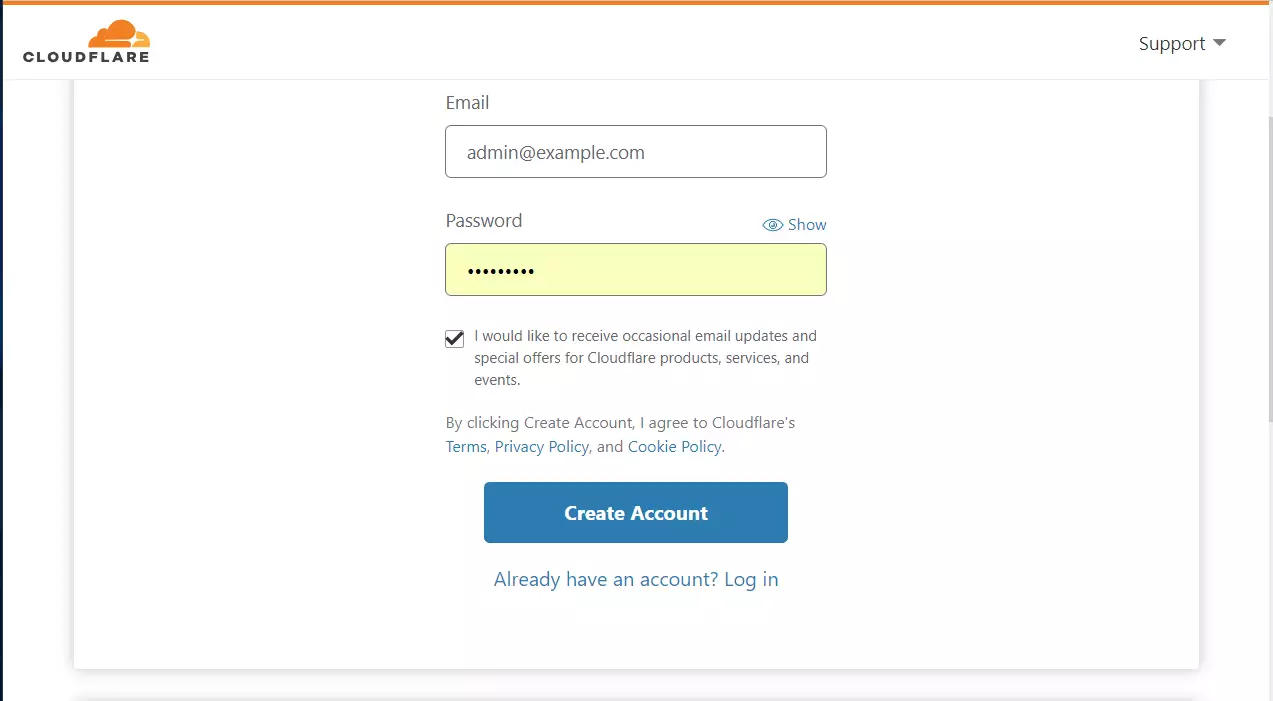
https://dash.cloudflare.com/sign-up
Type in your email address and click Create Account.
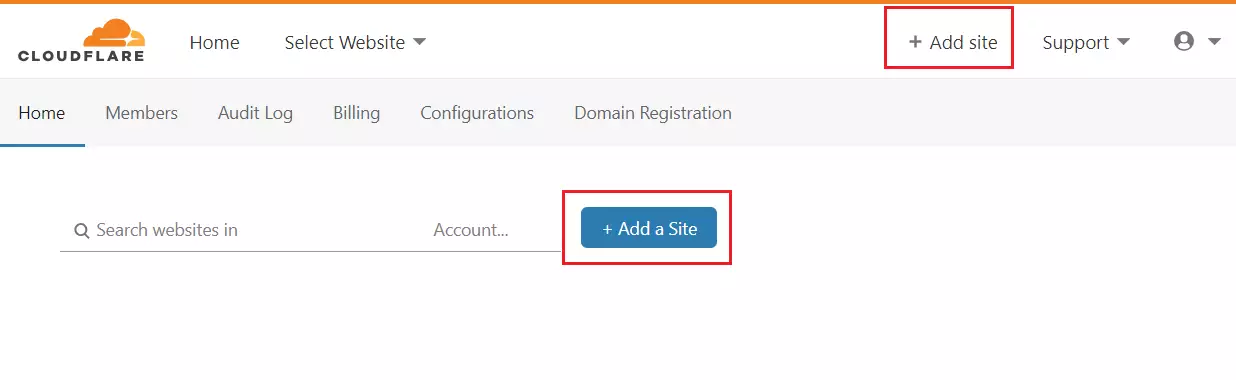
Once the account is created and you’ve verified your email address and logged back into the Cloudflare account, click the button or link (Add a Site) to add a site to your account.
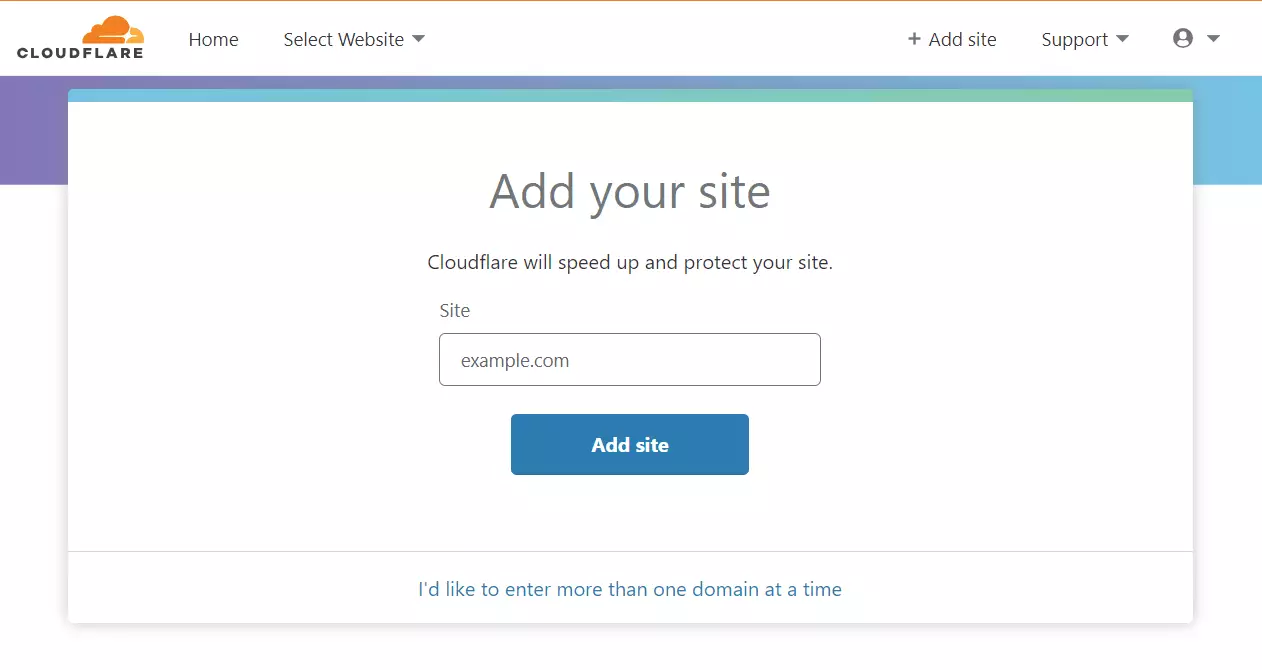
Next, type in the domain name you have registered. Again, Cloudflare service will help speed up and protect the site you add.
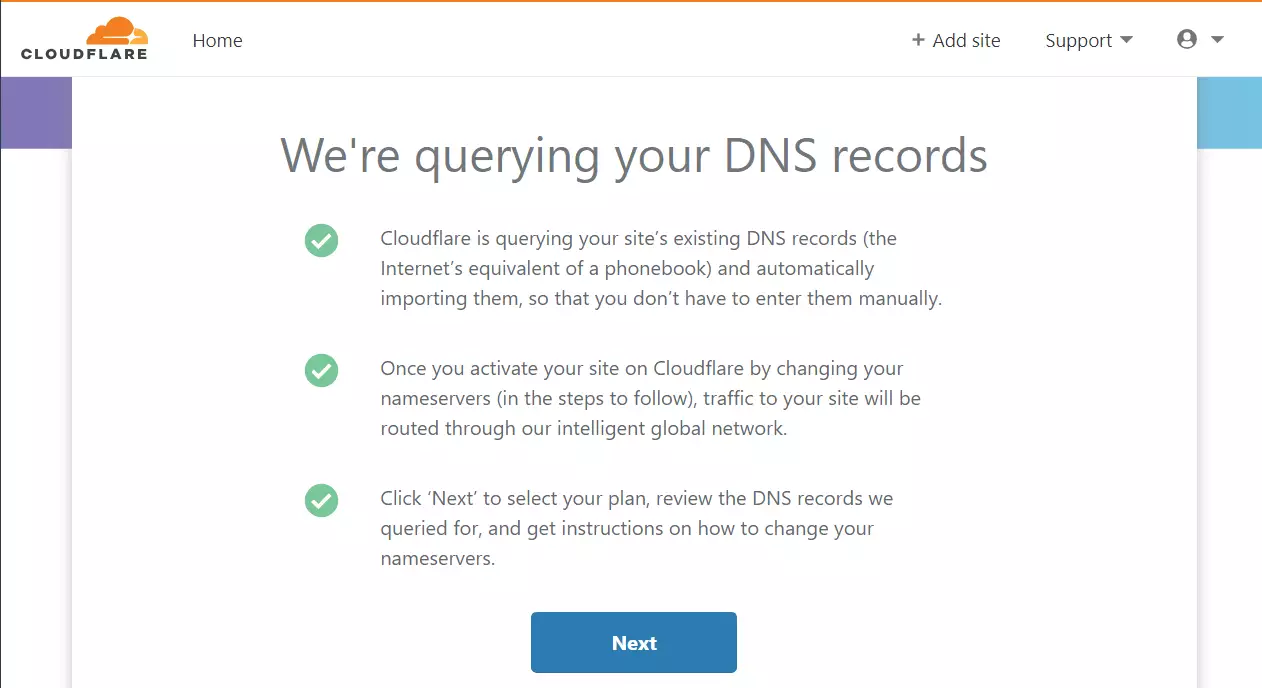
Next, Cloudflare will query your domain DNS provider for the records in the DNS table. Cloudflare should find the domain and import the records into its DNS systems if it is online.
After that, select the plan you want to use for the site. For this tutorial, we will be using the Cloudflare free plan.

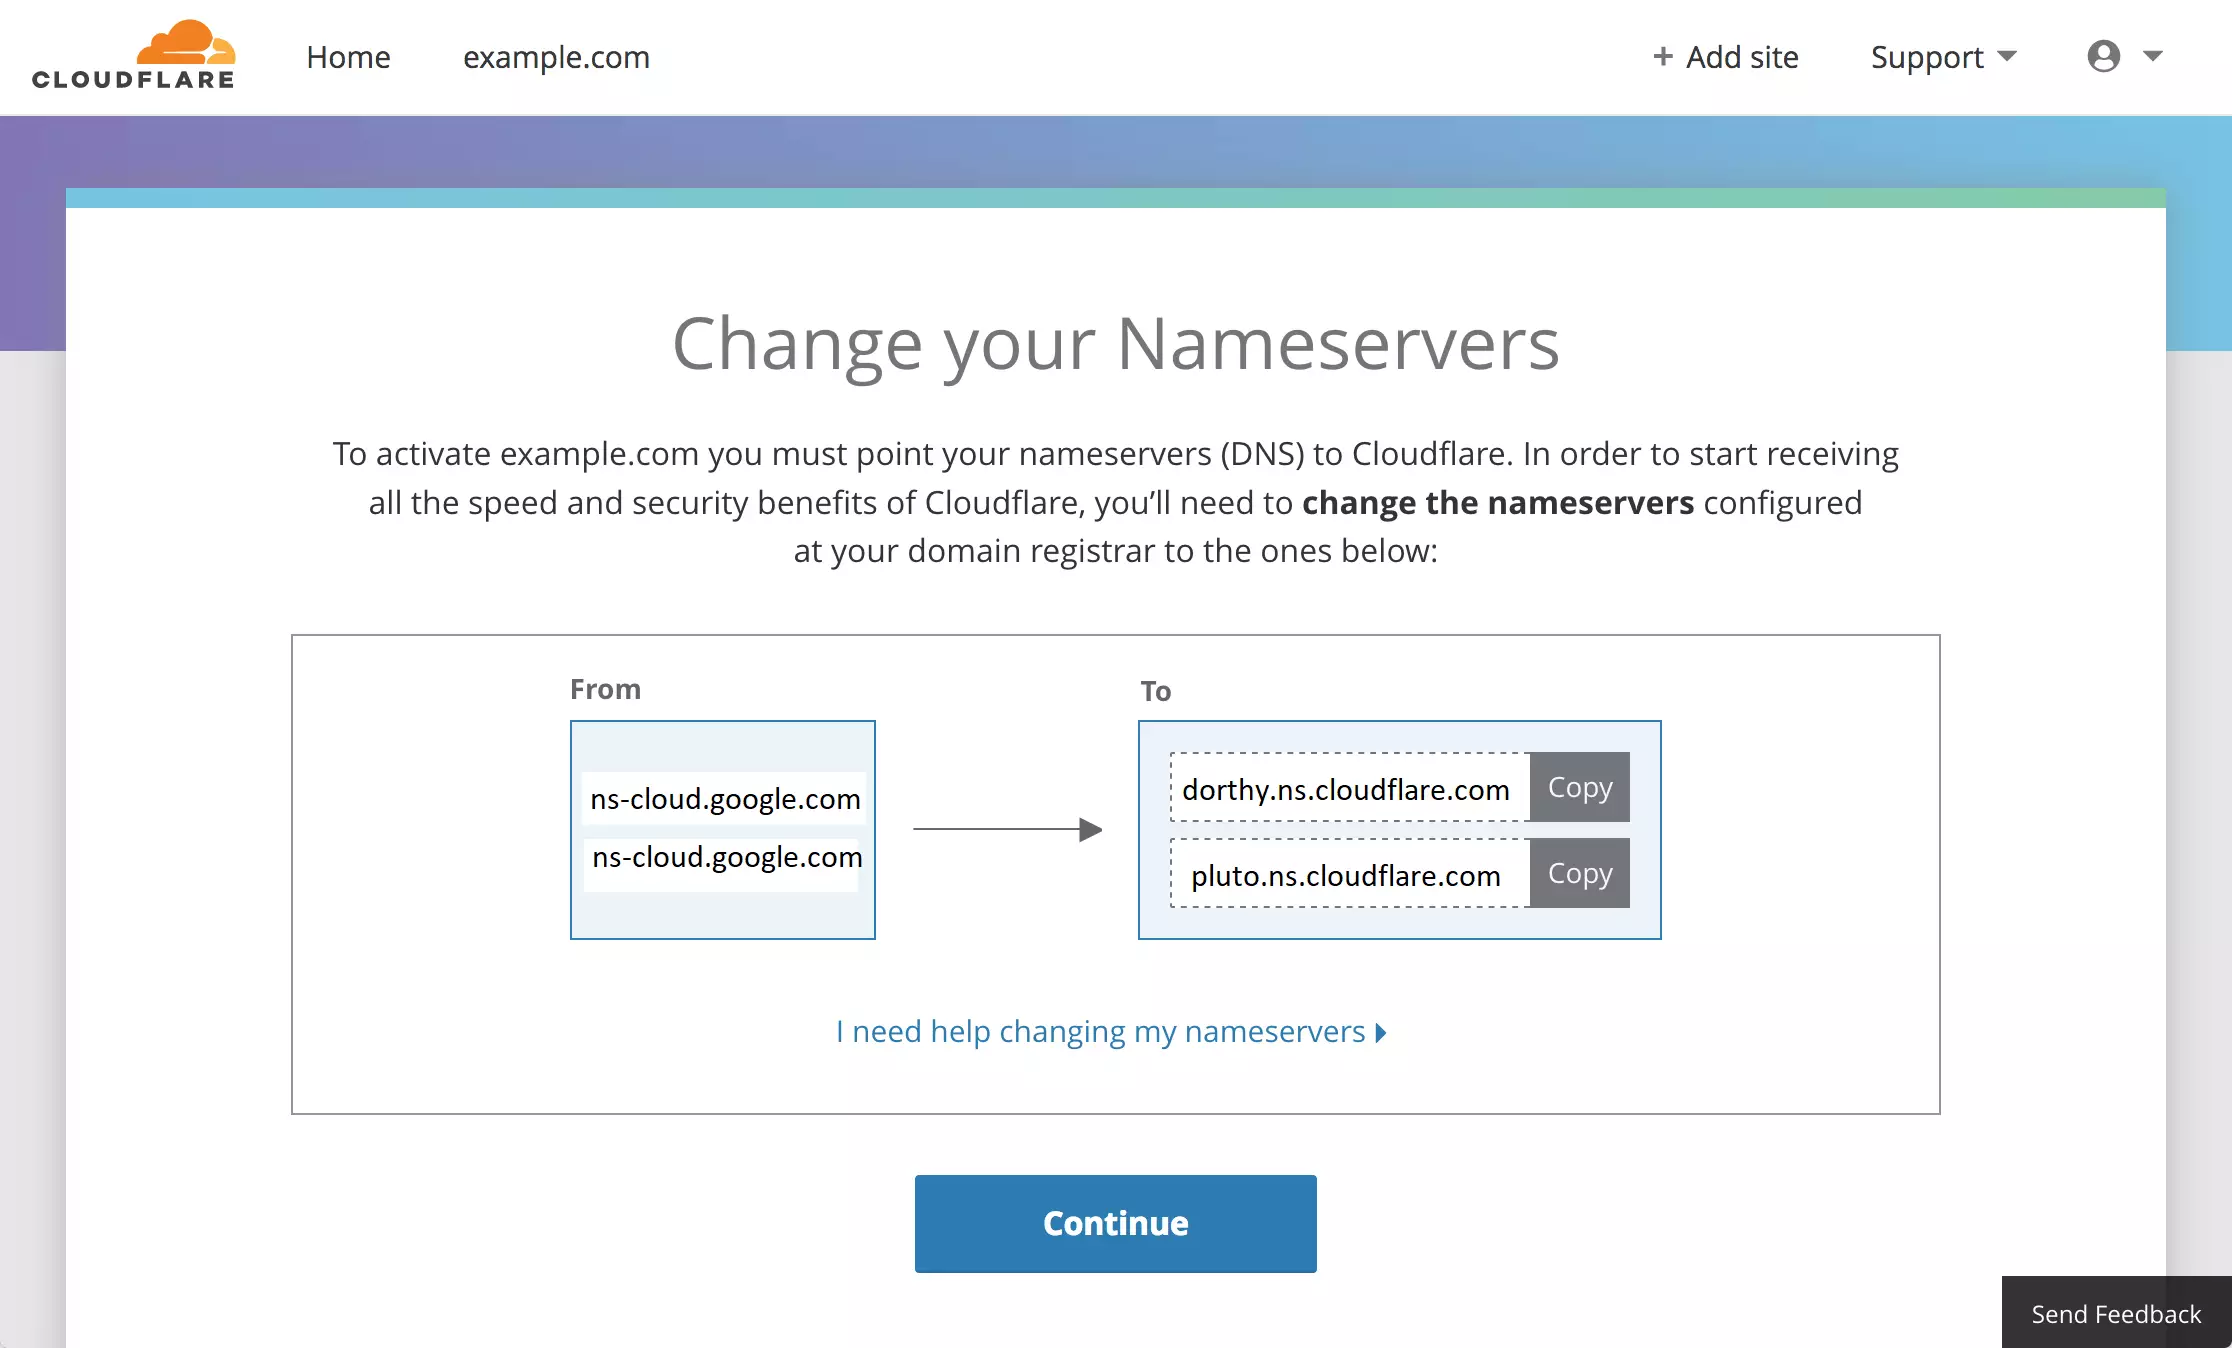
You should see two nameservers provided to you by Cloudflare when you’re done. You need to log on to your domain provider’s portal. Then, where you have your domain, replace the nameservers with the ones Cloudflare gives you.
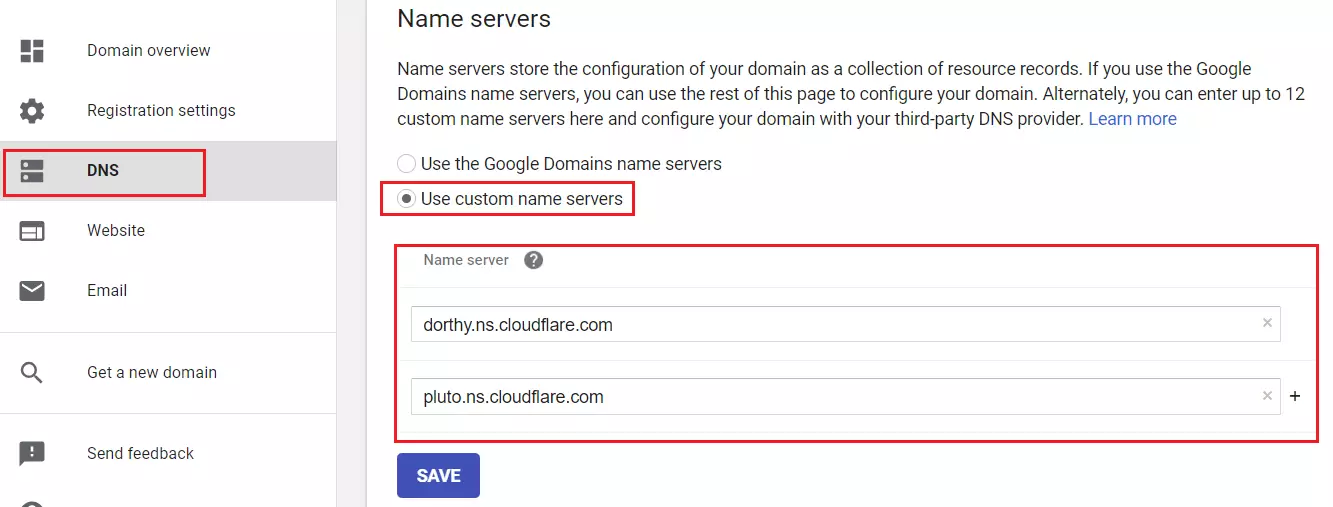
For example, our example.com site is hosted with Google Domains. Log on to your Google Domains account and select use custom nameservers.
You’ll have the option to enter the nameservers provided by Cloudflare. Save your changes when you’re done.
Once you’ve saved your custom nameserver changes, return to your Cloudflare account and wait for Cloudflare to see the changes. Depending on your domain provider, it takes up to an hour for the DNS changes to be visible on Cloudflare.
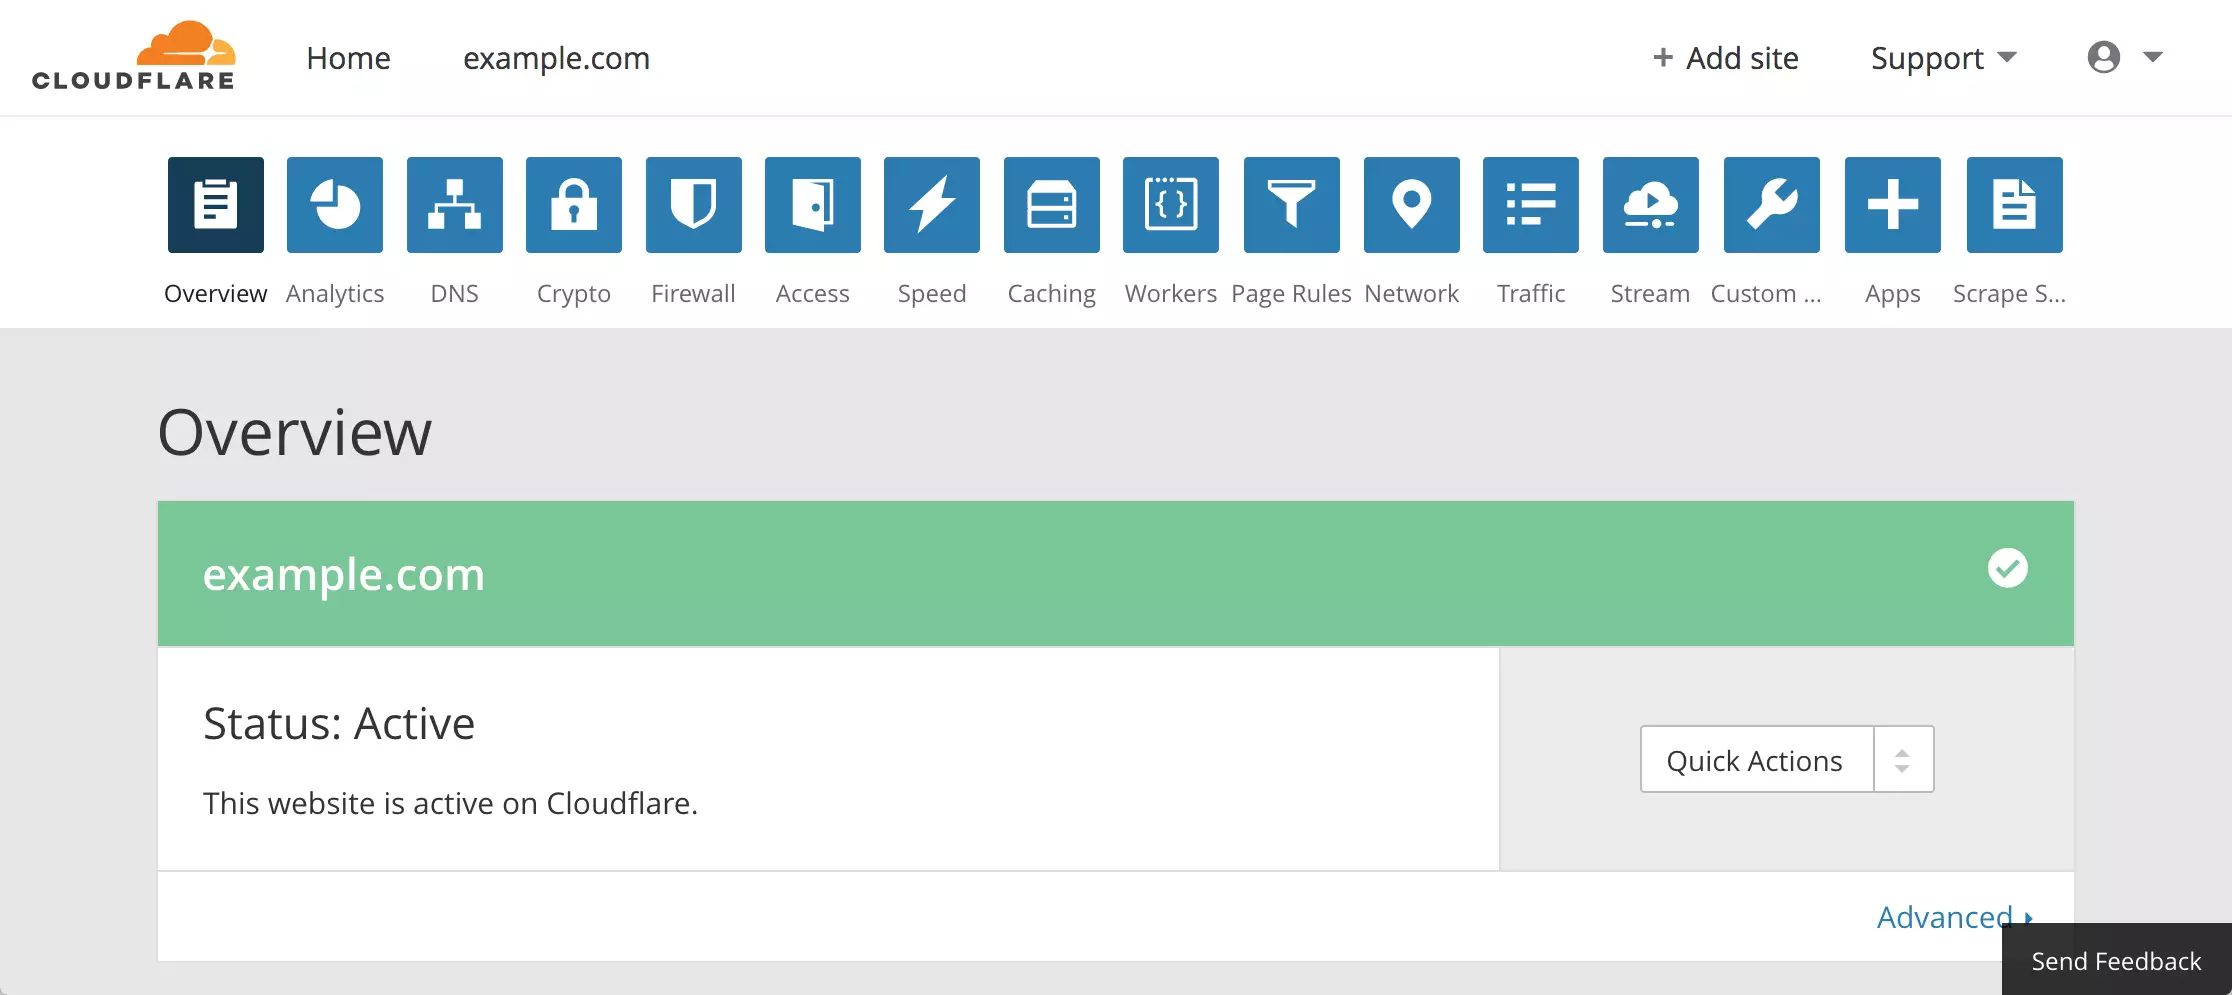
Once all is ready, you’ll see your site status as Active.
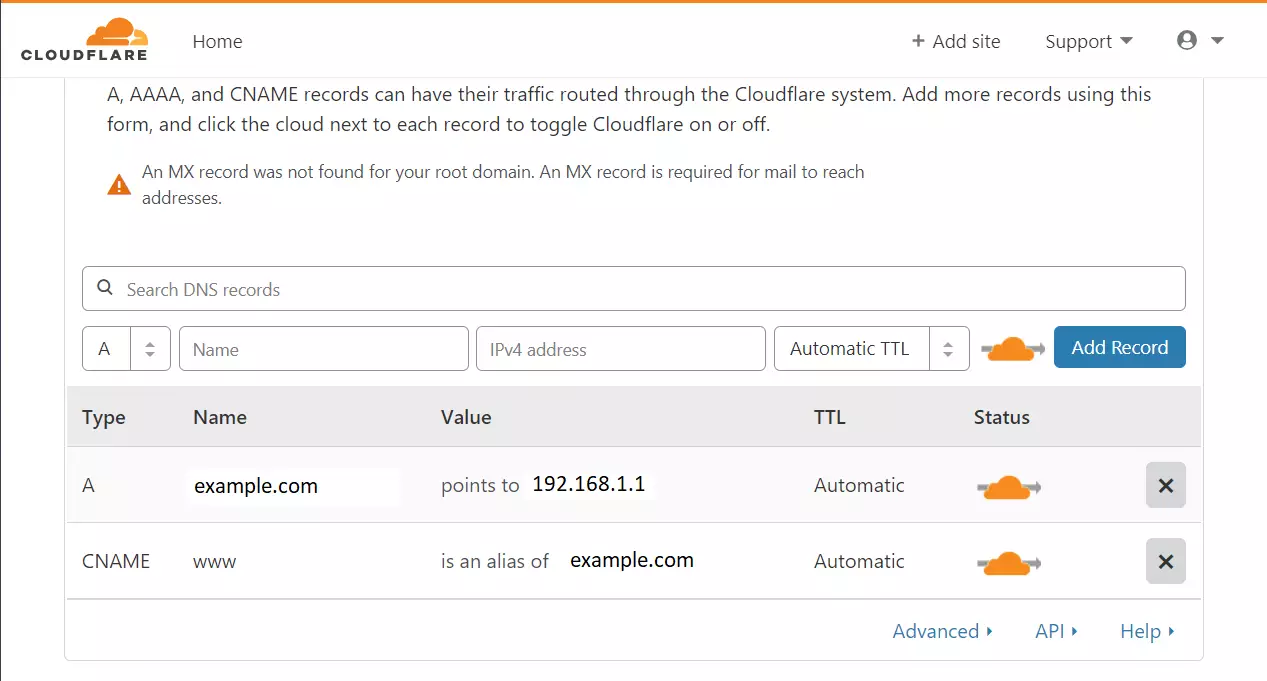
You should also see your Cloudflare account with DNS entries when everything is done, as shown below. Your DNS records might have more entries than the two below. However, these two entries are the most important for running your website.
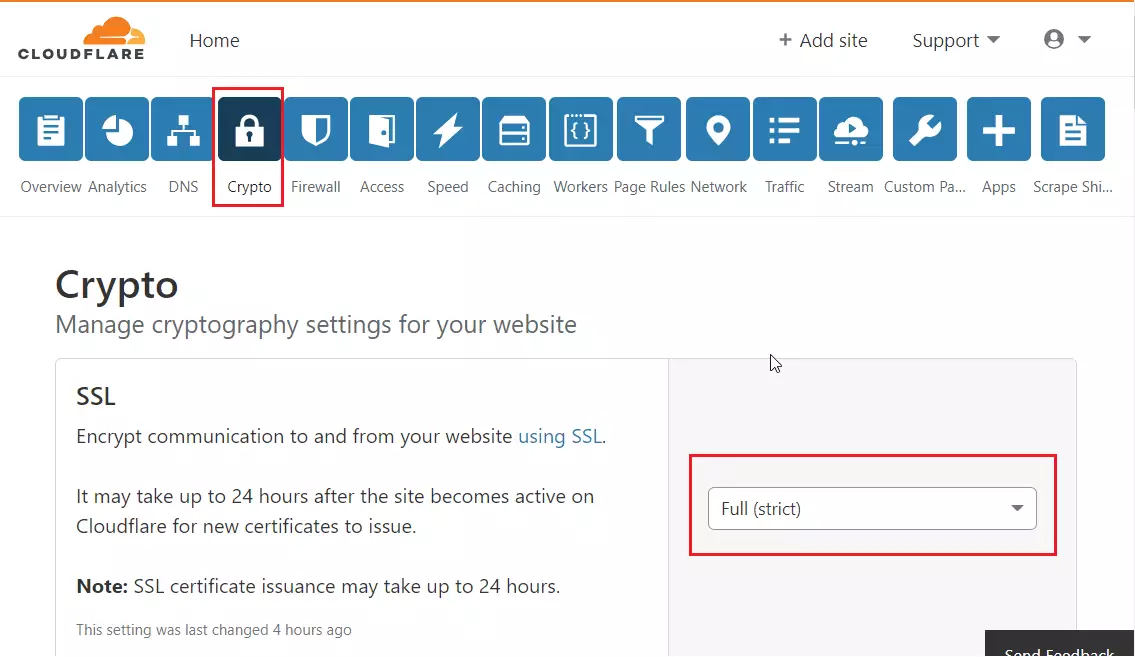
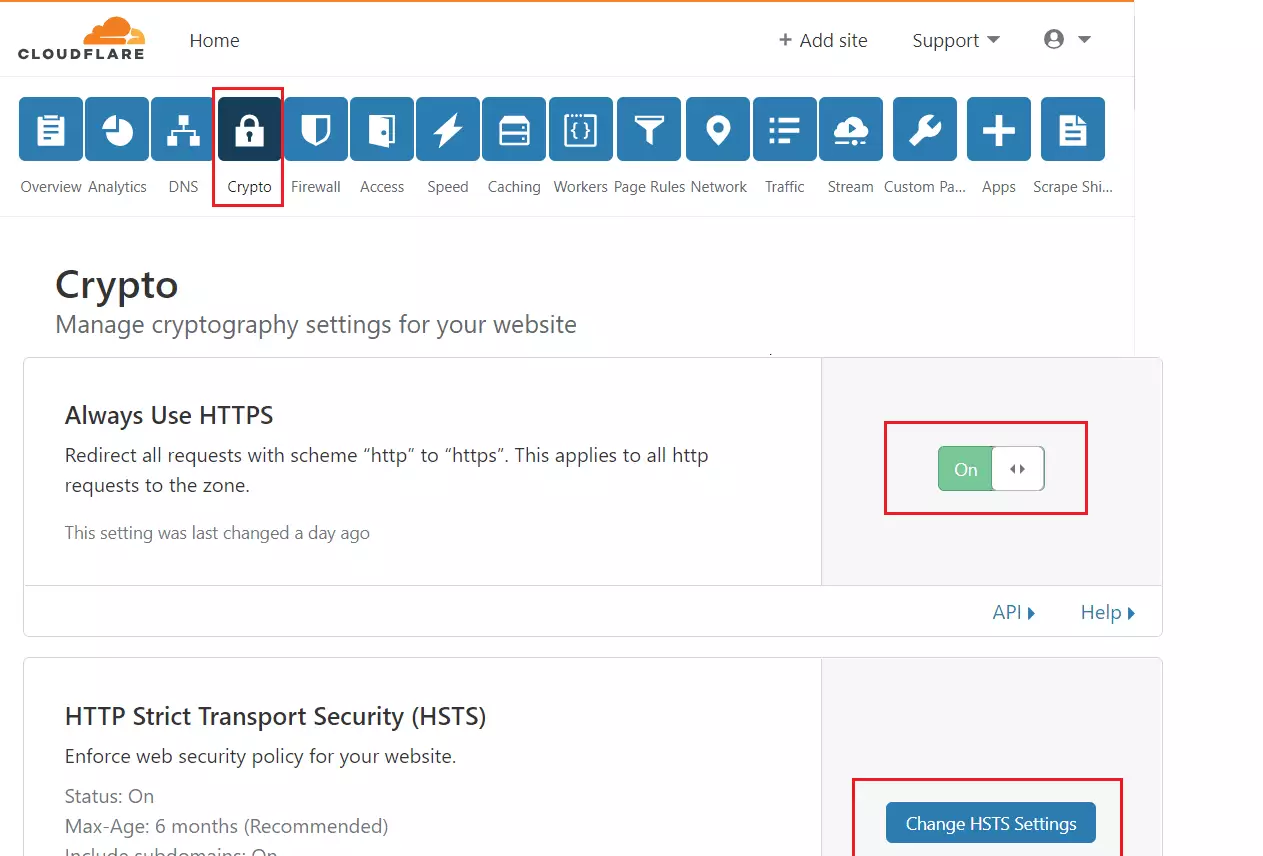
After that, click on the Crypto tab and choose to enable Full (strict) SSL. This should turn on SSL for the site.
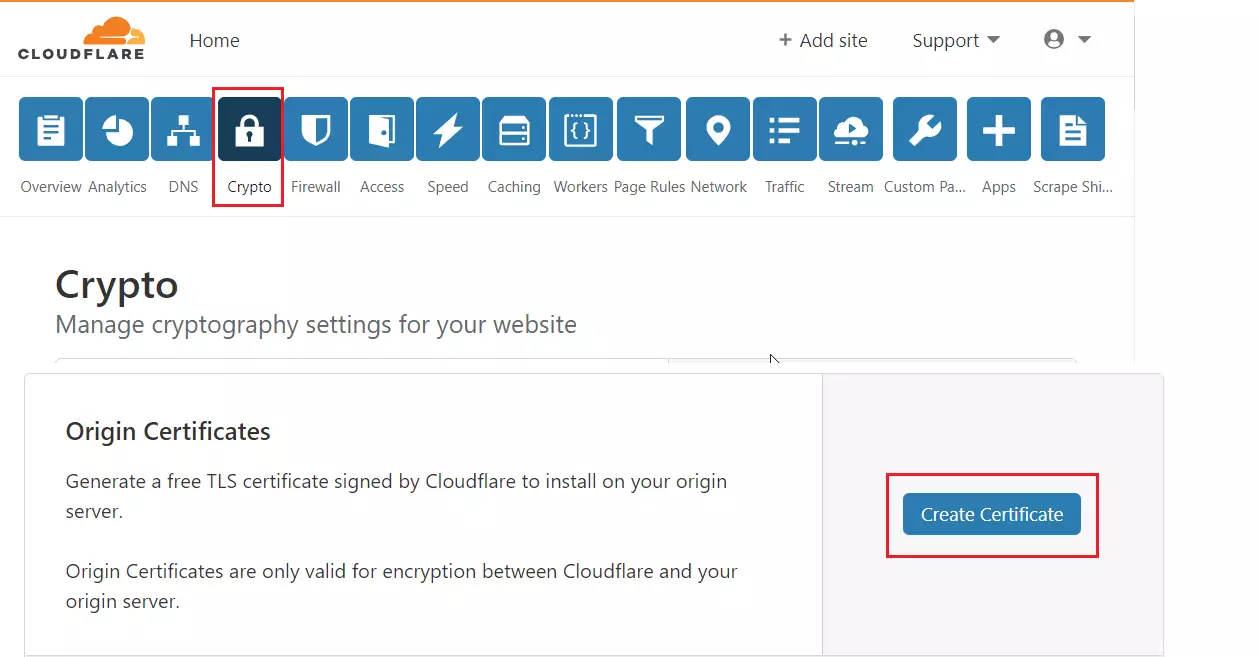
While still on the Crypto tab, scroll down to Origin Certificates. Then click the button to create the Certificate.
Use the free TLS certificate signed by Cloudflare to install it on your origin server. Origin Certificates are only valid for encryption between Cloudflare and your origin server.
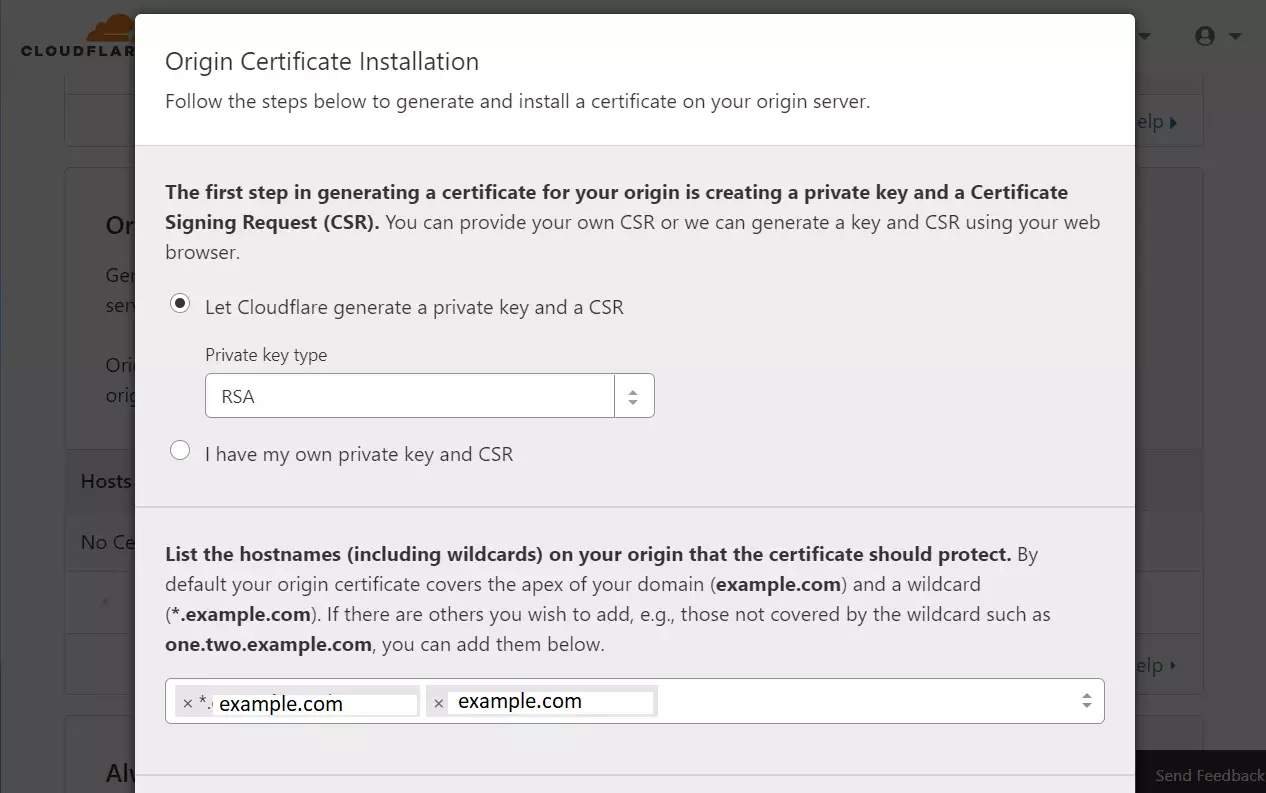
Next, let Cloudflare generate a private key and a CSR for the domain. Click Next.
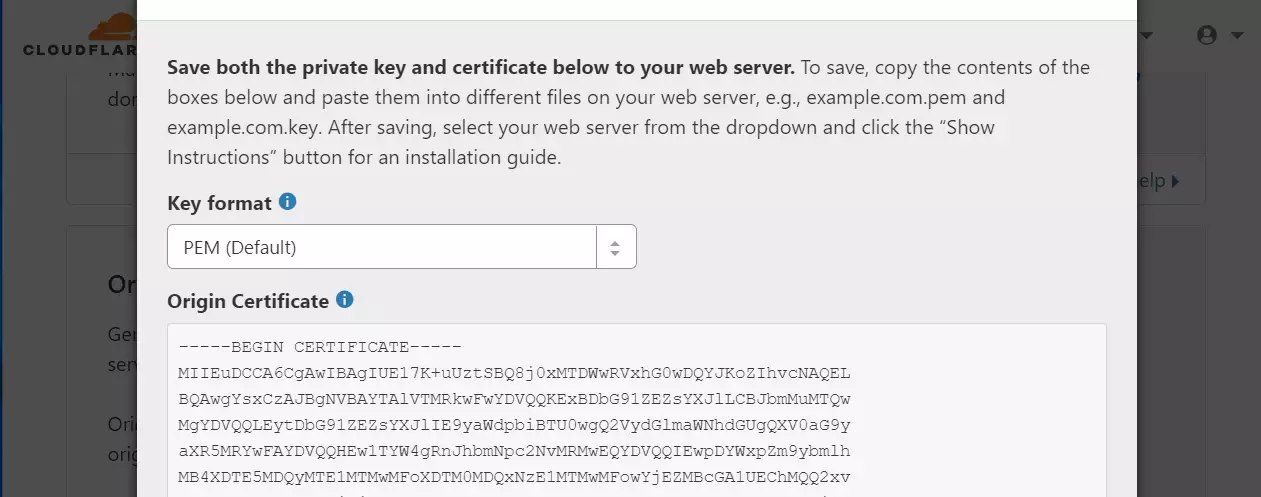
Then, copy and paste these into a text file onto your server.
Run the commands below on Ubuntu to create the Private key, Certificate, and Origin pull files (3 files). Then, copy and paste each content into the respective file. And save.
For the Private key file. Run this, copy and paste the private key given to you into the file, and save.
sudo nano /etc/ssl/private/cloudflare_key_example.com.pem
For the certificate file, run this copy, paste the certificate content into the file, and save.
sudo nano /etc/ssl/certs/cloudflare_example.com.pem
You’ll also want to download the Cloudflare Origin Pull certificate. You can download that from the link below:
Set up authenticated Origin pulls · Cloudflare SSL docs
Zone-Level — Cloudflare certificate
Under Zone-level certificate, expand the certificate button and copy its content.
Next, run the commands below to create an origin-pull-ca.pem file, paste the certificate content into the file below, and save.
sudo nano /etc/ssl/certs/origin-pull-ca.pem
Once done, you should have three files. The cloudflare_key_example.com.pem, cloudflare_example.com.pem and origin-pull-ca.pem.
We will use these files in the Nginx config below.
Pull the certificate files after saving the key, Certificate, and Origin. Continue below.
Still, on the Crypto page in your Cloudflare account, enable Always Use HTTPS, and you may also change settings for HSTS, but it is unnecessary.
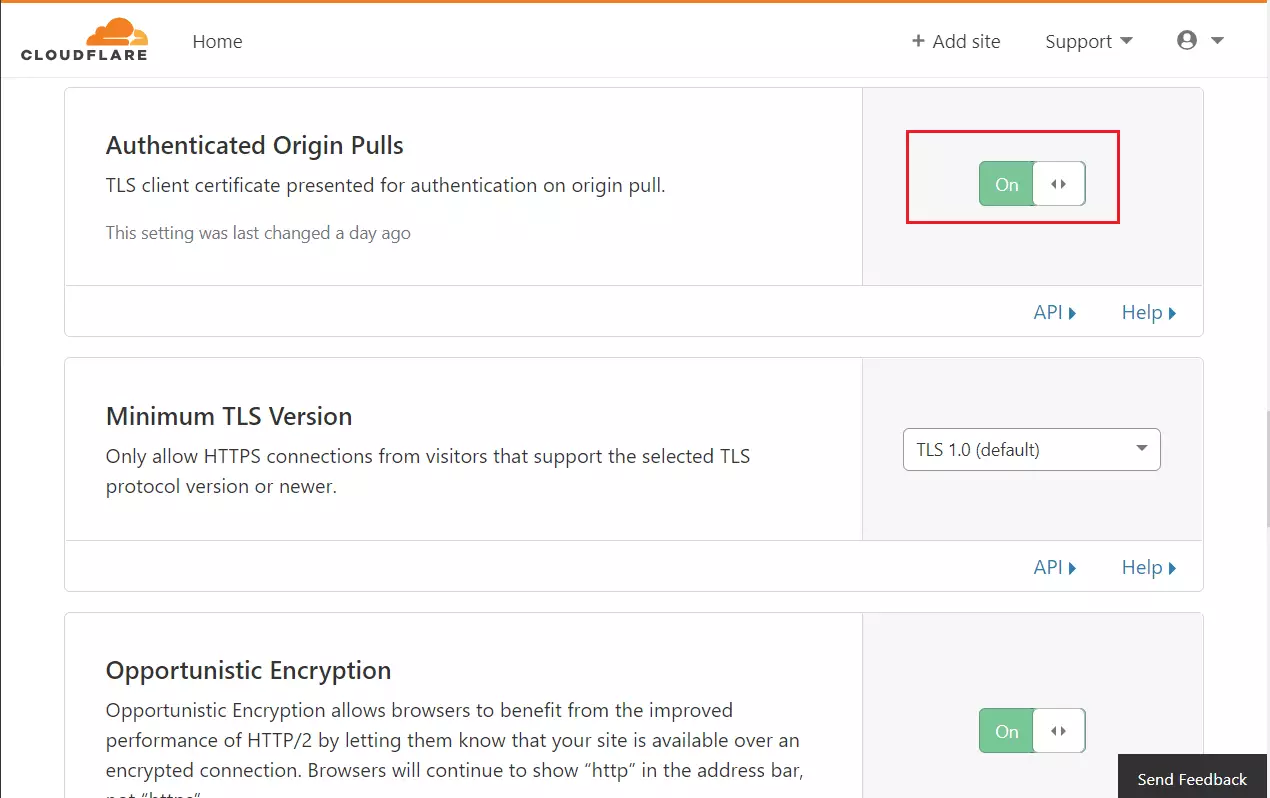
Next, turn on Authenticated Origin Pulls and Opportunistic Encryption, and continue.
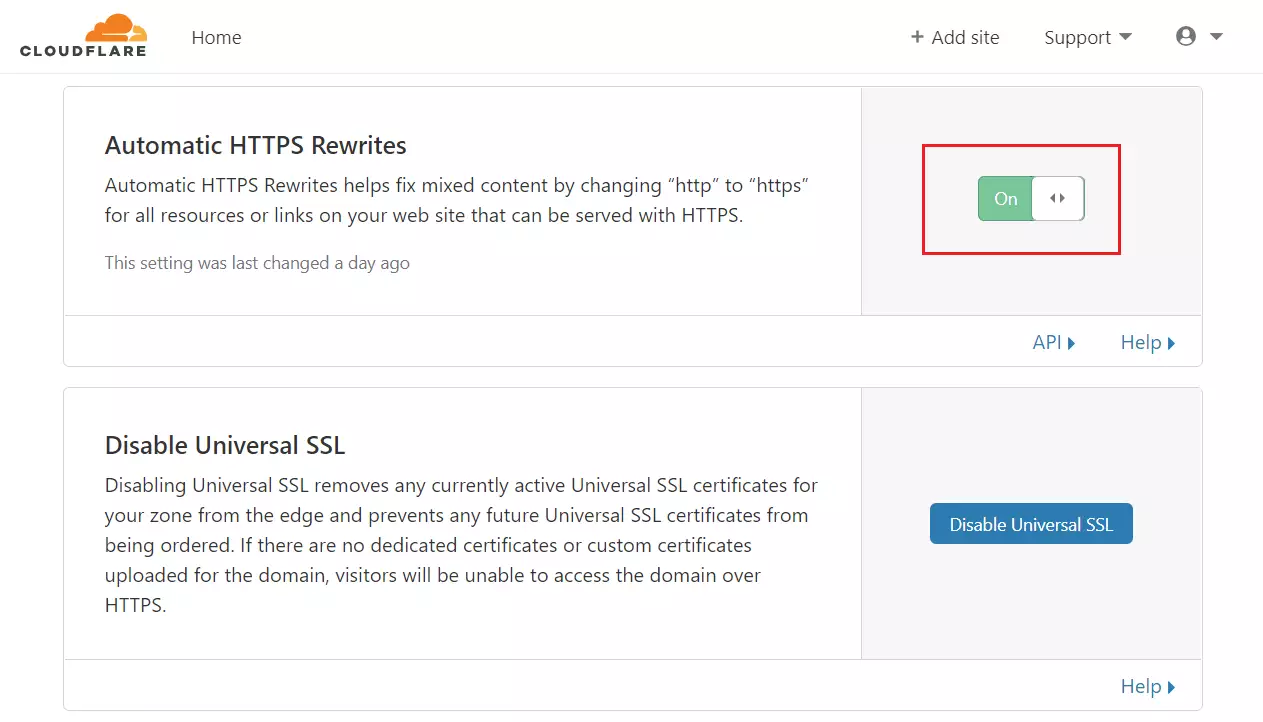
Then, turn on Automatic HTTPS Rewrites and continue.
Next, move to the Page Rules tab. Then, create a new rule for the site. Then, type the URL and choose Always Use HTTPS.
HTTP://* example.com/*
Always Use HTTPS
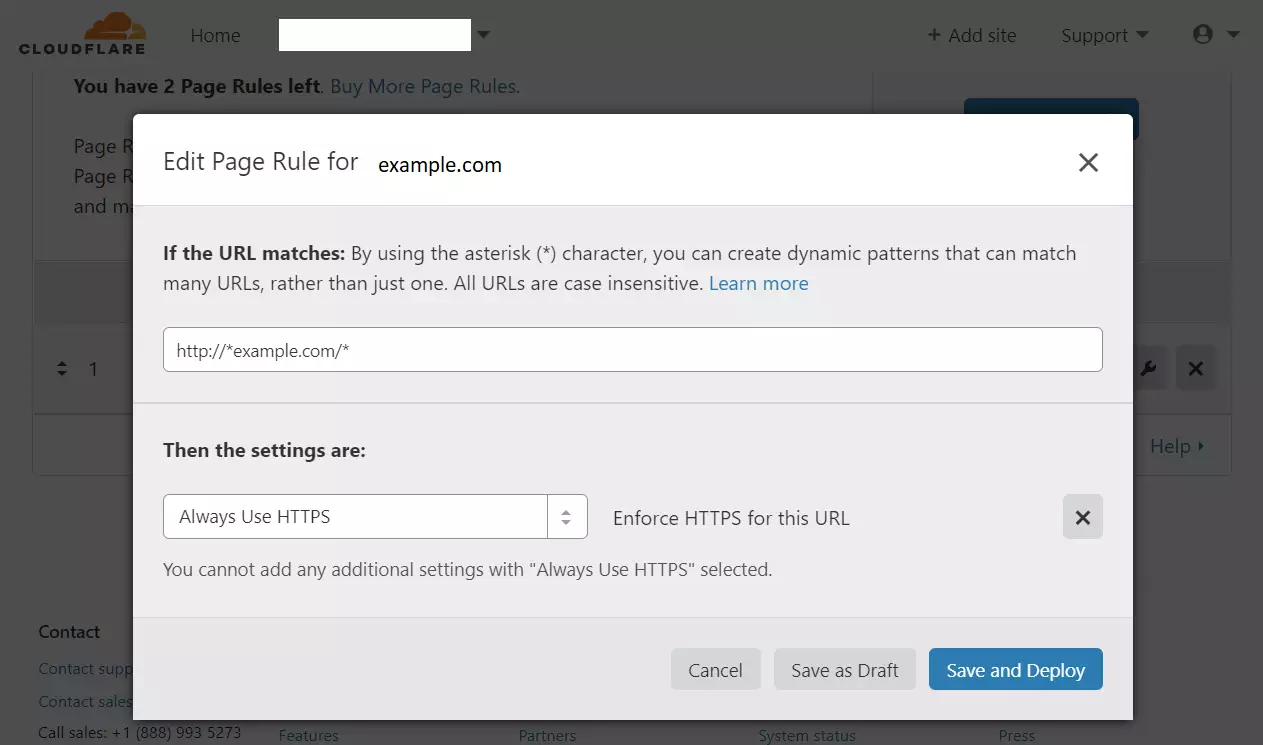
Save your settings, and you’re done with setting up Cloudflare.
How to Install and Configure Moodle
Now that Cloudflare is configured log on to your server and configure Moodle. First, install the Nginx HTTP server since we’re using Nginx for this post. To install the Nginx server, run the commands below:
sudo apt update
sudo apt install nginx
After installing Nginx, the commands below can be used to stop, start, and enable the Nginx service to always start up with the server boots.
sudo systemctl stop nginx.service
sudo systemctl start nginx.service
sudo systemctl enable nginx.service
Now that Nginx has been installed browse your browser to the URL below to test whether the web server works.
https://localhost
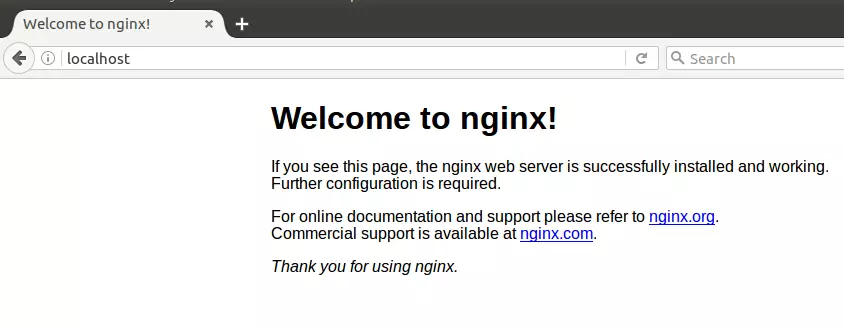
If you see the page above, then Nginx is successfully installed.
How to Install MariaDB Database Server
Moodle also requires a database server to store its content. MariaDB is a great place to start if you want a genuinely open-source database server. To install MariaDB, run the commands below:
sudo apt-get install mariadb-server mariadb-client
After installing MariaDB, the commands below can stop, start, and enable the service to start when the server boots.
Run these on Ubuntu 16.04 LTS
sudo systemctl stop mysql.service
sudo systemctl start mysql.service
sudo systemctl enable mysql.service
Run these on Ubuntu 19.04 and 18.04 LTS
sudo systemctl stop mariadb.service
sudo systemctl start mariadb.service
sudo systemctl enable mariadb.service
Next, run the commands below to secure the database server with a root password if you were not prompted to do so during the installation.
sudo mysql_secure_installation
When prompted, answer the questions below by following the guide.
- Enter current password for root (enter for none): Press the Enter
- Set root password? [Y/n]: Y
- New password: Enter the password
- Re-enter new password: Repeat password
- Remove anonymous users? [Y/n]: Y
- Disallow root login remotely? [Y/n]: Y
- Remove test database and access to it? [Y/n]: Y
- Reload privilege tables now? [Y/n]: Y
Once MariaDB is installed, run the commands below to test whether the database server was installed.
sudo mysql -u root -p
Type the root password when prompted.

The server was successfully installed if you see a similar screen.
How to Install PHP 7.2-FPM and Related Modules
Moodle CMS is a PHP-based CMS, and PHP is required. However, PHP 7.2-FPM may not be available in Ubuntu default repositories. To run PHP 7.2-FPM on Ubuntu 16.04 and previous, you may need to run the commands below:
sudo apt-get install software-properties-common
sudo add-apt-repository ppa:ondrej/php
Then update and upgrade to PHP 7.2-FPM
sudo apt update
Next, run the commands below to install PHP 7.2-FPM and related modules.
sudo apt install php7.2-fpm php7.2-common php7.2-gmp php7.2-curl php7.2-intl php7.2-mbstring php7.2-xmlrpc php7.2-mysql php7.2-gd php7.2-xml php7.2-cli php7.2-zip
After installing PHP 7.2, run the commands below to open Nginx’s PHP default configuration file.
sudo nano /etc/php/7.2/fpm/php.ini
The lines below are a good setting for most PHP-based CMS. Update the configuration file with these and save.
file_uploads = On
allow_url_fopen = On
short_open_tag = On
memory_limit = 256M
upload_max_filesize = 100M
max_execution_time = 360
date.timezone = America/Chicago
Restarting the Nginx web server whenever you change the PHP configuration file would be best. To do so, run the commands below:
sudo systemctl restart nginx.service
Once PHP is installed, create a test file called phpinfo.php in the Nginx default root directory. ( /var/www/html/)
sudo nano /var/www/html/phpinfo.php
Then type the content below and save the file.
<?php phpinfo( ); ?>
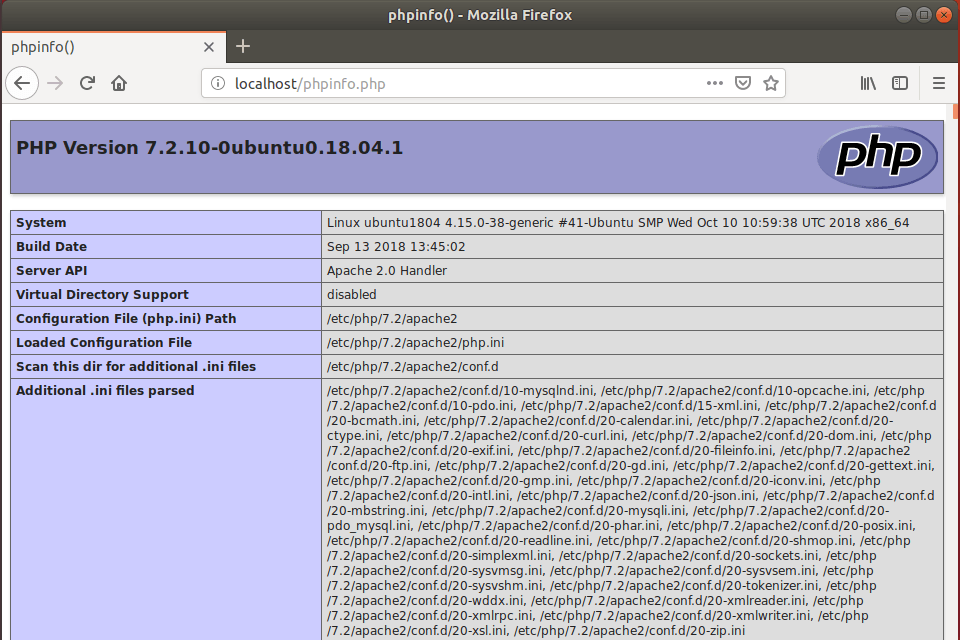
Next, open your browser and browse to the server’s hostname or IP address followed by phpinfo.php
http://localhost/phpinfo.php
You should see the PHP default test page.
How to Create Moodle Database
Now that you’ve installed all the packages required for Moodle to function, continue below to start configuring the servers. First, run the commands below to create a blank Moodle database.
To log on to the MariaDB database server, run the commands below.
sudo mysql -u root -p
Then, create a database called moodle
CREATE DATABASE moodle;
Create a database user called moodleuser with a new password
CREATE USER 'moodleuser'@'localhost' IDENTIFIED BY 'new_password_here';
Then, grant the user full access to the database.
GRANT ALL ON moodle.* TO 'moodleuser'@'localhost' IDENTIFIED BY 'user_password_here' WITH GRANT OPTION;
Finally, save your changes and exit.
FLUSH PRIVILEGES;
EXIT;
How to Download Moodle’s Latest Release
You may want to use the GitHub repository to get Moodle’s latest release. Install Curl and other dependencies to get started.
sudo apt install git curl
After installing git and Curl above, change into the Nginx root directory and download Moodle packages from Github. Always replace the branch number with the latest branch. The current major version is 36.
cd /var/www/html
sudo git clone -b MOODLE_36_STABLE git://git.moodle.org/moodle.git example.com
sudo mv moodle /var/www/html/
Then, run the commands below to set the correct permissions for Moodle to function.
sudo mkdir -p /var/www/html/moodledata
sudo chown -R www-data:www-data /var/www/html/
sudo chmod -R 755 /var/www/html/
How to Configure Nginx for Moodle
Finally, configure the Nginx site configuration file for Moodle. This file will control how users access Moodle content. Run the commands below to create a new configuration file called example.com.conf
sudo nano /etc/nginx/sites-available/example.com.conf
Then copy and paste the content below into the file and save it. Replace the highlighted line with your domain name and directory root location.
Also, reference the certificate files created above during Cloudflare setup.
server {
    llisten 80;
    listen [::]:80;
    listen 443 ssl http2;
    listen [::]:443 ssl http2;

    server_name example.com www.example.com;
    root   /var/www/html/example.com;
    index  index.php;

    ssl_certificate /etc/ssl/certs/cloudflare_example.com.pem;
    ssl_certificate_key /etc/ssl/private/cloudflare_key_example.com.pem;
    ssl_client_certificate /etc/ssl/certs/origin-pull-ca.pem;
    ssl_verify_client on;

    client_max_body_size 100M;

    autoindex off;

    location / {
    try_files $uri $uri/ =404;
    }

    location /dataroot/ {
    internal;
    alias /var/www/html/moodledata/;
    }

    location ~ [^/].php(/|$) {
        include snippets/fastcgi-php.conf;
        fastcgi_pass unix:/var/run/php/php7.2-fpm.sock;
        fastcgi_param SCRIPT_FILENAME $document_root$fastcgi_script_name;
        include fastcgi_params;
    }

}
Save the file and exit.
How to Enable the Moodle Site
After configuring the VirtualHost above, please enable it by running the commands below.
sudo ln -s /etc/nginx/sites-available/example.com.conf /etc/nginx/sites-enabled/
sudo systemctl restart nginx.service
Next, open your browser and browse to the domain name you used above. You should see the Moodle setup wizard complete. Please follow the wizard carefully.
https://example.com/
Then, follow the on-screen instructions and select the installation language here.

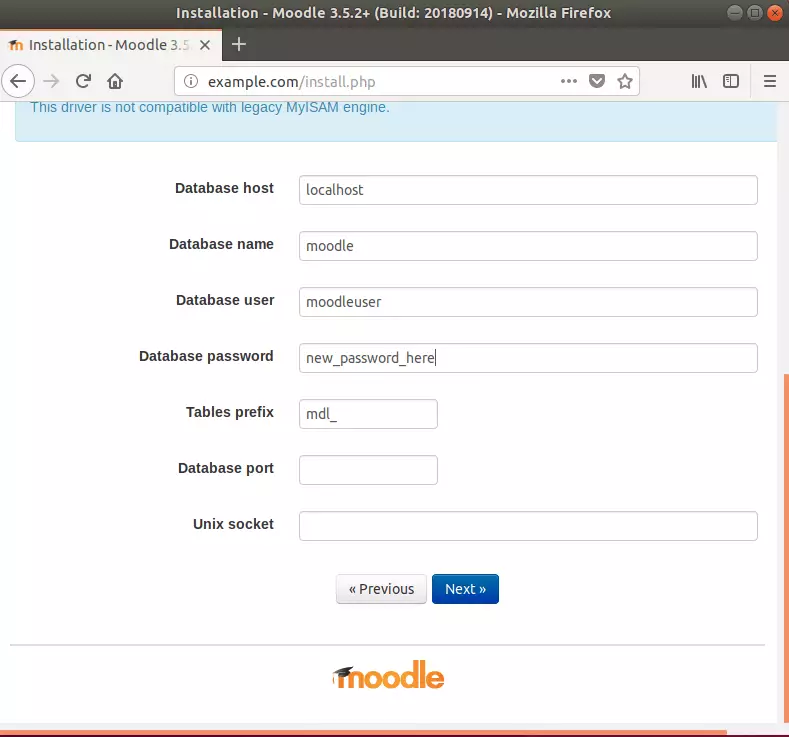
Next, select the MariaDB connection driver and continue.

Enter the database connection info you created above on the next screen and continue.
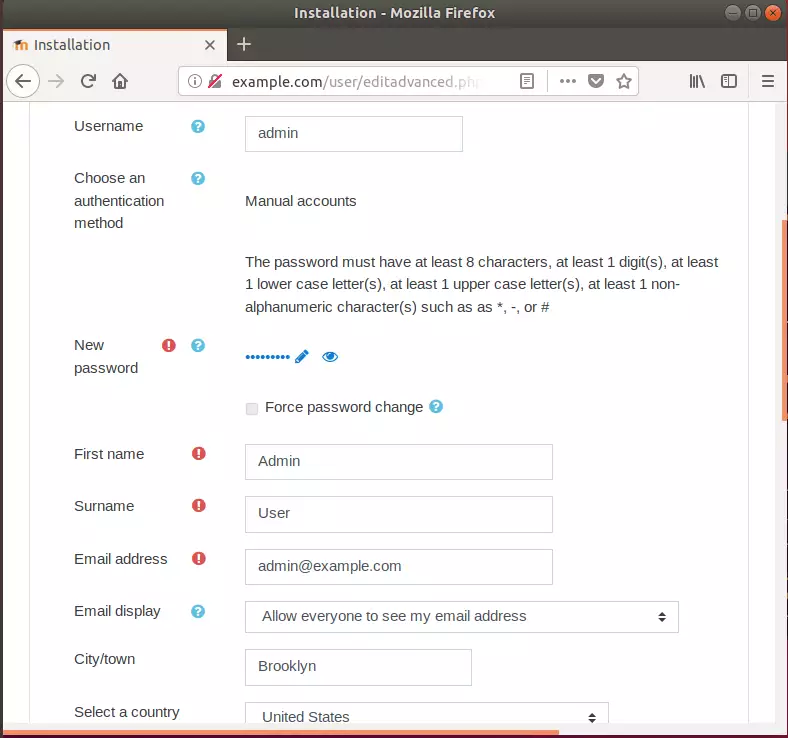
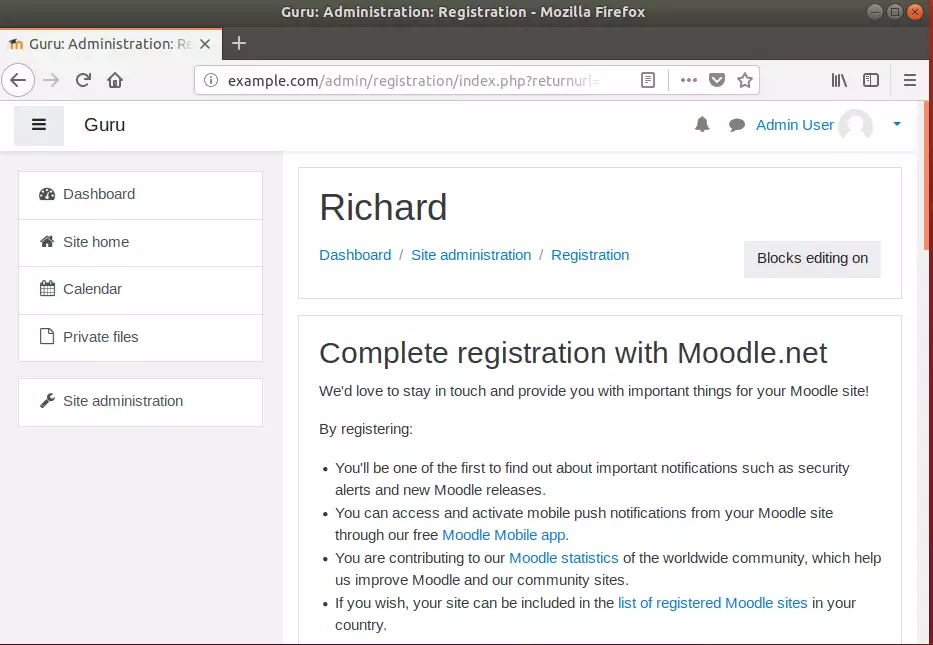
Then, create an admin account and the Moodle site info and finish the installation.
You should configure your main administrator account on this page, which will completely control the site. Ensure you give it a secure username, password, and valid email address. You can create more admin accounts later on.
Congratulation! You successfully installed Moodle on Ubuntu 16.04 | 18.04, which may work on 18.10.
In the future, when you want to upgrade to a newly released version, run the commands below to upgrade.
Upgrading Moodle
First, stop the web server.
sudo systemctl stop nginx
For students and new users who already have Moodle installed and wish to upgrade, assuming that you followed the steps above to install, run the commands below to back up your old Moodle folder.
sudo mv /var/www/html/moodle /var/www/html/moodle_bak
Then, change into the web server root directory and download the latest version of Moodle from GitHub.. constantly change the version number to the current (latest)
cd /var/www/html
sudo git clone -b MOODLE_37_STABLE git://git.moodle.org/moodle.git moodle
Next, copy the Moodle config file, theme, and data folder if you updated your themes. Theme content should be there. If you also installed additional modules. You should find them in the /mod directory. Copy them to the new Moodle folder.
sudo cp /var/www/html/moodle_bak/config.php /var/www/html/moodle
sudo cp -pr /var/www/html/moodle_bak/theme/mytheme /var/www/html/moodle/theme/mytheme
sudo cp -pr /var/www/html/moodle_bak/mod/mymod /var/www/html/moodle/mod/mymod
After that, update the web server permissions.
sudo chown -R www-data:www-data /var/www/html/moodle/
sudo chmod -R 755 /var/www/html/moodle/
Restart your web server.
sudo systemctl start nginx
The last step is to trigger the upgrade processes within Moodle. If you put your site into Maintenance mode earlier, take it out now!
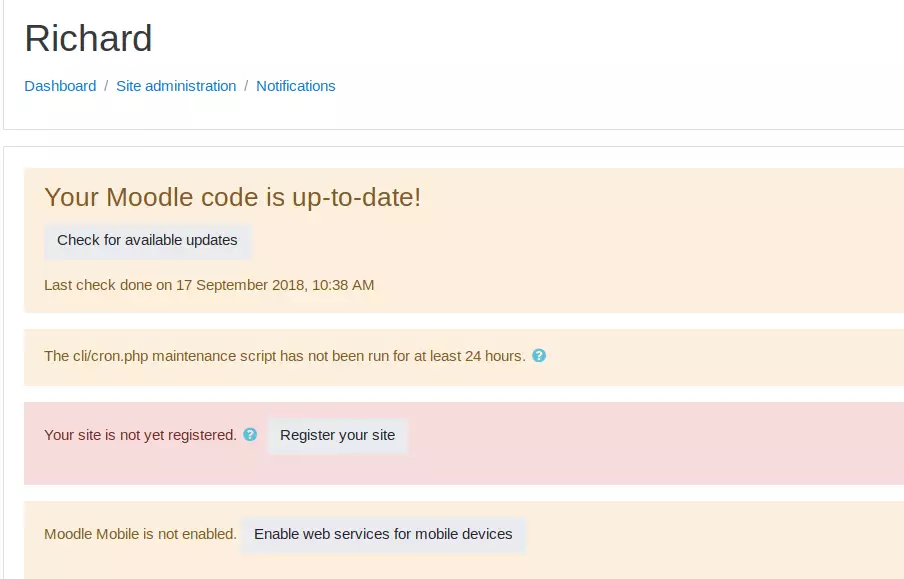
Once you browse to the server IP or hostname, Moodle should prompt you to begin upgrading your database. After upgrading the database, login to Moodle and go to:
Administration > Site administration > Notifications.
Moodle will automatically detect the new version and perform all the necessary SQL database or file system upgrades. If there is anything it can’t do itself (very rare), then you will see messages telling you what you need to do.
Assuming all goes well (no error messages), you can start using your new version of Moodle and enjoy the new features!
That’s it!
You may also like the post below:

Leave a Reply