
This post describes the steps to set your default profile with Windows Terminal in Windows 11.
Windows Terminal is a modern host application for the command-line shells, including Command Prompt, Windows PowerShell, and bash (via Windows Subsystem for Linux (WSL)).
Unlike the previous shell apps in Windows, Windows Terminal has many features, including multiple tabs, panes, Unicode and UTF-8 character support, a GPU-accelerated text rendering engine, and theme customization with text, colors, backgrounds, and shortcuts.
Your default profile in Windows Terminal is the default terminal shell you get when you type ctrl+shift+t, type the critical binding assigned to newTab, run wt new-tab without specifying a profile, or click the ‘+‘ icon.
These are the default profiles you can choose from:
- Windows PowerShell
- Command Prompt
- Azure Cloud Shell
By design, Windows PowerShell is the default shell if you do not specify a shell when you launch Windows Terminal.
Below is how to set or change your default profile in Windows Terminal.
How to change the default profile with Windows Terminal in Windows 11
As described above, if you do not specify a shell when you launch Windows Terminal, Windows PowerShell will be selected by default.
There are three profile options you can choose from:
- Windows PowerShell
- Command Prompt
- Azure Cloud Shell
Below is how to change that.
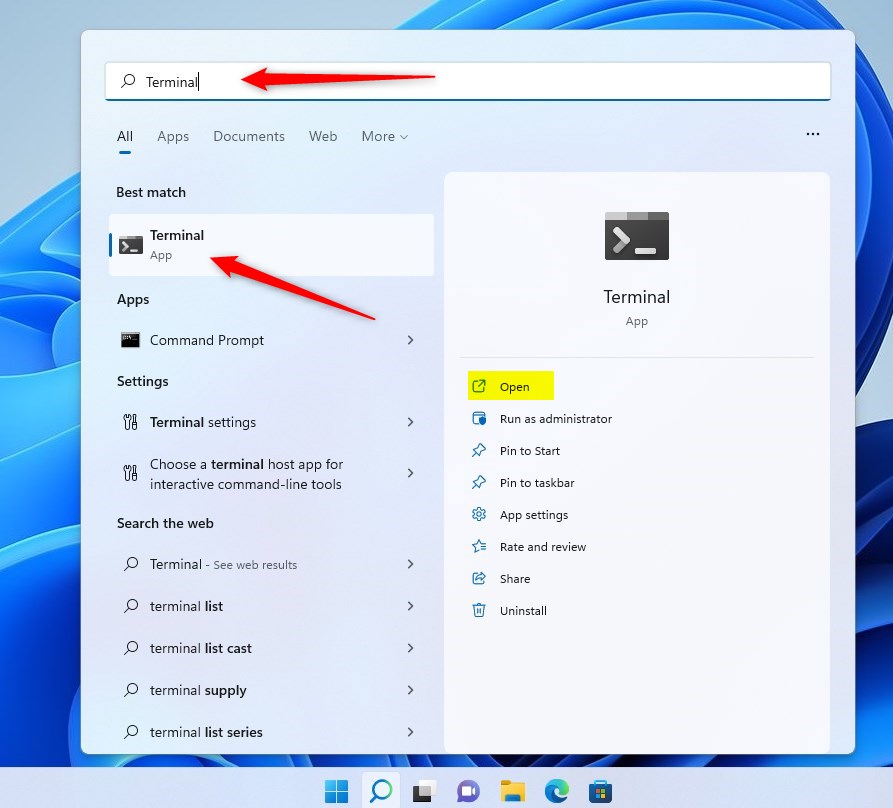
First, open Terminal by clicking Start =>, searching for Terminal, and selecting the Terminal app.
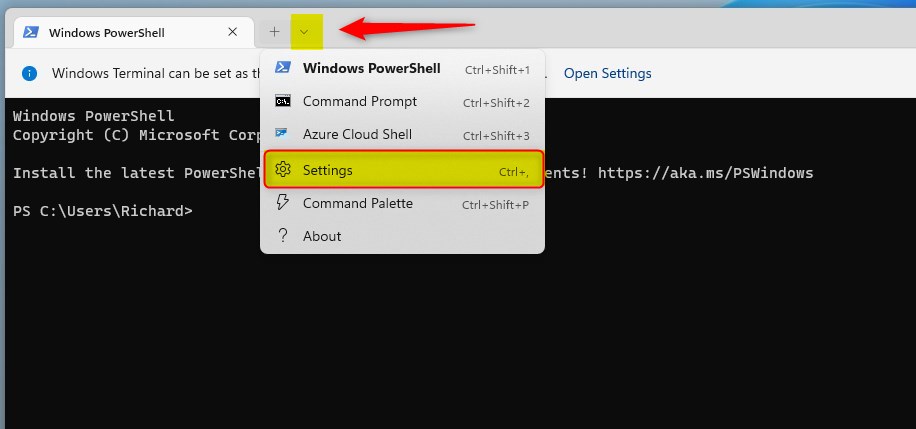
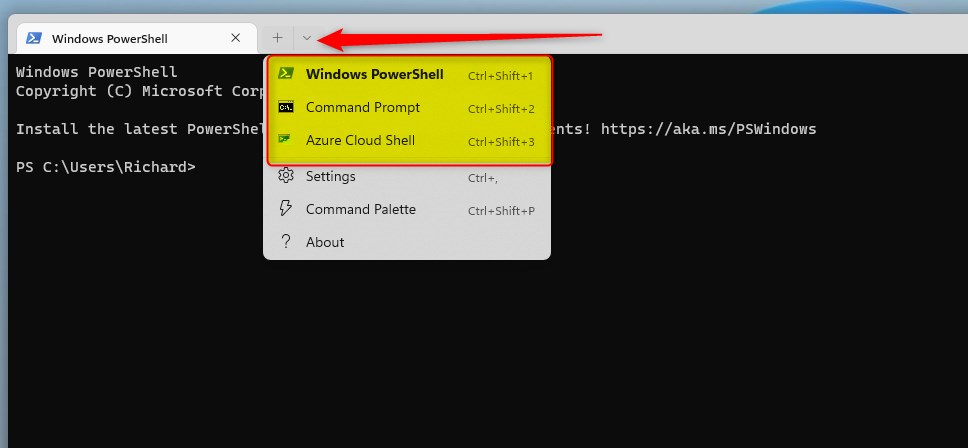
Once the app opens, click the down arrow button on the top bar, select Settings on the context menu, or press the keyboard shortcut Ctrl + (comma).
On the Settings pane, under Startup, change the Default profile option to one of the following:
- Windows PowerShell
- Command Prompt
- Azure Cloud Shell
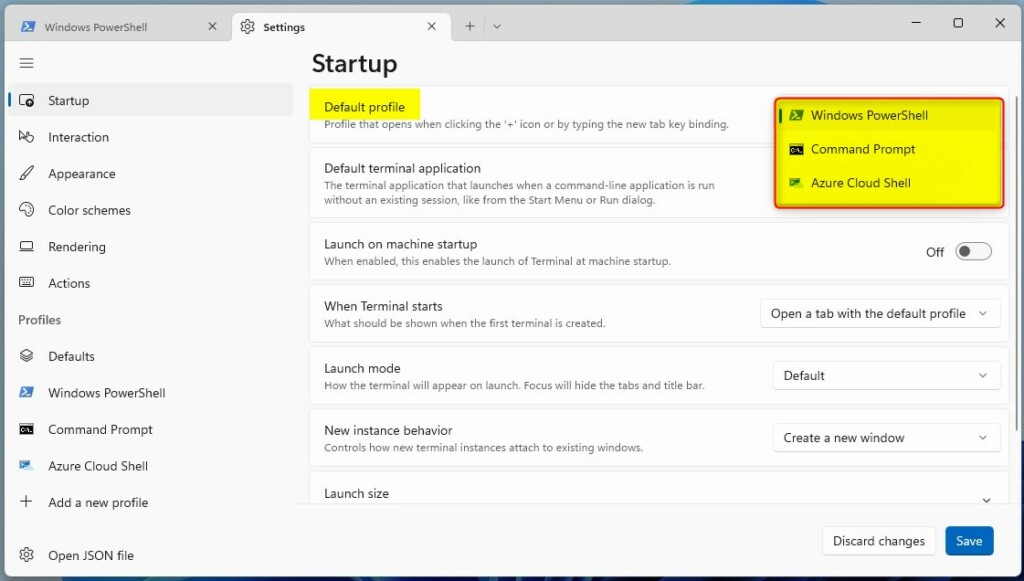
Make your selection and save your changes.
You can also manually switch profiles in Windows Terminal simply by using the down arrow caret on the menu bar.
You can choose Windows PowerShell, Command Prompt, or Azure Cloud Shell.
That should do it!
Conclusion:
- Windows Terminal in Windows 11 offers a modern and feature-rich experience for command-line shells such as Command Prompt, Windows PowerShell, and bash via Windows Subsystem for Linux (WSL).
- Users can easily set or change their default profile in Windows Terminal by selecting from the available options like Windows PowerShell, Command Prompt, or Azure Cloud Shell.
- Additionally, the ability to manually switch profiles using the dropdown caret provides flexibility for users to choose their preferred shell on the go.

Leave a Reply Cancel reply