
This article describes steps to troubleshoot and fix system memory (RAM) issues with the Windows Memory Diagnostic Tool in Windows 11.
Windows comes with a built-in tool called Windows Memory Diagnostic Tool, which helps you identify and diagnose problems with system memory (RAM). Users can use this tool to check for, diagnose and resolve system memory problems.
The tool may also automatically detect system memory issues and prompt you to schedule a memory test the next time the computer is restarted.
Below is how to run the Windows Memory Diagnostic Tool in Windows 11.
How to run Windows Memory Diagnostic Tool in Windows 11
As mentioned above, Windows comes with a built-in tool called Windows Memory Diagnostic Tool, which helps you identify and diagnose problems with system memory (RAM).
Here’s how to run the tool in Windows to detect and resolve memory issues.
The essential requirement to run this tool is that you must be logged in as an administrator.
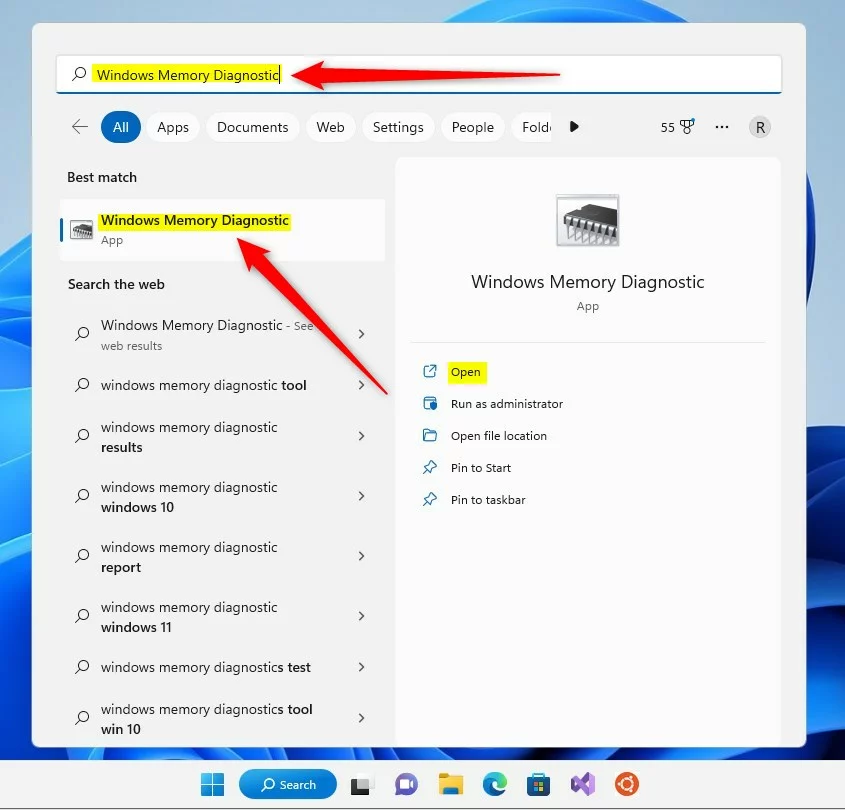
An administrator can click on the Start menu and/or use the search box on the Taskbar to search for and select the Windows Memory Diagnostic Tool App (MdSched.exe).
When the Windows Memory Diagnostic app opens, select the option to Restart now and check for problems (recommended).
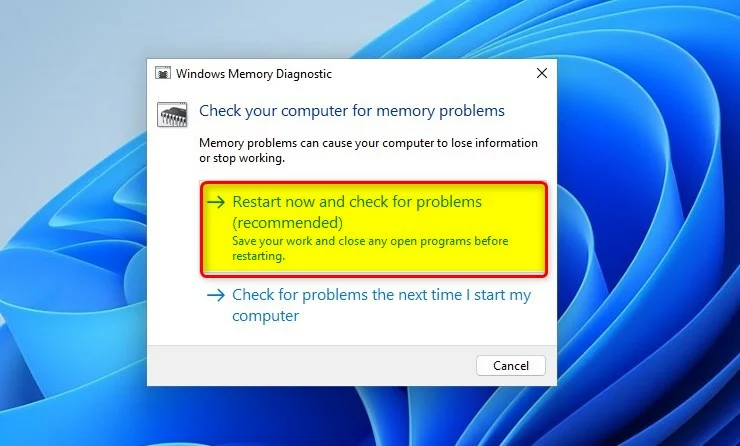
Your computer restart and begin the memory diagnostic process.

These are the Test mixes available:
- Basic – runs the basic test with default cache settings for each test.
- Standard – runs standard and all basic tests plus LRAND
- Extended – runs extended and all standard tests plus MATS+
If you want to change any of these default test settings, press the F1 key, and use the Tab key to select the test option.
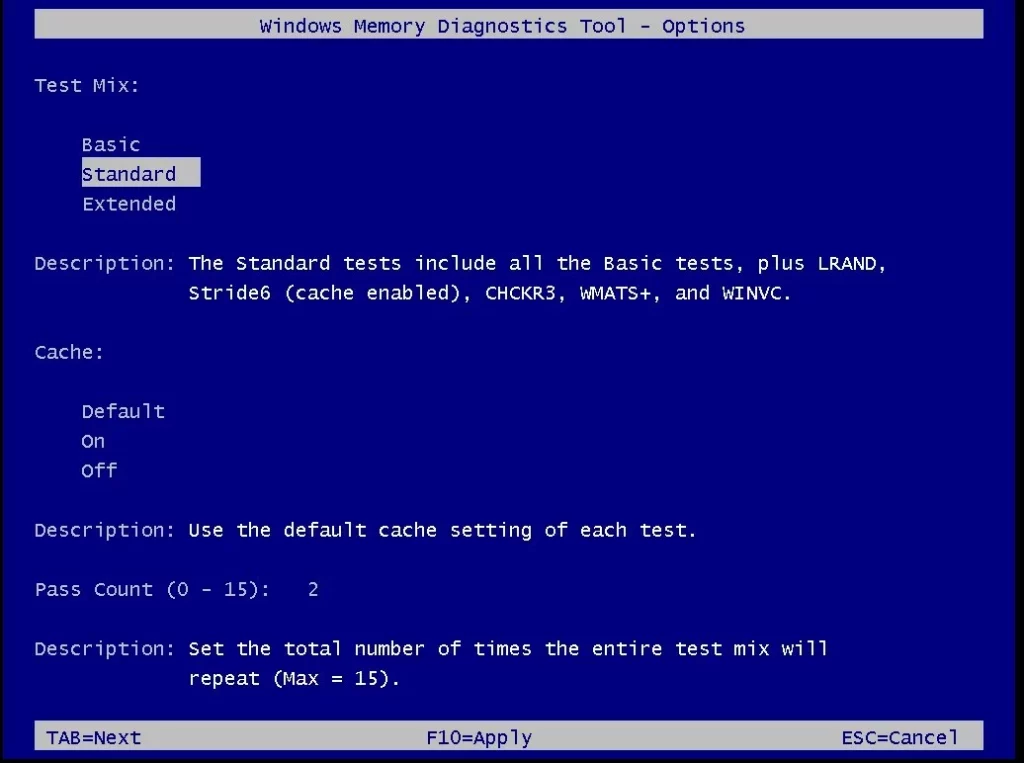
When you are done changing the options, press the F10 key to apply your changes. Windows Memory Diagnostics Tool will start the tests over with your selection.
Your computer will restart the sign-in screen to log on when the tests are done. If all is well, you will see a message that no memory errors were detected.
Conclusion:
- The built-in Memory Diagnostic Tool in Windows 11 is a valuable resource for identifying and diagnosing system memory (RAM) issues.
- Following the provided steps, users can easily run memory tests and potentially resolve any memory errors.
- Utilizing this tool can contribute to ensuring the optimal performance and stability of the Windows 11 operating system.

Leave a Reply Cancel reply