
If your Windows 11 computer is acting up because of security settings, you can reset the Local Security Policy back to its original settings. This guide will show you easy steps to do that.
What is Local Security Policy?
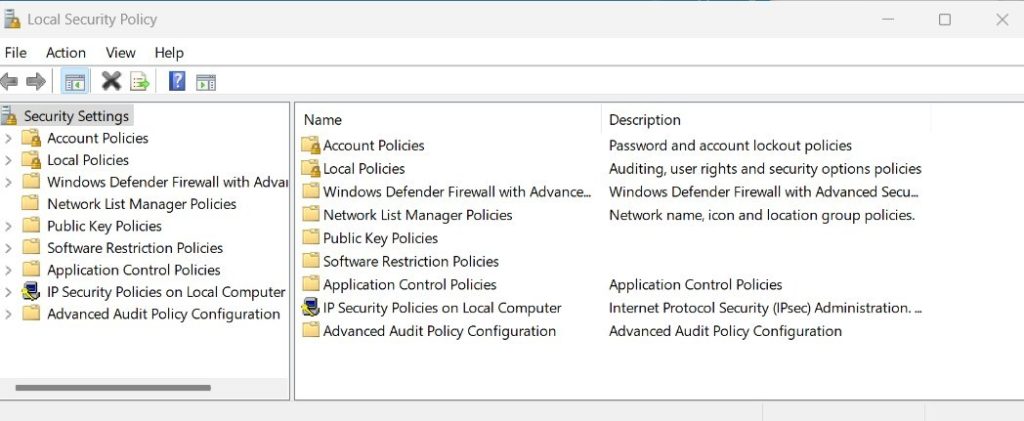
The Local Security Policy is a part of Windows that helps control security rules on your computer, like who can log in or what passwords need to be strong. It’s mostly used in Windows 11 Pro, Enterprise, and Education versions.
For regular Windows 11 Home users, you might not see this tool, but similar settings can be changed through the Registry Editor.
Why Reset Local Security Policy?
- If you or someone else changed security settings and your computer is having problems, resetting can fix that.
- It helps bring back the original security rules that keep your computer safe.
- It’s a good idea to check and reset these settings from time to time to avoid security issues.
How to Reset Local Security Policy in Windows 11
Follow these simple steps to reset your security settings:
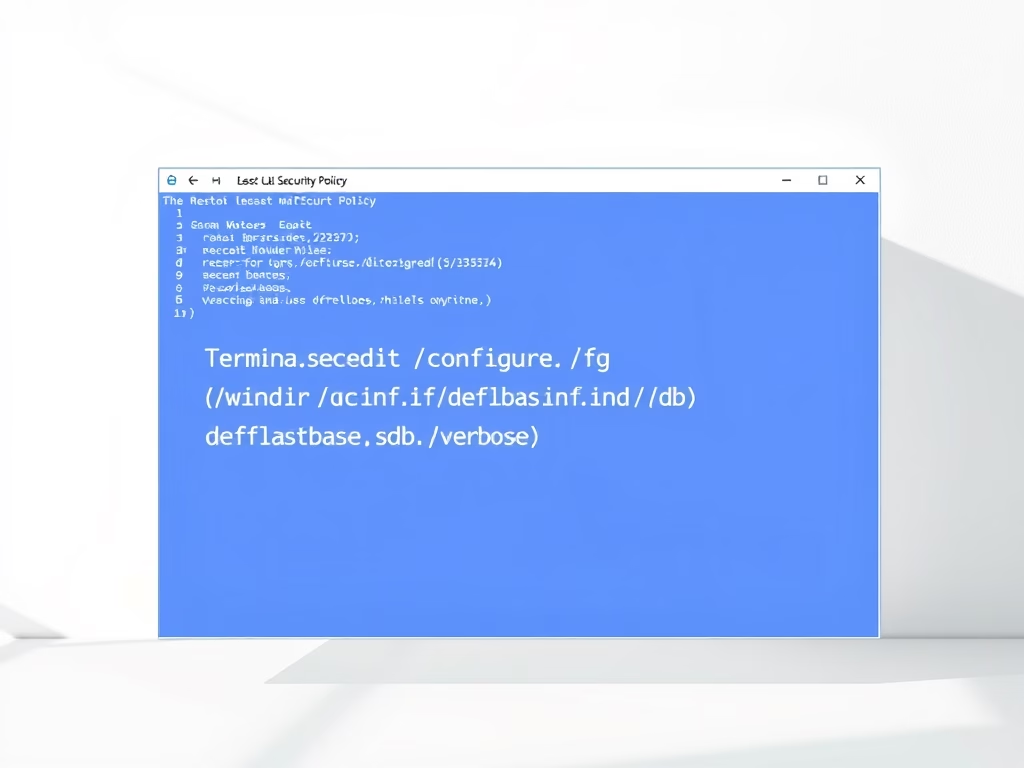
- Open Windows Terminal as an Administrator:
Click here to learn how if you’re not sure. - In the Terminal window, type this command and press Enter:
secedit /configure /cfg %windir%infdefltbase.inf /db defltbase.sdb /verbose
- Wait for the process to finish. You will see messages showing it’s working.
- Restart your computer. This will apply the changes.
Quick Tips
- You can also run the command in Command Prompt as Administrator if you prefer.
- Always back up your important files before making system changes.
- If you’re unsure about any step, ask for help or check trusted guides online.
Summary
- Resetting Local Security Policy can fix problems caused by changed security settings.
- It’s mainly for Windows 11 Pro and similar versions.
- Use Windows Terminal or Command Prompt as Administrator to run the reset command.
- Restart your PC after running the command to make sure the reset works.
If you have any questions or want to share your experience, please leave a comment below!
Leave a Reply Cancel reply