

This post describes making a WiFi network public or private in Windows 11.
Windows has two network profile types: Public and Private. Depending on where you use Windows, one of these network profiles will be chosen.
When setting up Windows and choosing to use Windows in a work or school environment, Windows 11, select a private network profile. The public network profile is determined if you use Windows at home.
At home, your PC will typically be hidden from other devices. Therefore, you can’t use your PC for file and printer sharing. However, PCs are generally discoverable by other devices on the network in a business setting. Therefore, you can use your PC for file and printer sharing, so a private network is used.
When you first connect to a WiFi network in Windows 11, it’s set as public by default, which is the recommended setting. However, you can set it as public or private, depending on the Network and what you want to do.
Below is how to change a WiFi network to a public or private profile in Windows 11.
How to change WiFi network to public or private profile in Windows 11
As mentioned above, Windows has two network profiles. One can select Public and Private. One of these network profiles will be chosen depending on where you use Windows.
Below is how to change a WiFi network to private or public in Windows 11.
First, open the Settings app.
To get to System Settings, you can use the Windows key + I shortcut or click on Start ==> Settings, as shown in the image below:

Alternatively, you can use the search box on the taskbar to search for Settings. Then select to open it.
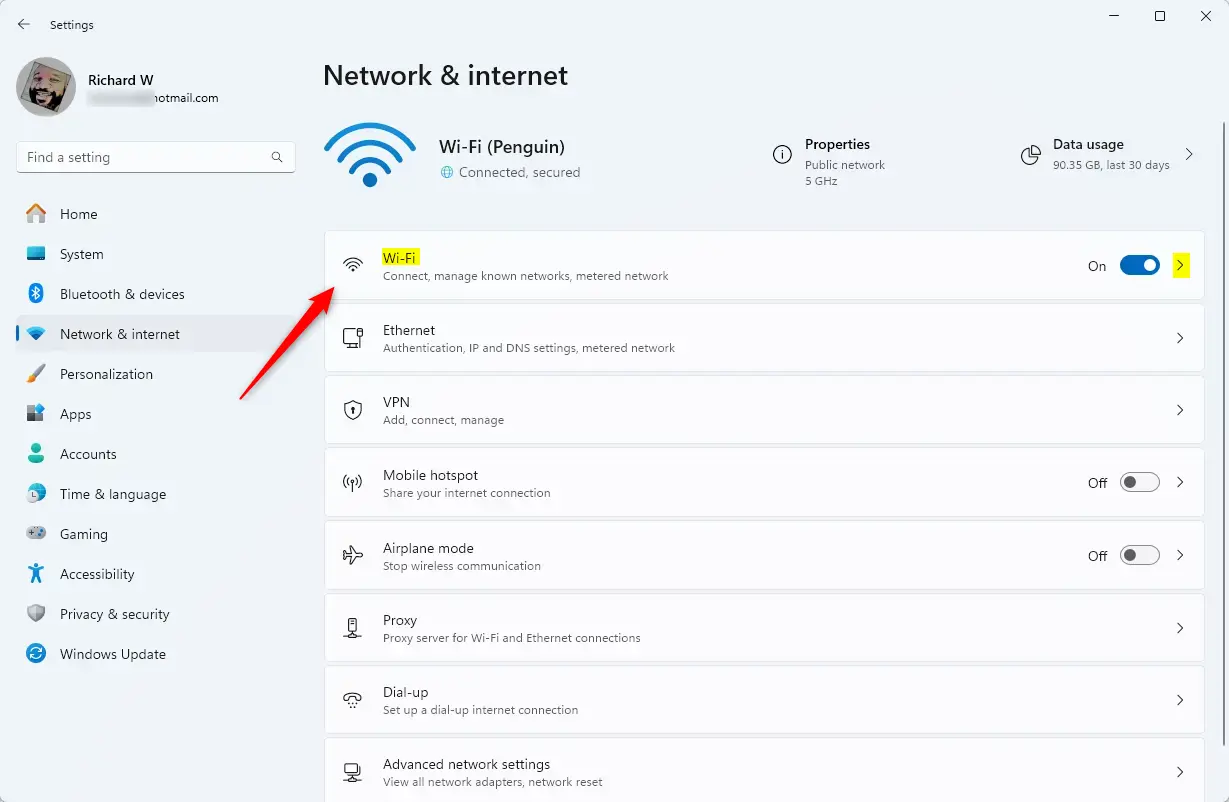
In the Windows Settings app, click the Network & internet on the left, then select the WiFi tile on the right pane to expand it.
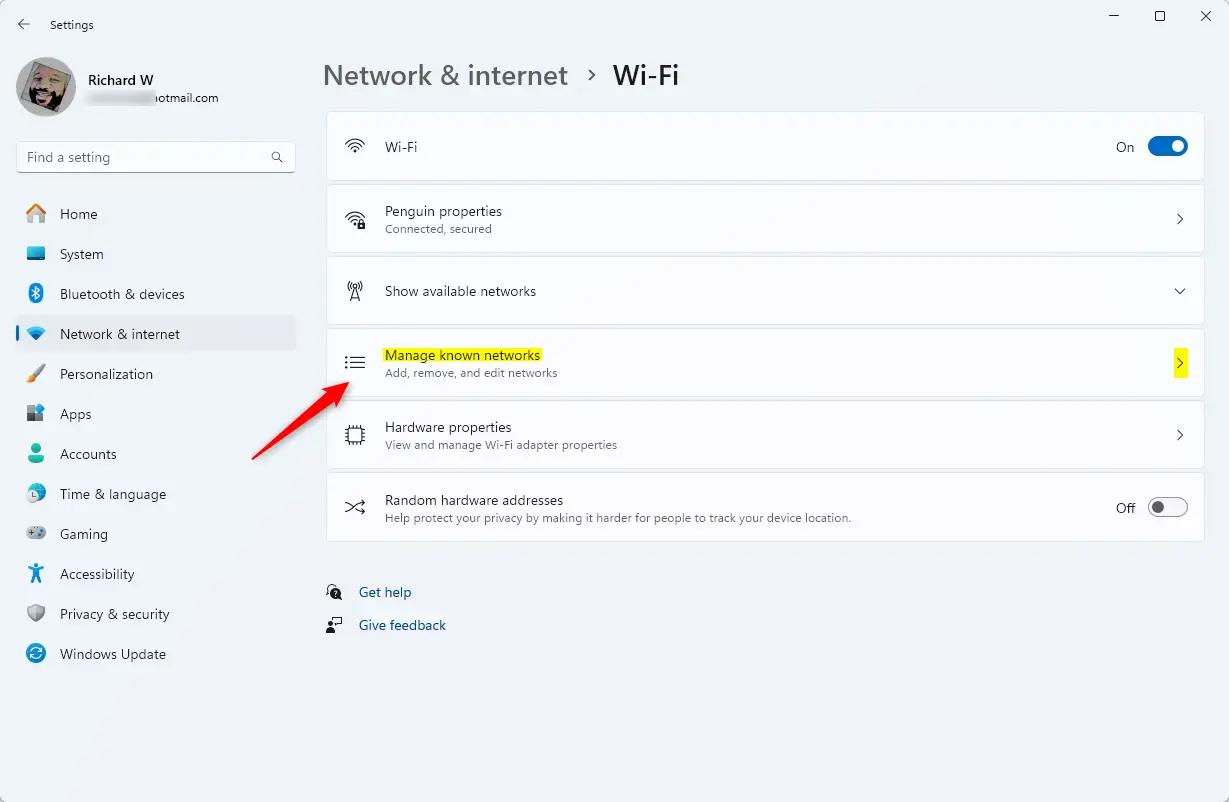
On the Network & internet -> WiFi settings screen, select Manage known networks and then select the WiFi network you want to change.
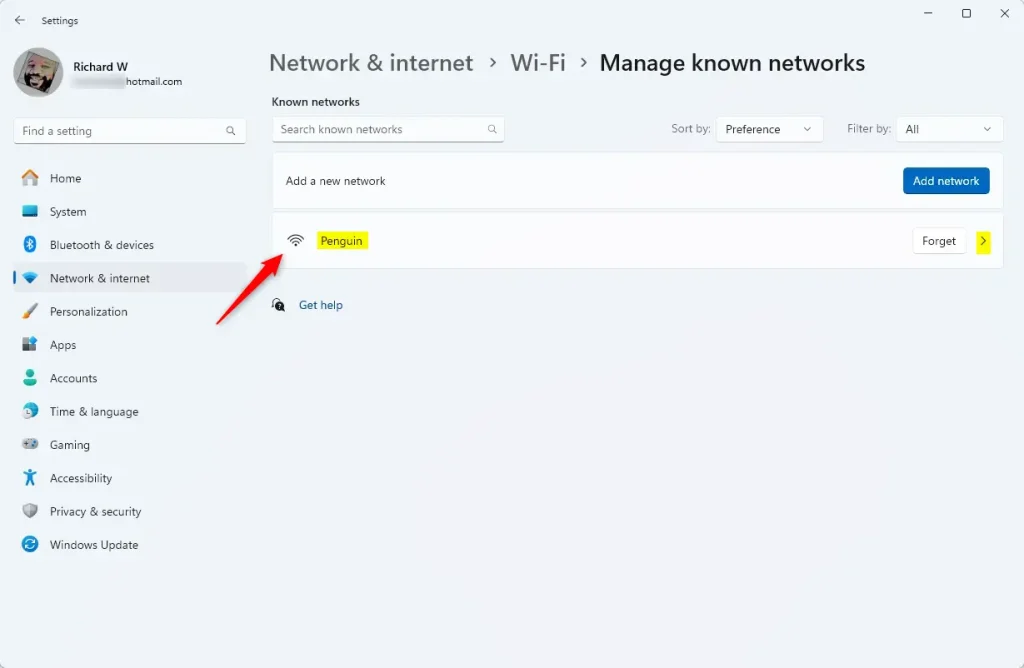
Next, select the Wi-Fi name tile you want to manage to expand it.
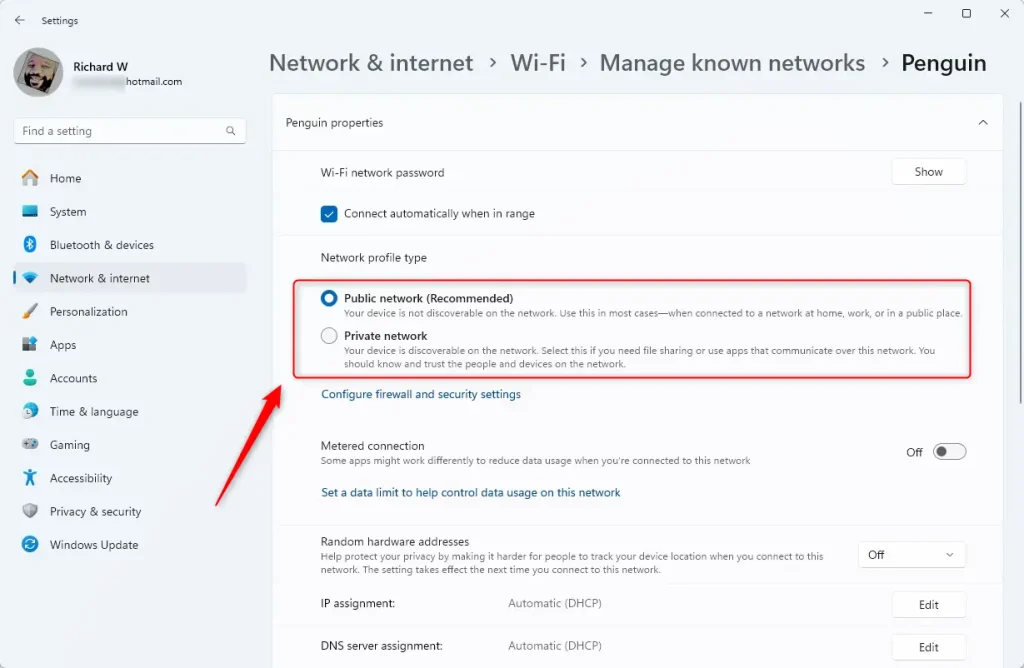
On the WiFi network screen, under the Network profile type, select Public (Recommended) or Private.
That should do it! You can now close the Windows Settings app.
Conclusion:
- Windows 11 allows switching between public and private network profiles based on the user’s environment.
- Users can easily manage their WiFi network profiles by accessing the Settings app and navigating the Network & internet section.
- Whether at home or in a business setting, the ability to designate a network as public or private empowers users to tailor their file and printer sharing preferences.
- With clear step-by-step instructions, users can confidently modify their WiFi network profile type in Windows 11.


Leave a Reply Cancel reply