

This article describes installing and using the sysPass password manager on Ubuntu Linux.
sysPass is a free, open-source, intuitive, secure, and multiuser password manager built on top of HTML5 and PHP technologies to offer a better UX. In addition, it supports AES-256-CTR for more robust password encryption and RSA for sending data securely.
Its user-friendly web interface helps users configure different authentication options and supports multiple ways to store, export, and manage their passwords.
Below is how to install and use the sysPass password manager on Ubuntu Linux.
Install and use sysPass password manager on Ubuntu Linux
As described above, sysPass is a free, open-source, intuitive, secure, and multiuser password manager built on top of HTML5 and PHP technologies to offer a better UX.
Below is how to install it on Ubuntu Linux.
sysPass is a PHP-based web application. Therefore, you will need to install a web server, database, and PHP script to install it on Ubuntu Linux.
Install the Apache HTTP server
For this article, we will use Apache HTTP web server with sysPass. Below is how to install Apache on Ubuntu Linux.
sudo apt update
sudo apt install apache2
Once Apache is installed, use the commands below to stop, start, and enable Apache to start up when your server starts up automatically.
sudo systemctl stop apache2
sudo systemctl start apache2
sudo systemctl enable apache2
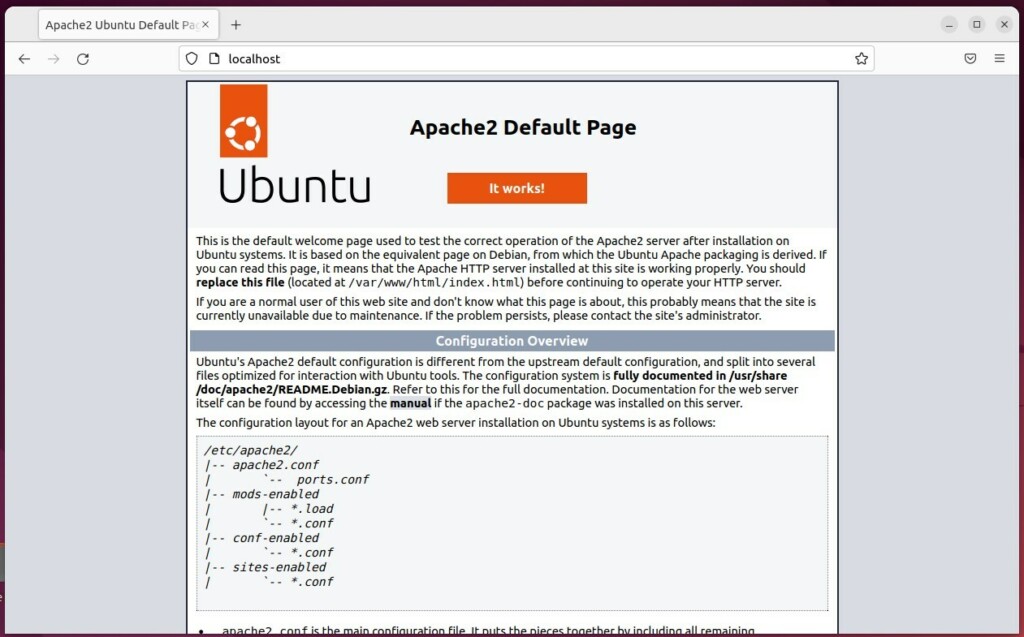
To verify that Apache is installed and functioning, open your web browser and browse to the server’s hostname or IP address.
http://localhost
You will see a similar page as the one below.
Install the MariaDB database server
A database server is also required to run and use sysPass. We will install and use the MariaDB database server for this article.
Run the commands below to install the MariaDB server.
sudo apt update
sudo apt install mariadb-server
Once MariaDB is installed, run the commands below to stop, start, and enable the MariaDB database to start up when the server starts up automatically.
sudo systemctl stop mariadb
sudo systemctl start mariadb
sudo systemctl enable mariadb
You can enhance MariaDB security by running the commands below. This will allow you to create a root password, remove anonymous users, and test the database.
sudo mysql_secure_installation
When prompted, use the guide below to answer the following questions.
Enter current password for root (enter for none):
OK, successfully used password, moving on...
Setting the root password or using the unix_socket ensures that nobody
can log into the MariaDB root user without the proper authorisation.
You already have your root account protected, so you can safely answer 'n'.
Switch to unix_socket authentication [Y/n] y
Enabled successfully!
Reloading privilege tables..
 ... Success!
Change the root password? [Y/n] y
New password:
Re-enter new password:
Password updated successfully!
You should remove them before moving into a
production environment.
Remove anonymous users? [Y/n] y
Normally, root should only be allowed to connect from 'localhost'.  This
ensures that someone cannot guess at the root password from the network.
Disallow root login remotely? [Y/n] y
By default, MariaDB comes with a database named 'test' that anyone can
access.
Remove test database and access to it? [Y/n] y
 - Dropping test database...
 - Removing privileges on test database...
Reloading the privilege tables will ensure that all changes made so far
will take effect immediately.
Reload privilege tables now? [Y/n] y
Cleaning up...
All done!  If you've completed all of the above steps, your MariaDB
installation should now be secure.
Install PHP
sysPass is a PHP-based application and requires that PHP is installed. sysPass also only supports PHP 7.4 as of the article’s time.
If your Ubuntu server has PHP 7.4 repositories already included, then run the apt-get install command.
However, if you need to install PHP 7.4, the commands below will help you install it.
sudo apt install software-properties-common ca-certificates lsb-release apt-transport-https
Next, add the PPA repository below.
sudo add-apt-repository ppa:ondrej/php
Finally, run the commands below to install PHP version 7.4.
sudo apt install libapache2-mod-php7.4 php7.4 php7.4-mysqli php7.4-pdo php7.4 php7.4-cgi php7.4-cli php7.4-common php7.4-gd php7.4-json php7.4-readline php7.4-curl php7.4-intl php7.4-ldap php7.4-xml php7.4-mbstring git
If you want to add additional PHP configurations, the default file is at the path below:
sudo nano /etc/php/7.4/apache2/php.ini
Create a database for sysPass
At this point, we have installed Apache, MariaDB, and PHP.
Next, create a database for sysPass to store its content. The commands below will help you create it.
sudo mysql -u root -p
Type the root password you created above if prompted.
Then, run the commands below to create a database named syspassdb.
CREATE DATABASE syspassdb;
After that, create a database user account named syspassdbuser and set a password for the account.
CREATE USER 'syspassdbuser'@'localhost' IDENTIFIED BY 'new_password_here';
Then, grant the user full access to the database.
GRANT ALL ON syspassdb.* TO 'syspassdbuser'@'localhost' WITH GRANT OPTION;
Exit when you are done.
FLUSH PRIVILEGES;
exit;
Install sysPass
We are now ready to install sysPass. First, run the commands below to download sysPass files.
git clone https://github.com/nuxsmin/sysPass.git
Next, move the downloaded files to the Apache root directory and change the permissions and ownership of the files.
sudo mv sysPass /var/www/html/syspass
sudo chown -R www-data:www-data /var/www/html/syspass
sudo chmod 750 /var/www/html/syspass/app/{config,backup}
Next, create a composer script by running the commands below.
sudo nano /var/www/html/syspass/install-composer.sh
Copy the content below and paste it into the file, then save and exit.
#!/bin/sh
 EXPECTED_SIGNATURE="$(wget -q -O - https://composer.github.io/installer.sig)"
 php -r "copy('https://getcomposer.org/installer', 'composer-setup.php');"
 ACTUAL_SIGNATURE="$(php -r "echo hash_file('sha384', 'composer-setup.php');")"
 if [ "$EXPECTED_SIGNATURE" != "$ACTUAL_SIGNATURE" ]
 then
     >&2 echo 'ERROR: Invalid installer signature'
     rm composer-setup.php
     exit 1
 fi
 php composer-setup.php --quiet
 RESULT=$?
 rm composer-setup.php
 exit $RESULT
After that, change into the directory, run the composer script created above, and install the required PHP dependencies.
cd /var/www/html/syspass/
sudo sh install-composer.sh
sudo php composer.phar install --no-dev
Configure Apache for sysPass
Once you are done above, run the commands below to create an Apache server block file for sysPass.
sudo nano /etc/apache2/sites-available/syspass.conf
Copy and paste the code below into the file and save.
<VirtualHost *:80>
  ServerName syspass.example.com
  ServerAlias www.syspass.example.com
  ServerAdmin [email protected]
  DocumentRoot /var/www/html/syspass

  <Directory /var/www/html/syspass/>
       Options FollowSymlinks
       AllowOverride All
       Require all granted
  </Directory>

       ErrorLog ${APACHE_LOG_DIR}/error.log
       CustomLog ${APACHE_LOG_DIR}/access.log combined

</VirtualHost>
Run the commands below to enable the configuration above and restart Apache.
sudo a2ensite syspass
sudo systemctl restart apache2
If all is set up correctly, you can open your browser, type in the domain or server hostname created, and access the sysPass setup portal.
http://syspass.example.com
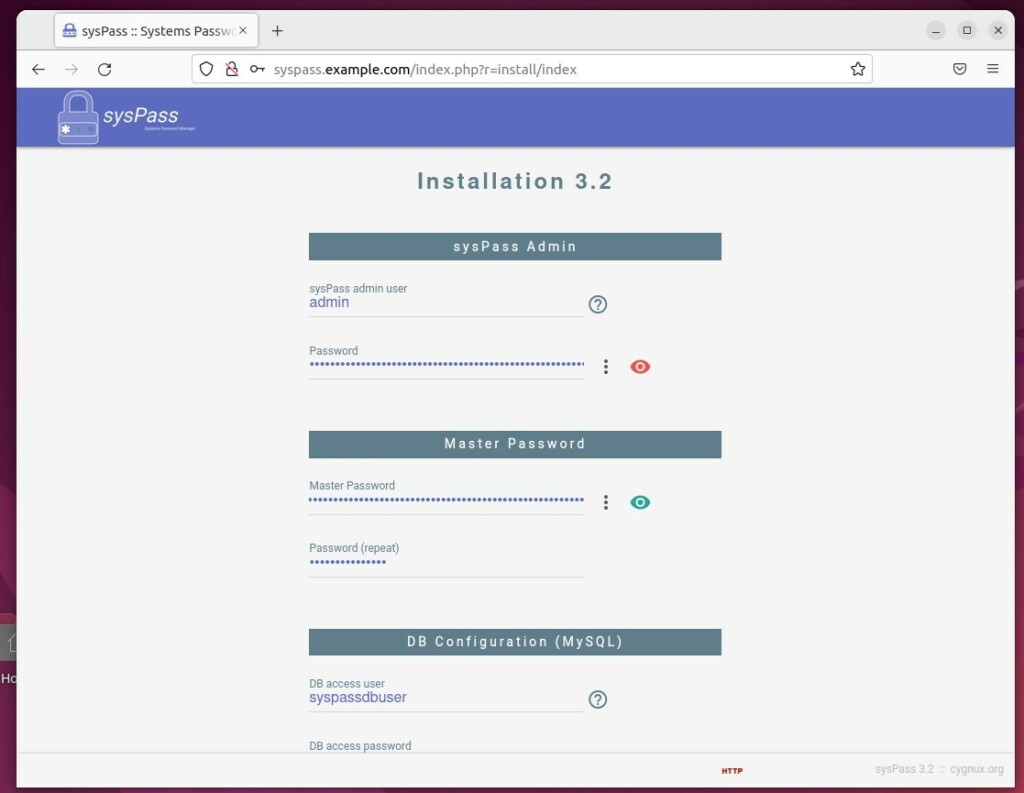
Create an admin account, and type in the database details created above (database name, user, and password).
Check the box Hosting Mode.
Then click Install to finish the installation.

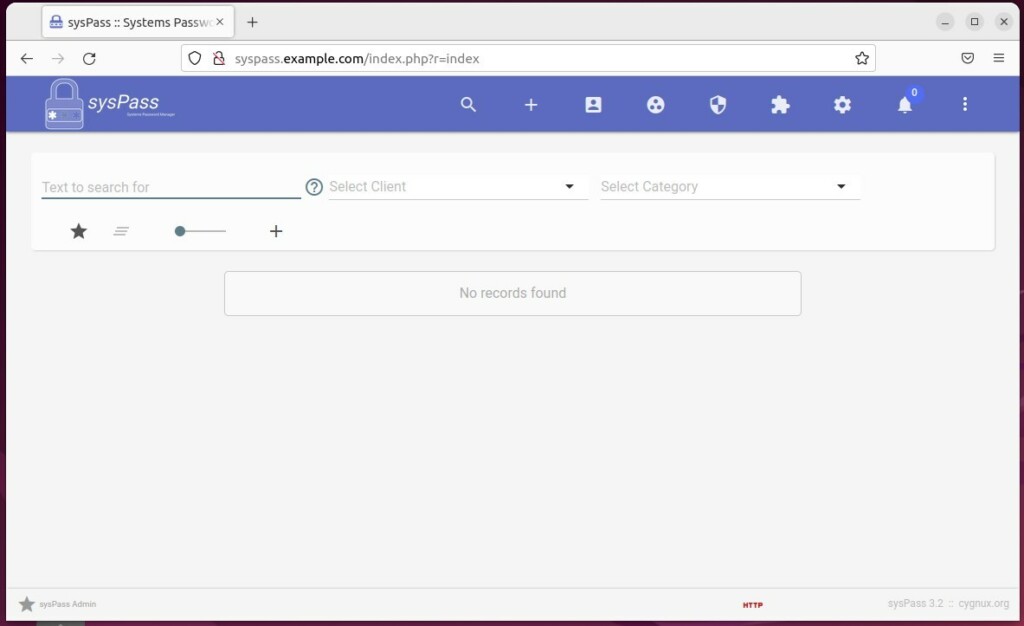
Login with the admin account created and start using sysPass.
You can also use sysPass with Let’s Encrypt certificate. Below is how to install and use Let’s Encrypt on Ubuntu Linux with Apache.
How to set up Let’s Encrypt with Apache on Ubuntu Linux
That should do it.
Conclusion:
- In this article, we have explored the installation and usage of the sysPass password manager on Ubuntu Linux, a free and open-source password manager known for its intuitive, secure, and multi-user capabilities.
- Through the comprehensive guide provided, users can learn how to install and set up the sysPass password manager on their Ubuntu server, covering essential steps such as installing the Apache web server, setting up the MariaDB database server, and configuring PHP, in addition to the actual installation of sysPass itself.
- With detailed instructions and accompanied by relevant images, readers can easily follow along to create a secure environment for sysPass and subsequently access its setup portal, create an admin account, and start benefiting from the features of this password manager.
- Lastly, the conclusion emphasizes the opportunity for users to enhance their sysPass setup by implementing a Let’s Encrypt certificate, further underlining the depth of information provided in the article and its potential for secure password management on Ubuntu Linux.

Leave a Reply