How to Install Standard Notes Server on Ubuntu
This guide explains how to host your own Standard Notes server on ubuntu-linux/" class="sal-link" rel="noopener" target="_blank" data-sal-id="15189">install-lets-chat-on-ubuntu-linux/" class="sal-link" rel="noopener" target="_blank" data-sal-id="11692">Ubuntu Linux in 2026. Standard Notes is a secure, encrypted note-taking app that lets you sync your data across all your devices.
Why do this? Hosting your own server gives you full control over your data, ensuring your notes stay private and are not stored on a third-party cloud.
What happens when done? You will have a private, self-hosted synchronization server running on your Ubuntu machine, ready to connect to your Standard Notes desktop and mobile apps.
Install Docker and Docker Compose
We use Docker to run the server. It keeps the software isolated from your system.
First, update your system and install Docker using the official script:
sudo apt update
curl -fsSL https://get.docker.com -o get-docker.sh
sudo sh get-docker.sh
Add your user to the Docker group so you can run commands without typing “sudo” every time:
sudo usermod -aG docker ${USER}Log out and log back in for this change to take effect. You can find more details in the official documentation How to install Docker and Docker Compose on Ubuntu Linux.
Download and install Standard Notes
We will use the official standardnotes/server repository. This handles the core logic, but remember that it requires a separate database container (like MariaDB or MySQL) to store your data. You can find the latest .env template in the official documentation.
Clone the repository to get started:
git clone https://github.com/standardnotes/server.git
cd server
Important Security Warning: Do not use default passwords or store sensitive keys in plain text files on a production server. Always use a proper secrets manager or environment variable injection tool to handle your credentials. Ensure your NODE_ENV is set to production to enable security optimizations.
Generate your secure keys using openssl rand -hex 32 and update your .env file accordingly. Ensure your database connection settings are correct for your MariaDB or MySQL instance.
Configuring a Reverse Proxy with Certbot
To access your server securely over the internet, you should use a reverse proxy like Nginx. This allows you to use HTTPS, which is required to keep your data encrypted while in transit.
Install Nginx and Certbot:
sudo apt install nginx certbot python3-certbot-nginx
Configure your Nginx site file to point to your Docker container port (usually 3000). Once configured, run the following to enable HTTPS:
sudo certbot --nginx
This will automatically secure your server with a Let’s Encrypt certificate.
Access the Standard Notes server
Once your server is running, download the Standard Notes client for your device. download page
Open the app and go to the settings. Click on the Advanced features button.
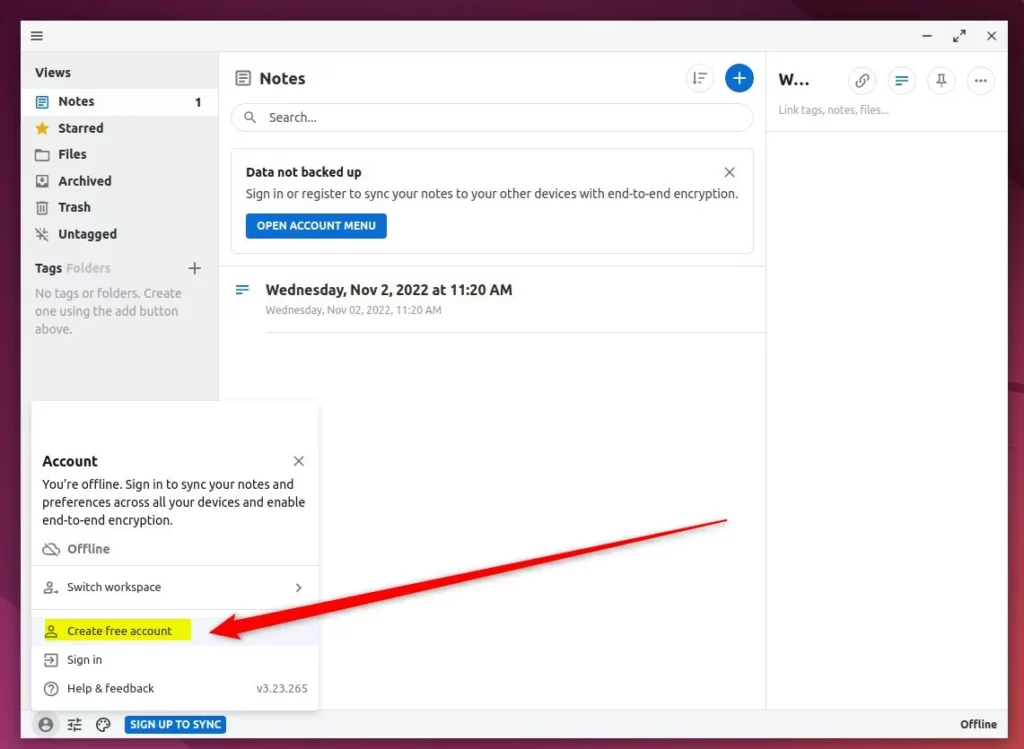
Uncheck the default sync server option.
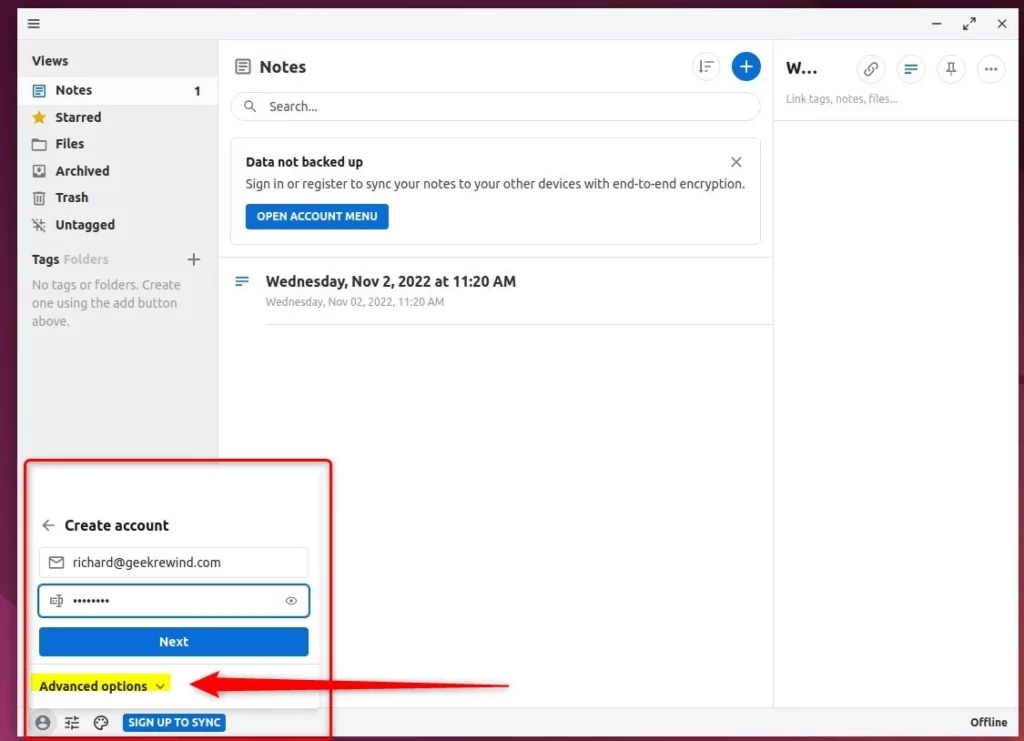
Enter the URL of your server (e.g., https://yourdomain.com).
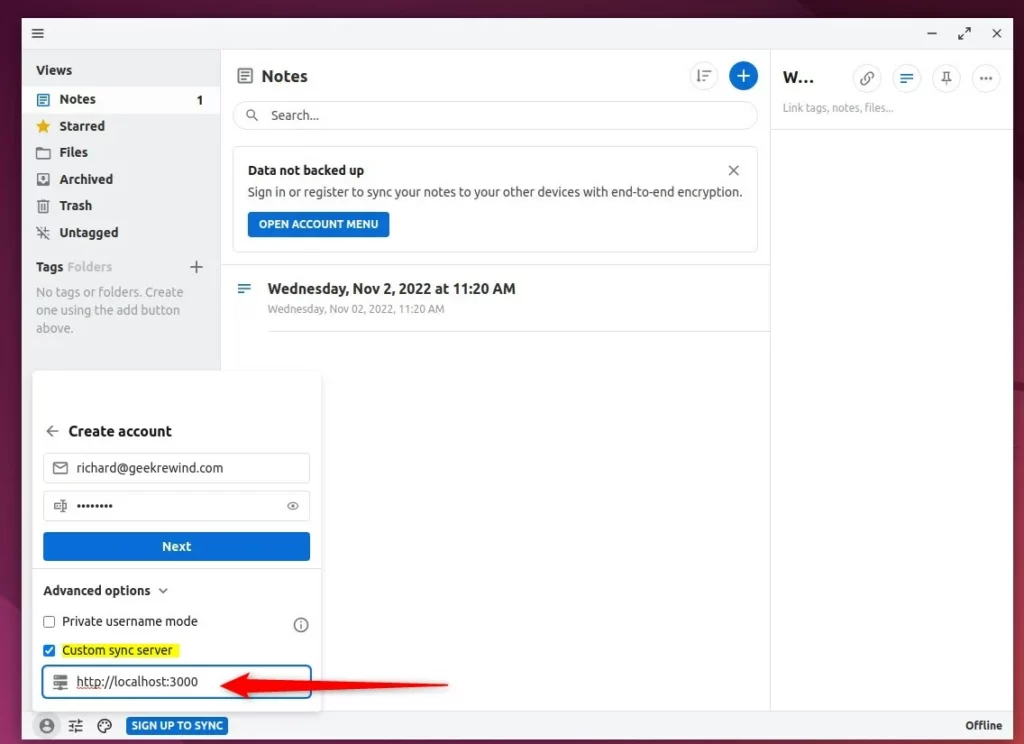
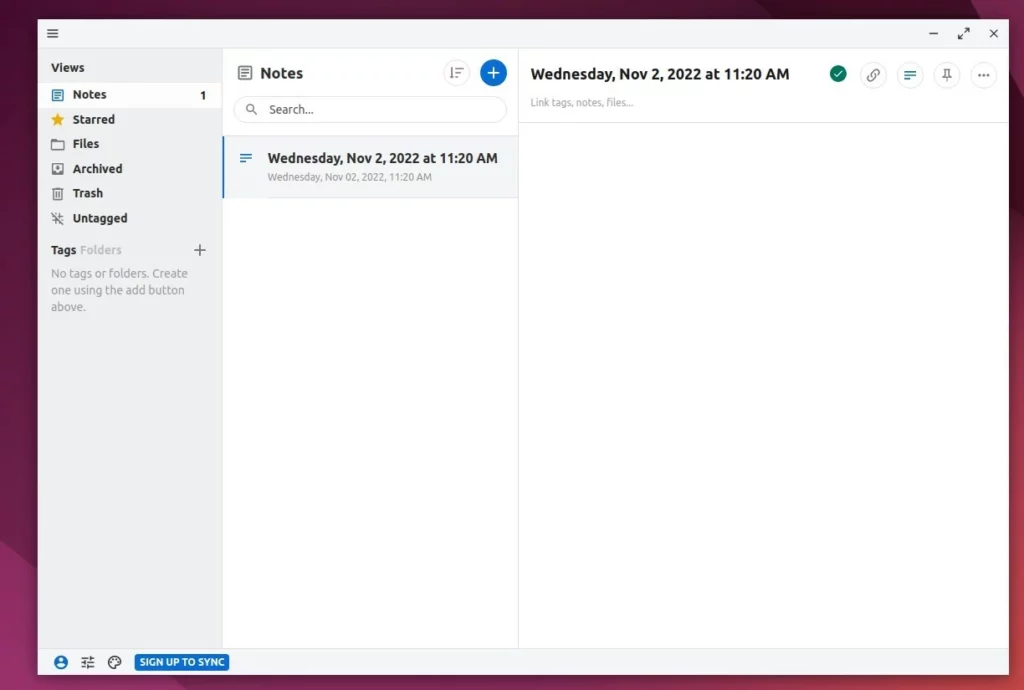
Your client will now sync directly to your private server.
For additional help, visit the official Standard Notes support site community forums.
[arch=$(dpkg –print-architecture) signed-by=/usr/share/keyrings/docker.gpg]
Was this guide helpful?


Leave a Reply Cancel reply