

This article explains how to install SeaMonkey on Ubuntu 24.04.
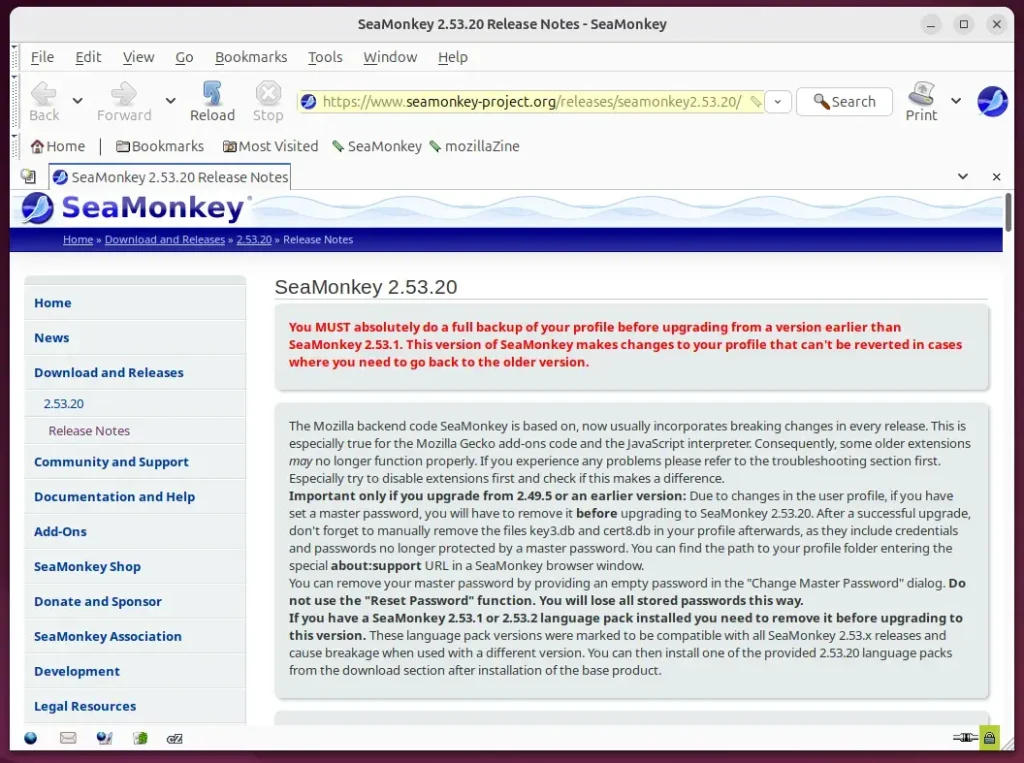
SeaMonkey is an open-source Internet suite with a web browser, email client, newsgroup client, IRC chat client, and HTML editor. It continues the original Mozilla application suite and combines several online tools into one package.
SeaMonkey integrates multiple tools for web browsing, email, and chat, which can be more convenient than using separate applications. It includes built-in tools for web developers, like a DOM inspector, a JavaScript debugger, and more, making it useful for those involved in web development.
SeaMonkey can be more lightweight and execute faster, especially on older hardware.
The steps below walk you through installing SeaMonkey on Ubuntu 24.04.
Prepare Ubuntu
Before installing SeaMonkey, you must update and install some supporting packages.
Run the command below to do that.
sudo apt update && sudo apt upgrade
sudo apt install dirmngr ca-certificates software-properties-common apt-transport-https
Import the GPG key for the SeaMonkey repository
To install SeaMonkey from its repository, you must first import its GPG key to authenticate packages.
Run the command below to do that.
sudo gpg --no-default-keyring --keyring /usr/share/keyrings/ubuntuzilla.gpg --keyserver keyserver.ubuntu.com --recv-keys 2667CA5C
Add the SeaMonkey repository to Ubuntu.
After importing the GPG key, run the command below to add the SeaMonkey’s repository file to Ubuntu.
printf 'deb [signed-by=/usr/share/keyrings/ubuntuzilla.gpg] https://downloads.sourceforge.net/project/ubuntuzilla/mozilla/apt all mainn' | sudo tee /etc/apt/sources.list.d/ubuntuzilla.list >/dev/null
Finally, run the command below to update Ubuntu package indexes and install SeaMonkey.
sudo apt update
sudo apt install seamonkey-mozilla-build
Once installed, type the command below to launch the app from the terminal.
seamonkey
On the desktop, go to Activities > Show Applications > SeaMonkey.
Uninstall SeaMonkey
When you want to uninstall SeaMonkey, run the command below.
sudo apt install seamonkey-mozilla-build --purge
sudo rm /etc/apt/sources.list.d/ubuntuzilla.list
sudo rm /usr/share/keyrings/ubuntuzilla.gpg
That should do it!
Conclusion:
In summary, installing SeaMonkey on Ubuntu 24.04 provides users with an efficient and integrated suite of internet tools. Here are some key takeaways:
- SeaMonkey offers comprehensive features, including a web browser, email client, and chat tools.
- The installation process is straightforward, requiring a few terminal commands for setup.
- It is a lightweight application, making it an excellent choice for older hardware or those seeking speed.
- Regular updates and community support ensure that SeaMonkey remains reliable for internet users.
- Uninstalling SeaMonkey is just as easy, allowing users to remove it without hassle.
Following the outlined steps, you can enjoy the benefits of SeaMonkey, which is seamlessly integrated into your Ubuntu environment.


Leave a Reply