

This article provides a clear guide on how to install the OpenSSH Server on Windows 11.
Windows 11 includes a built-in OpenSSH Server that system administrators can easily install and enable. Additionally, Windows 11 comes with a pre-installed SSH Client ready to connect to any SSH server.
If you need OpenSSH for secure connections in Windows, it’s easily accessible.
The Windows version works the same for those who have worked with OpenSSH Servers in other environments.
Installing OpenSSH Server is quite simple, but configuring and managing it can be challenging. The good news is that once it is started, the OpenSSH Server will allow connections and provide access to users’ accounts right out of the box.
How to use OpenSSH Server in Windows 11 to allow connections
If you want to use Windows 11’s built-in OpenSSH Server, follow the steps below to install it.
Windows 11 has a centralized location for the majority of its settings. Everything can be done, from system configurations to creating new users and updating Windows from its System Settings pane.
To get to System Settings, you can use the Windows key + I shortcut or click on Start ==> Settings, as shown in the image below:

Alternatively, you can use the search box on the taskbar to search for Settings. Then select to open it.
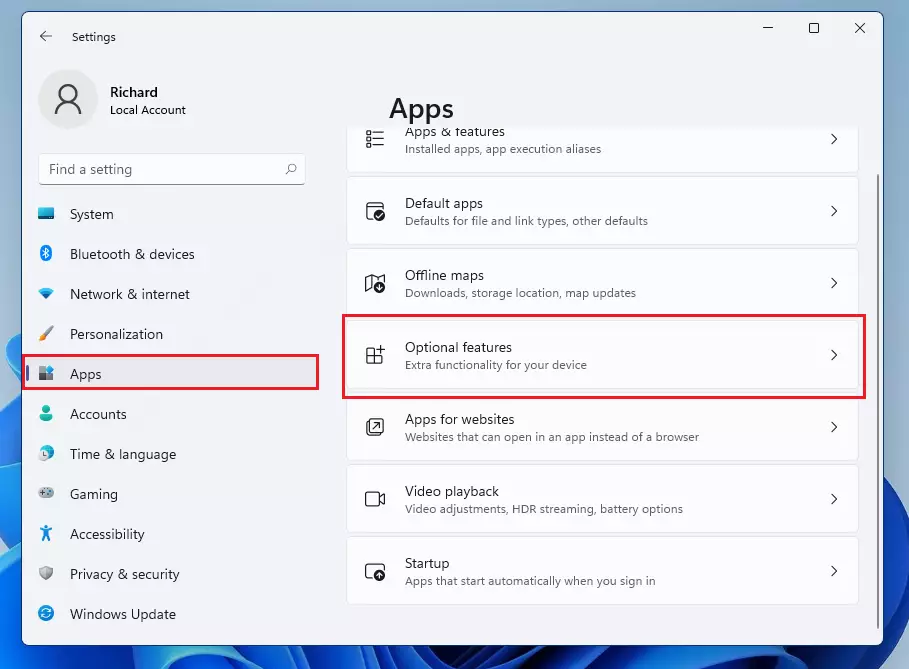
In Windows Settings, click Apps and select Optional Features on the right pane of your screen, as shown in the image below.
It can be accessed on some systems at Settings -> System -> Optional Features.
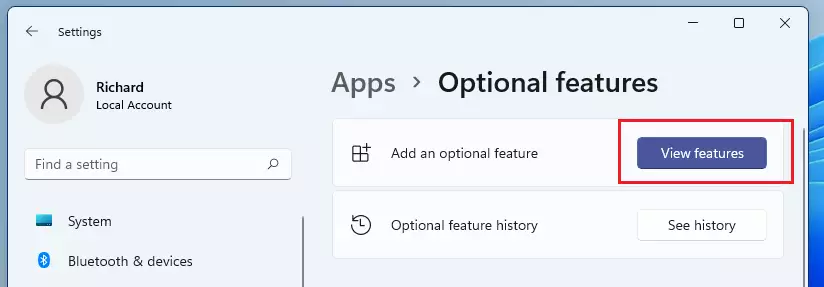
Click Add an optional Feature View features as highlighted below on the Optional Features settings pane.
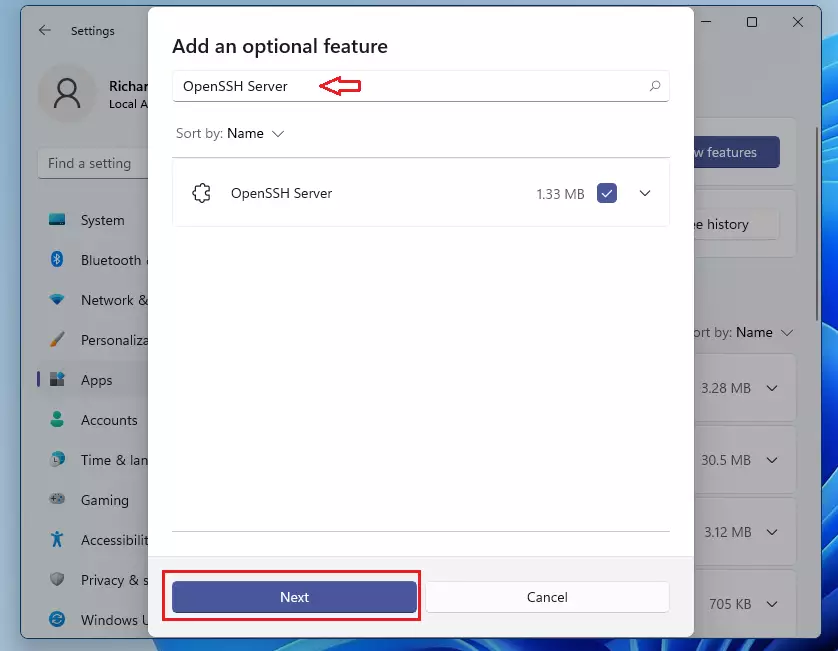
Next, in the search box, type OpenSSH Server, select it from the list to install, and click Next.
Finally, click Install to begin the installation.
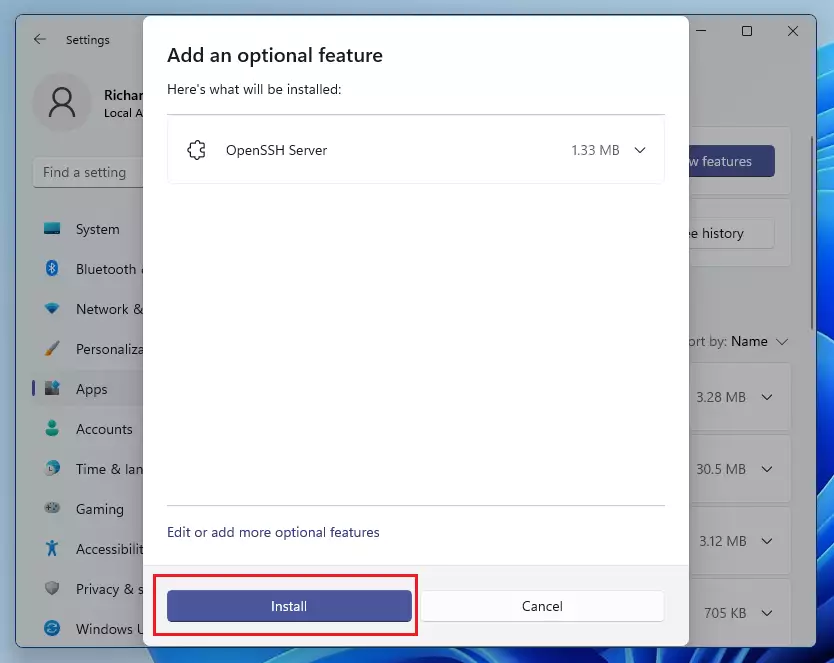
After a brief moment, depending on the speed of your computer and the network, OpenSSH Server should be installed.
By default, OpenSSH Server is set not to run. You must manually start up its service to run.
How to start the OpenSSH Server in Windows 11
Now that the OpenSSH Server is installed, open the Windows Services console app by searching for Services and selecting it to open.
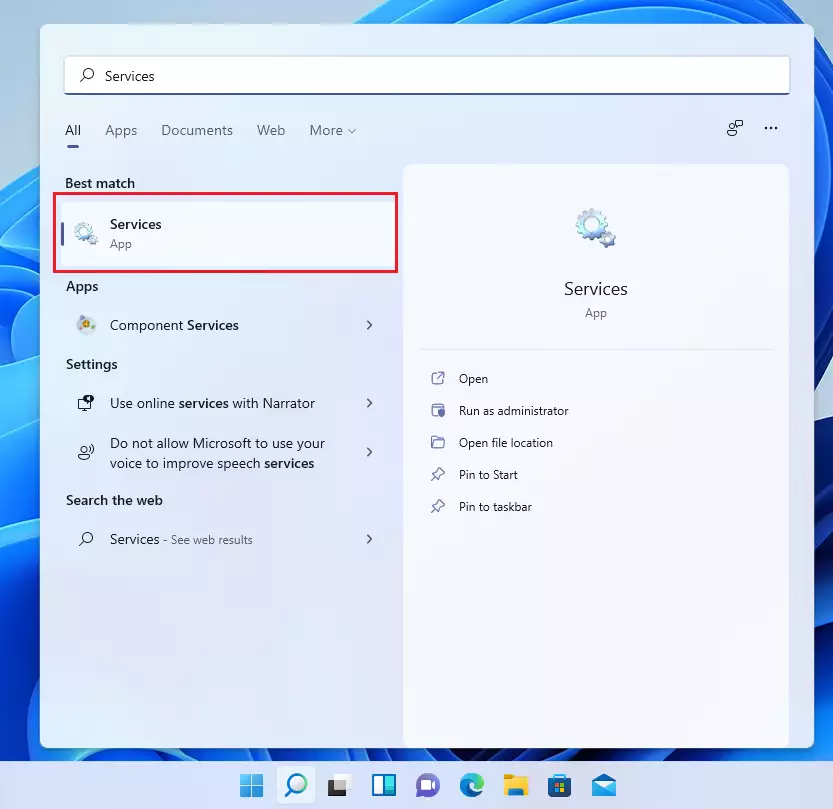
When the Services console opens, look for OpenSSH SSH Server on the list, then right-click and select Start to start it up.

When it starts, it should change from Manual to Running.
How to connect to Windows OpenSSH Server
Now that the server is installed and running, use any SSH client to connect to the Windows server. For this post, we’re using Windows 11 built-in OpenSSH Client, installed and enabled by default.
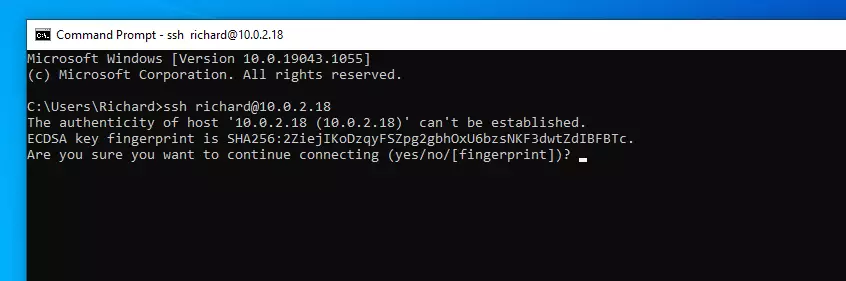
Open the Windows Command Prompt console, then run the SSH command with the username and IP address of the Windows server.
ssh [email protected]
That will allow you to accept the server key and establish a connection.
Type in the account password and access should be granted.
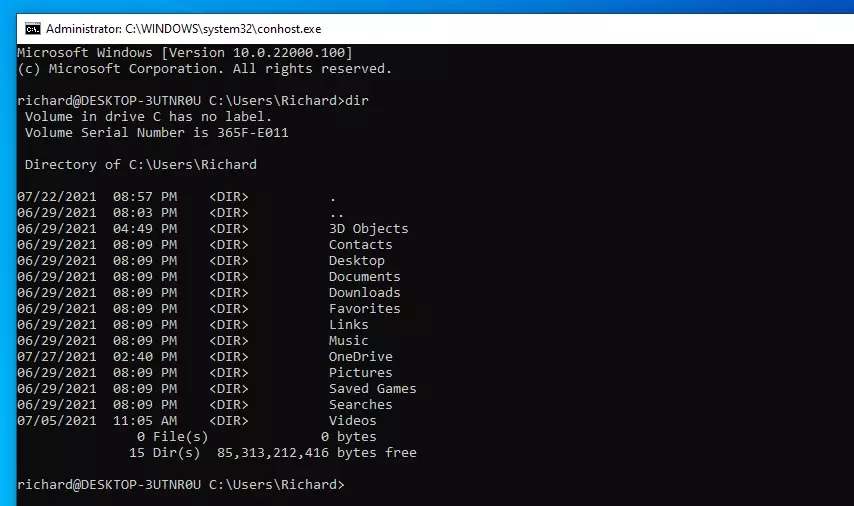
That should do it!
This post showed you how to install OpenSSH Server in Windows 11. If you find any errors above, please use the comment form below to report.
Conclusion:
- Windows 11 offers a built-in OpenSSH Server for secure SSH connections, eliminating the need for third-party solutions.
- The installation process is simple and can be accomplished via System Settings > Apps > Optional Features, followed by starting the OpenSSH SSH Server service in the Services console.
- Once installed and running, users can connect to the Windows OpenSSH Server using an SSH client, such as the built-in OpenSSH Client on Windows 11.
- This seamless integration allows for efficient and secure remote connections within Windows environments.


Leave a Reply