How to Install FossBilling with Nginx on Ubuntu Linux
You can install FossBilling with Nginx on Ubuntu Linux to create your own self-hosted client billing and automation system.
FossBilling is an open-source solution that streamlines invoicing, payment processing, and customer management for your business. By setting it up on your Ubuntu server, you gain complete control over your sensitive client data and operational workflows.
This tutorial guides you through the process of installing FossBilling using the Nginx web server on Ubuntu 22.04 LTS. You’ll configure the necessary server blocks and database for a robust billing platform.
Install Nginx and PHP-FPM using `sudo apt install nginx php-fpm php-mysql`. Then, download FOSSBilling, configure Nginx with a site file, and run the web-based setup wizard. Finally, set up the cron job with `sudo crontab -u www-data -e`.
Install Nginx on Ubuntu Linux
Nginx is a fast and reliable web server that FOSSBilling needs to show its pages. To install Nginx on Ubuntu Linux, first open your terminal and update your software list with ‘sudo apt update’, then install Nginx using ‘sudo apt install nginx’.
- Open your terminal and update your software list:
sudo apt update - Install Nginx:
sudo apt install nginx
You can manage the Nginx service with these commands:
- Stop:
sudo systemctl stop nginx - Start:
sudo systemctl start nginx - Enable at startup:
sudo systemctl enable nginx
Check if it works by visiting your server IP address in a web browser.
Install MariaDB on Ubuntu Linux
MariaDB is the database FOSSBilling uses to store all your billing information. To install MariaDB on Ubuntu 24.04 LTS, first install the repository helper with ‘sudo apt install software-properties-common curl’, then add the MariaDB repo using the provided curl command, and finally install the server with ‘sudo apt install mariadb-server’.
- Install the repository helper:
sudo apt install software-properties-common curl - Add the MariaDB repo:
curl -LsS https://downloads.mariadb.com/MariaDB/mariadb_repo_setup | sudo bash - Install the server:
sudo apt install mariadb-server
Start and enable the service: sudo systemctl enable --now mariadb. For more help, visit How to install MariaDB on Ubuntu Linux.
Create FOSSBilling database
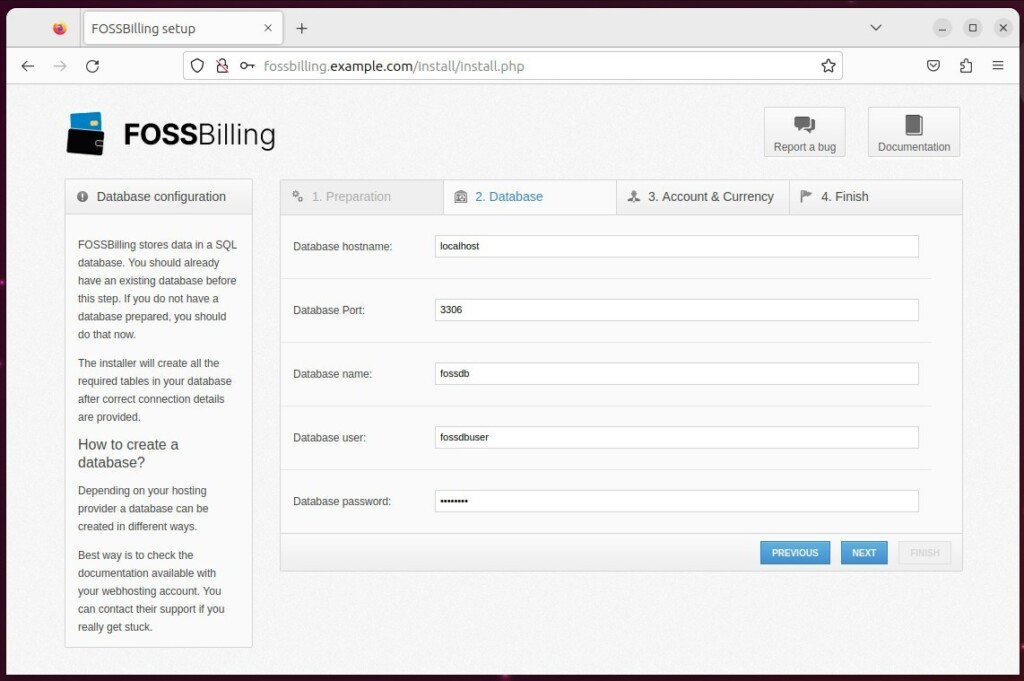
You need to create a specific database for FOSSBilling to store its data. First, secure your MariaDB installation by running ‘sudo mysql_secure_installation’ and following the prompts. Then, log into MariaDB with ‘sudo mariadb’ and run the commands to create the database ‘fossdb’, the user ‘fossdbuser’, and grant them permissions.
sudo mysql_secure_installation
Follow the on-screen prompts. Now, create your database:
- Log in:
sudo mariadb - Run these commands:
CREATE DATABASE fossdb;CREATE USER fossdbuser@localhost IDENTIFIED BY 'your_password';GRANT ALL ON fossdb.* TO fossdbuser@localhost WITH GRANT OPTION;FLUSH PRIVILEGES;exit
Install PHP-FPM on Ubuntu Linux
FOSSBilling runs on PHP, and PHP-FPM helps your server talk to PHP scripts quickly. To install PHP-FPM and the necessary modules on Ubuntu, run the command ‘sudo apt install php-fpm php-mysql php-intl php-curl php-cli php-zip php-common php-mbstring php-xml’.
sudo apt install php-fpm php-mysql php-intl php-curl php-cli php-zip php-common php-mbstring php-xml
Enable it to start automatically: sudo systemctl enable --now php8.3-fpm (Note: replace the asterisk with your installed PHP version, e.g., `php8.1-fpm`, by running `php -v`).
General: Configure Nginx
Configuring Nginx is the next step to get FOSSBilling running. First, create the web directory for FOSSBilling with ‘sudo mkdir -p /var/www/fossbilling’ and set the correct ownership using ‘sudo chown -R www-data:www-data /var/www/fossbilling’. Then, create the Nginx configuration file at ‘/etc/nginx/sites-available/fossbilling.conf’.
sudo mkdir -p /var/www/fossbilling
sudo chown -R www-data:www-data /var/www/fossbilling
Now, create the configuration file:
sudo nano /etc/nginx/sites-available/fossbilling.conf
Paste your server settings into this file, save it, and then enable this new configuration:
sudo ln -s /etc/nginx/sites-available/fossbilling.conf /etc/nginx/sites-enabled/
sudo systemctl restart nginx
Download and Setup
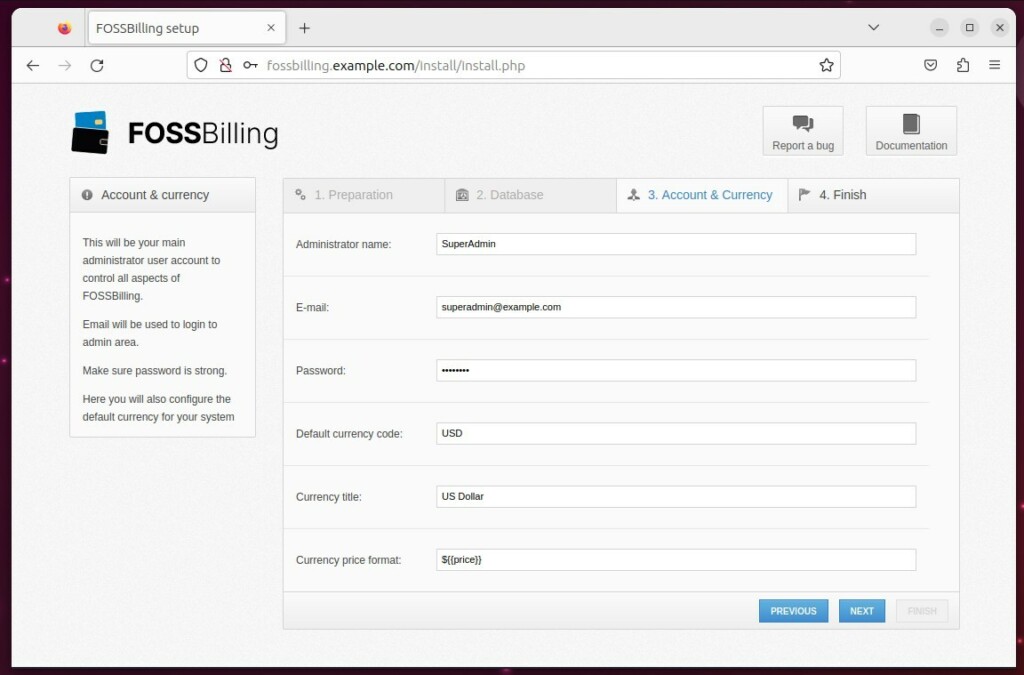
Now it’s time to download FOSSBilling and complete the setup. Download the latest stable version by running ‘cd /tmp’, then ‘curl https://fossbilling.org/downloads/stable -L –output FOSSBilling.zip’, and unzip it into your web directory with ‘sudo unzip FOSSBilling.zip -d /var/www/fossbilling’. After visiting your domain, follow the on-screen setup wizard.
cd /tmp
curl https://fossbilling.org/downloads/stable -L --output FOSSBilling.zip
sudo unzip FOSSBilling.zip -d /var/www/fossbilling
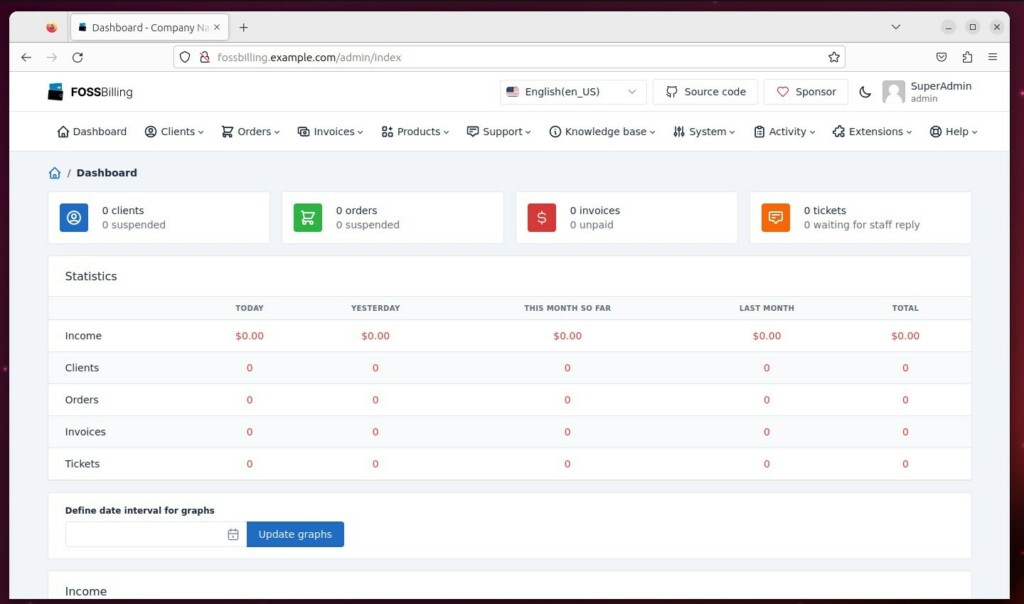
Visit your domain in a browser. 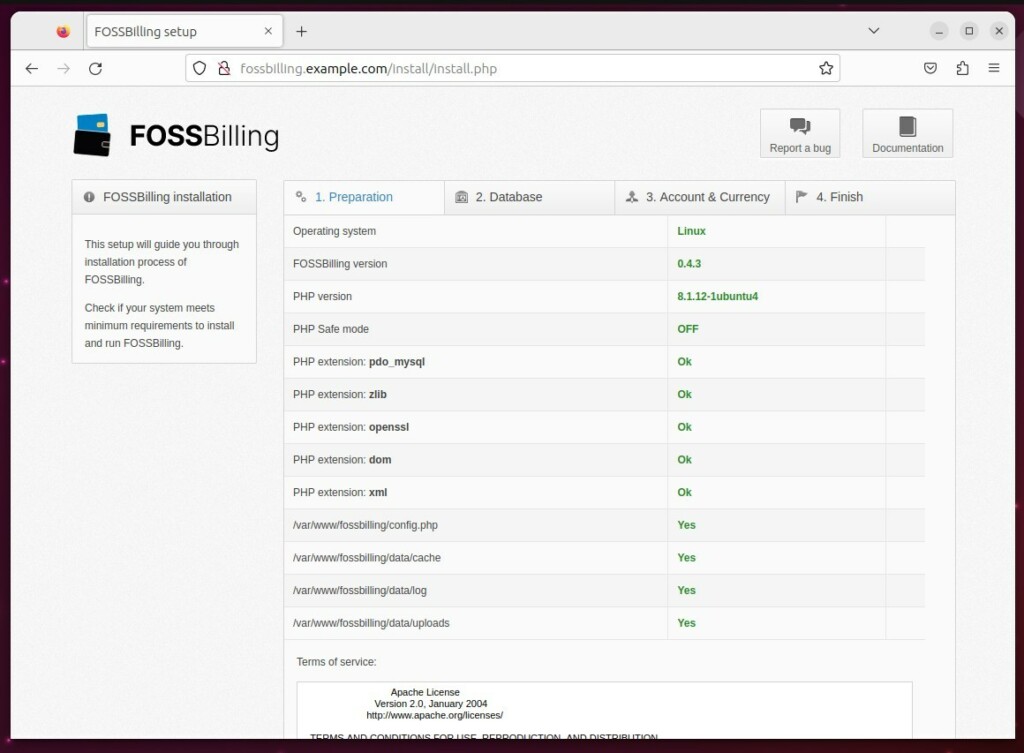
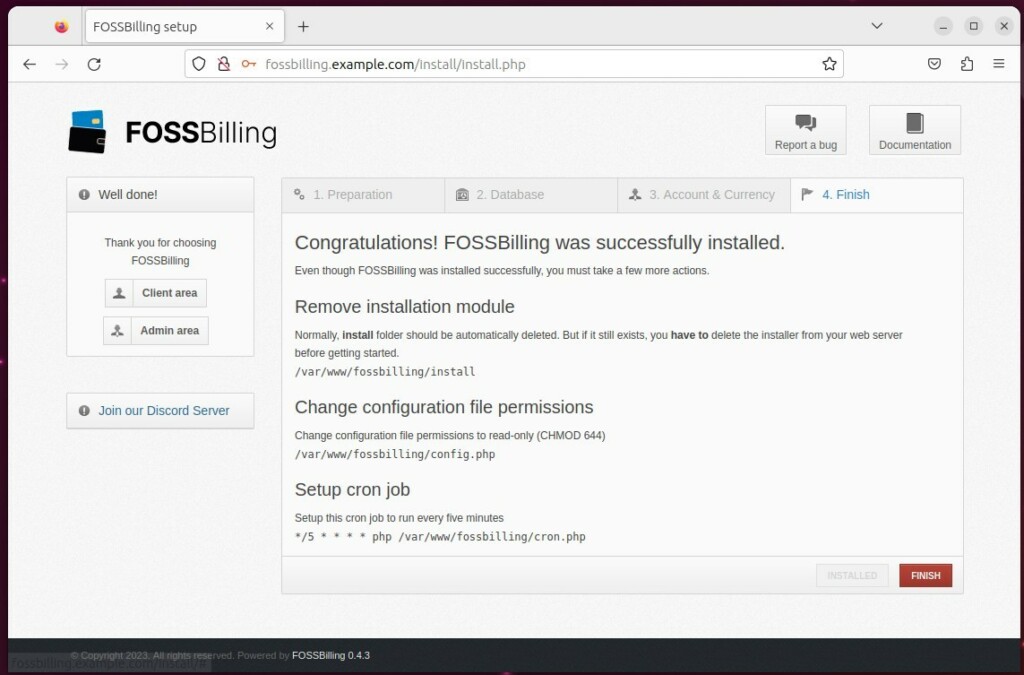
sudo rm -rf /var/www/fossbilling/install
Set up the background task (cron job):
sudo crontab -u www-data -e
Add this line: */5 * * * * php /var/www/fossbilling/cron.php
Was this guide helpful?

About the Author
Richard
Tech Writer, IT Professional
Richard, a writer for Geek Rewind, is a tech enthusiast who loves breaking down complex IT topics into simple, easy-to-understand ideas. With years of hands-on experience in system administration and enterprise IT operations, he’s developed a knack for offering practical tips and solutions. Richard aims to make technology more accessible and actionable. He's deeply committed to the Geek Rewind community, always ready to answer questions and engage in discussions.

No comments yet — be the first to share your thoughts!