How to Install FreeScout with Nginx on Ubuntu Linux
You can install FreeScout, an open-source help desk and shared mailbox solution, on Ubuntu Linux using Nginx as your web server.
FreeScout provides a powerful, self-hosted alternative to paid platforms like Zendesk, giving you complete control over your customer support data. It requires a PHP environment and a database to function.
By completing this setup, you will deploy a professional help desk on your own server, perfect for managing emails and customer tickets without recurring subscription costs.
Install Nginx, MariaDB, and PHP 8.3 using apt commands. Create a FreeScout database in MariaDB, then download FreeScout files to /var/www/freescout. Configure Nginx server block and secure with Certbot.
Install Nginx on Ubuntu Linux
Nginx is the web server that shows your FreeScout help desk to visitors. To install Nginx on Ubuntu, you’ll first update your package list and then install the nginx package using simple commands.
sudo apt update
sudo apt install nginx
You can manage the Nginx service (start, stop, restart it) with these commands:
sudo systemctl start nginx
sudo systemctl enable nginx
Open your web browser and go to your server’s IP address. You should see the “Welcome to nginx!” page.
Additional help on installing Nginx: How to install Nginx on Ubuntu
Install MariaDB on Ubuntu Linux
MariaDB stores all your FreeScout help desk information, like tickets and user data. Installing MariaDB on Ubuntu is easy: first, update your system’s package list, then install the mariadb-server package.
sudo apt update
sudo apt install mariadb-server
Ensure it starts automatically:
sudo systemctl enable mariadb
sudo systemctl start mariadb
Test the connection:
sudo mariadb
You should see a welcome message showing the version. Additional help on installing MariaDB: How to install MariaDB on Ubuntu Linux
Create FreeScout database
FreeScout needs its own database to store all its information safely. To create this database, you’ll first run a command to secure your MariaDB installation, then log in to MariaDB to create a new database named ‘freescoutdb’.
sudo mysql_secure_installation
Follow the prompts to remove anonymous users and lock down remote access.
Now, log back into MariaDB to create your database:
sudo mariadb
Run these commands inside the MariaDB console:
CREATE DATABASE freescoutdb CHARSET utf8mb4 COLLATE utf8mb4_unicode_ci;
CREATE USER freescoutdbuser@localhost IDENTIFIED BY 'your_secure_password';
GRANT ALL ON freescoutdb.* TO freescoutdbuser@localhost WITH GRANT OPTION;
FLUSH PRIVILEGES;
exit
Install PHP and Required Extensions
FreeScout needs PHP to process logic, and we’ll use PHP 8.3, which is the standard version for Ubuntu 24.04.
sudo add-apt-repository ppa:ondrej/php
sudo apt update
sudo apt install php8.3-fpm php8.3-mysql php8.3-curl php8.3-gd php8.3-imap php8.3-mbstring php8.3-xml php8.3-zip php8.3-intl
Download and Configure FreeScout
Create the directory and download the files:
sudo mkdir -p /var/www/freescout
cd /var/www/freescout
sudo git clone https://github.com/freescout-helpdesk/freescout .
sudo chown -R www-data:www-data /var/www/freescout
Nginx Server Block and SSL
You need to tell Nginx how to handle requests for your FreeScout site by creating a server block. This involves making a new file in the Nginx configuration directory and pasting in the correct settings that point to your FreeScout files.
sudo nano /etc/nginx/sites-available/freescout
Paste your configuration pointing to the /var/www/freescout/public directory and ensure fastcgi_pass points to unix:/run/php/php8.3-fpm.sock.
Enable the site:
sudo ln -s /etc/nginx/sites-available/freescout /etc/nginx/sites-enabled/
sudo systemctl restart nginx
Secure with Certbot:
sudo apt install certbot python3-certbot-nginx
sudo certbot --nginx
Follow the prompts to secure your domain with a free SSL certificate.
Installation Wizard
The FreeScout installation wizard guides you through the final setup steps right in your web browser. You’ll visit your domain, check that your system meets the requirements, enter the database details you just created, and set up your administrator account.
- Check requirements
- Enter database details
- Create your admin account
Once finished, set up the background tasks by running sudo crontab -u www-data -e and adding the line provided by the FreeScout installer. You are now ready to log in and start your dashboard. 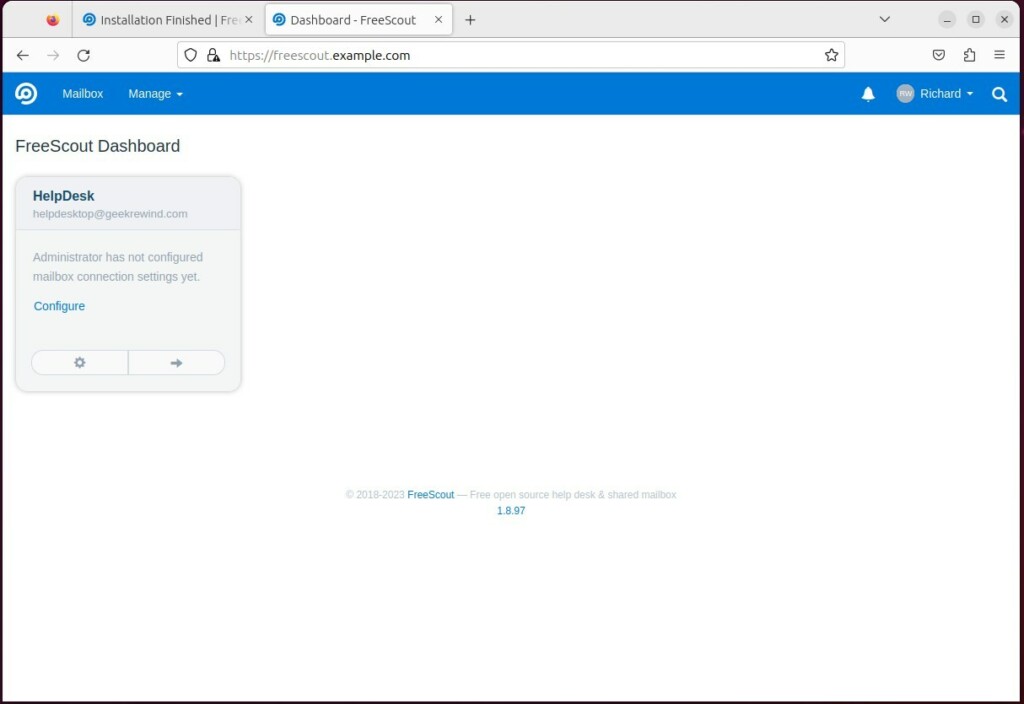
Conclusion: By self-hosting, you keep your data private and save money. You now have a fully functional help desk ready for use.
Reference: FreeScout
Was this guide helpful?

About the Author
Richard
Tech Writer, IT Professional
Richard, a writer for Geek Rewind, is a tech enthusiast who loves breaking down complex IT topics into simple, easy-to-understand ideas. With years of hands-on experience in system administration and enterprise IT operations, he’s developed a knack for offering practical tips and solutions. Richard aims to make technology more accessible and actionable. He's deeply committed to the Geek Rewind community, always ready to answer questions and engage in discussions.


[…] How to install Nginx on Ubuntu […]