
This article describes the steps to enable or disable startup apps in Windows 11.
There are two types of AutoStart applications in Windows: Those built and integrated into Windows that run automatically during system startup and those that do not.
Microsoft Defender Antivirus and other security applications are typically designed to run at system startup. Users install applications as optional startup apps, and it’s up to the user to allow or deny these apps to run at startup time.
There are also multiple ways to control which apps run at startup in Windows 11. For example, apps you disable at startup will not run when your system starts up.
Those that are enabled will start up with the system.
How to turn on or off startup apps in Windows 11
As described above, multiple ways exist to control which apps run at startup in Windows 11. Apps you disable at startup will not run when your system starts.
Here’s how to control startup apps in Windows 11
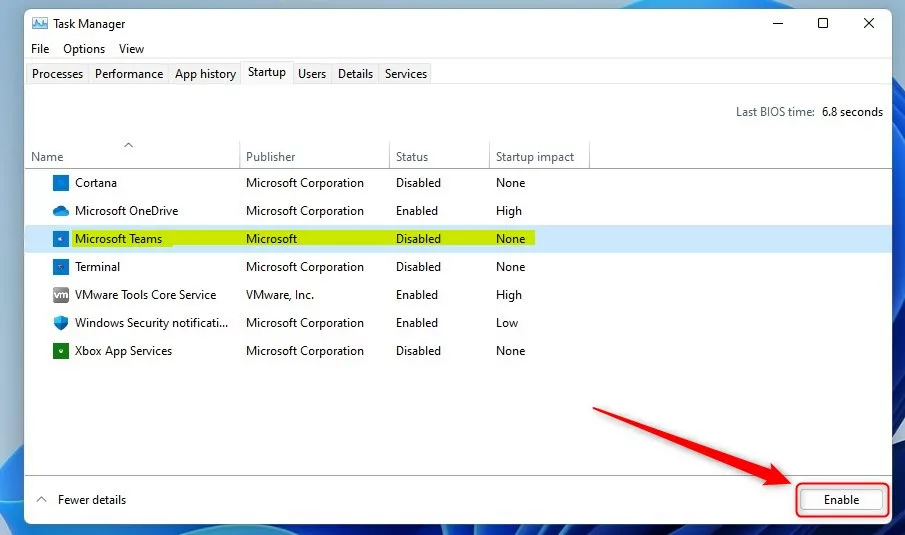
Enable or disable startup apps using Task Manager
One way to control startup apps in Windows is to use the Task Manager app.
First, open the Task Manager. You can also use the keyboard shortcut (Ctrl+Shift+Esc). Expand the More details link to view additional services when the app opens.
On the Startup tab, select the app or service and click Enable or Disable to control whether the app can start up with the system.
Enable or disable startup apps with Windows Settings
Another way one can control startup apps is via the Windows Settings app.
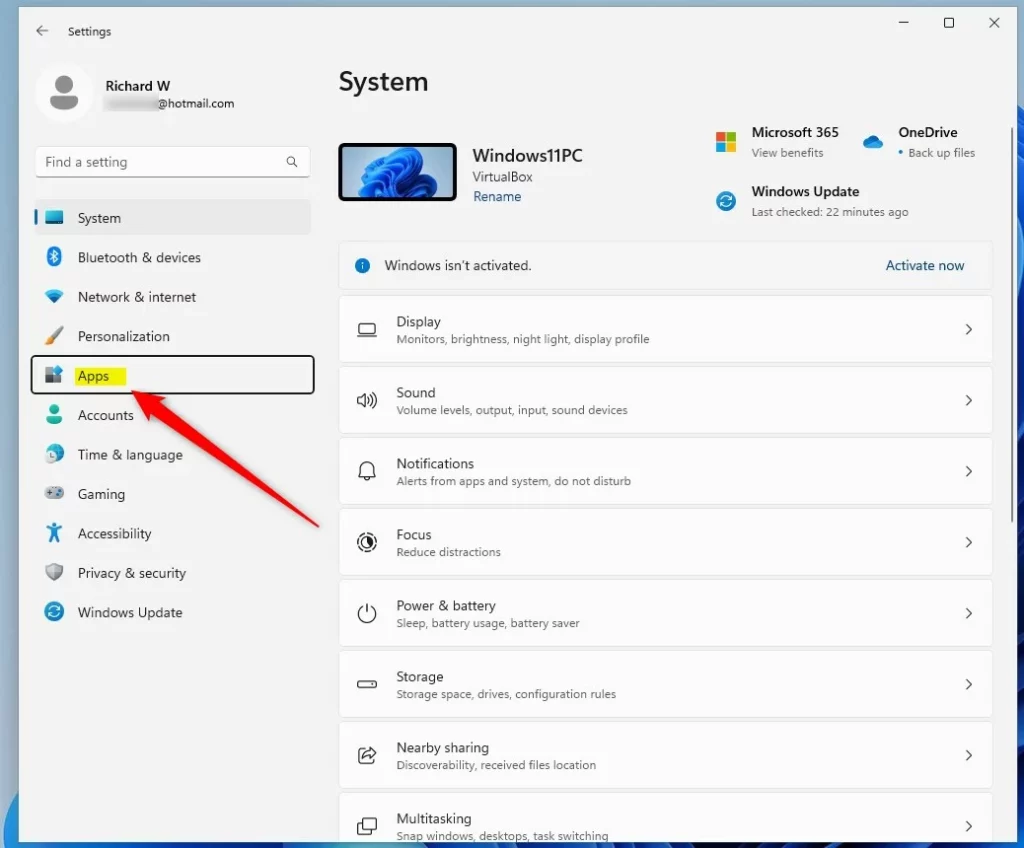
First, open the Settings app by clicking on the Start menu and selecting Settings. You can also use the keyboard shortcut (Window key + I).

When the Settings app opens, click the Apps button on the left.
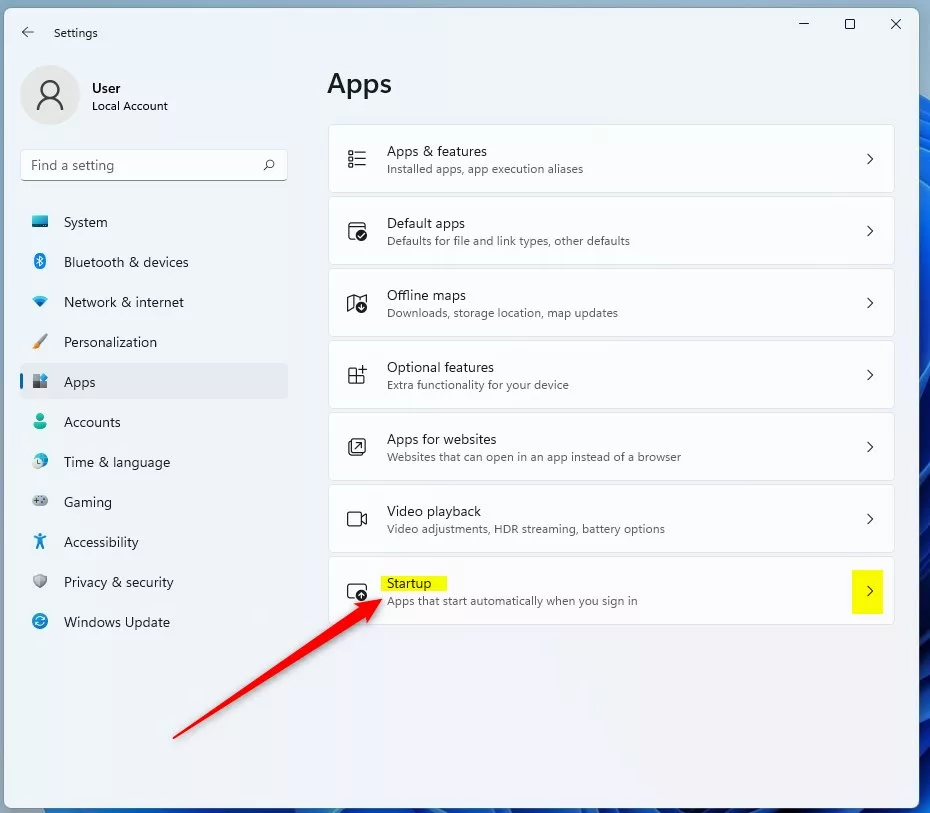
On the right, click the Startup tile to expand.
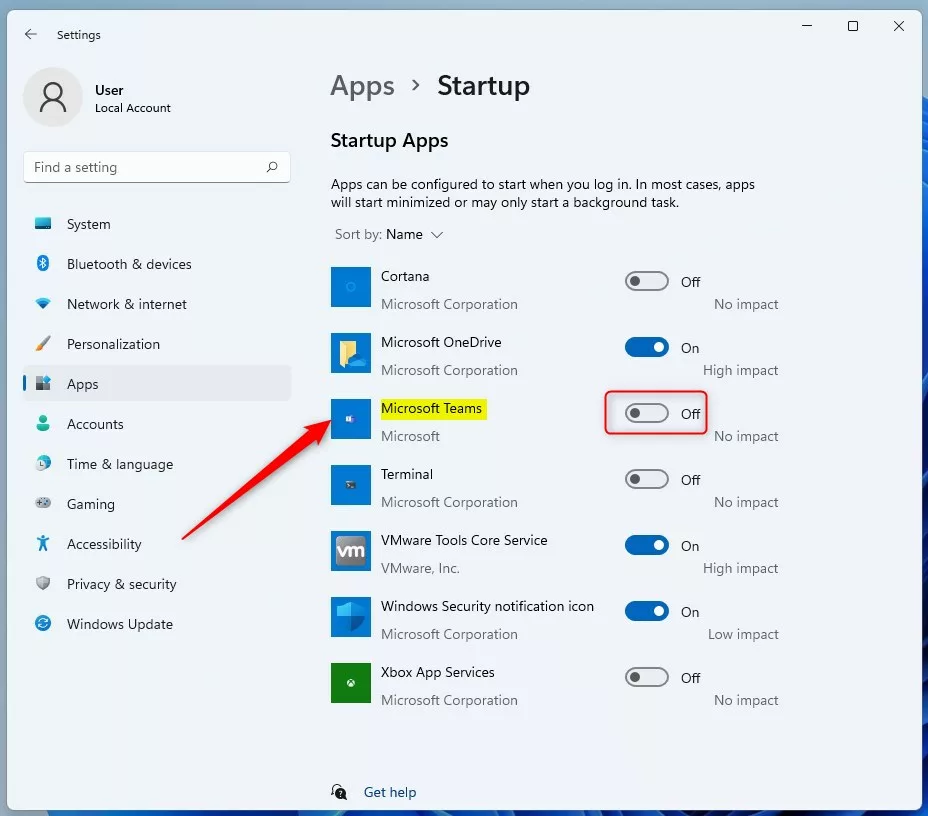
Select the app on the Apps -> Startup settings pane and toggle the button to the On position to enable it.
To disable it, toggle the button back to the Off position.
Enable or disable startup apps in the app’s advanced settings
Alternatively, users can control startup apps from the app’s advanced settings properties pane.
From the Settings app, go to Apps -> Apps & features or Installed apps tile to expand.
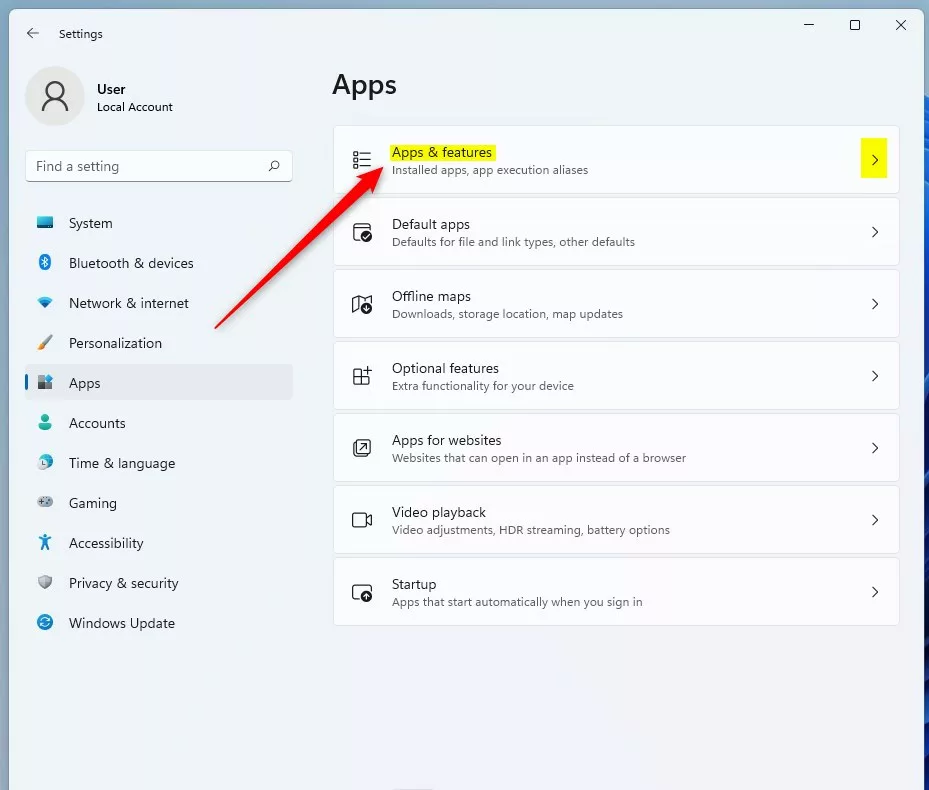
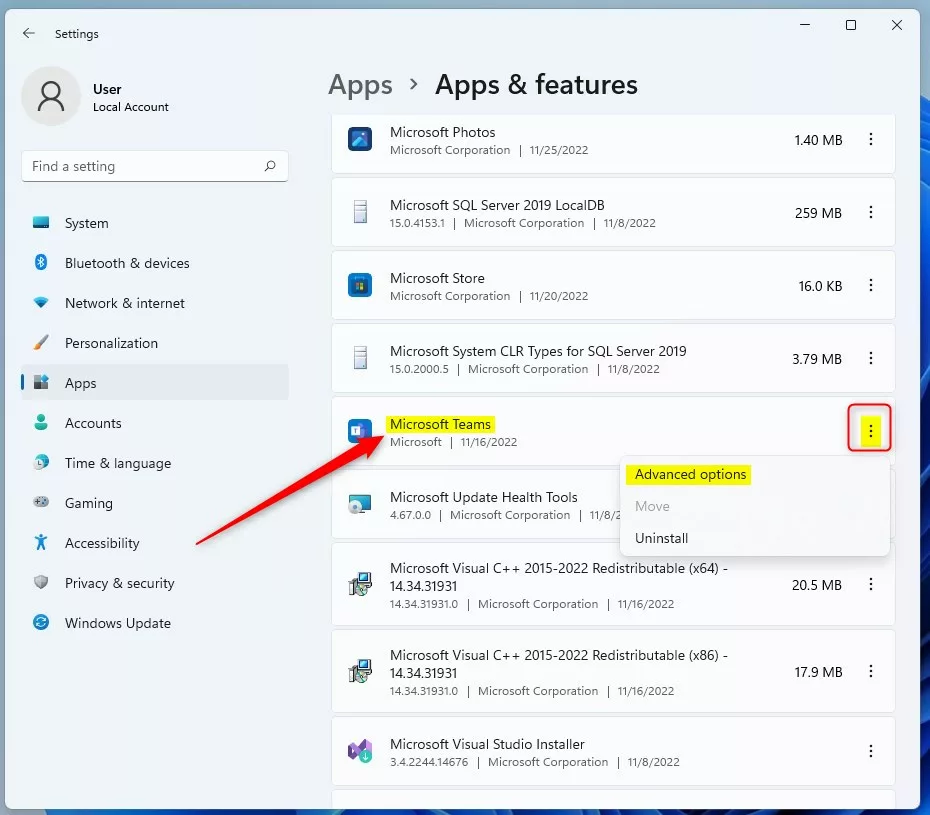
On the Apps -> Apps & features (Installed apps) settings pane, select the app you want to control its startup settings.
Click the settings menu (3 dots) on the app’s tile to show its advanced settings options. Select the Advanced options.
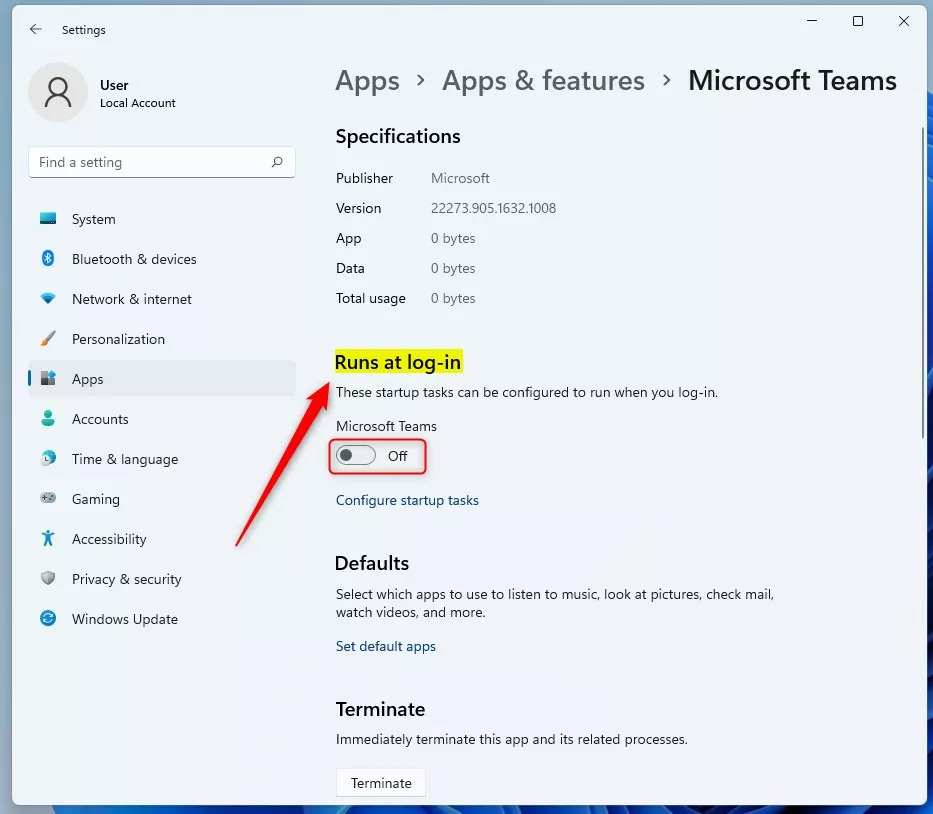
On the Apps – >Apps & features (Installed apps) -> App’s advanced options settings pane, under Run at log-in, toggle the button to the Off position to disable the app from starting up at log-in.
To enable, toggle the button back to the On position.&
Close the Settings app, and you are done.
There may be other ways to control startup apps in Windows that are not listed here.
Reference:
Conclusion:
- The methods discussed, such as using Task Manager, Windows Settings, and the app’s advanced settings, offer flexibility in controlling startup apps in Windows 11.
- Following these steps, users can enhance their system’s performance by enabling or disabling specific apps from running at startup.
- The provided reference to Microsoft support can further guide users in managing startup applications effectively.
- Feel free to use the comment form below for feedback or additional insights.


Leave a Reply Cancel reply