
This post describes the steps to enable or disable Magnifier in Ubuntu Linux.
Ubuntu Linux has a Magnifier that makes part or all of your screen bigger so you can see words and images better.
Similar to a magnifying glass, the Magnifier feature in Ubuntu Linux produces a magnified image of an object on one’s screen so one can see and read better.
This is useful for people with poor vision or has difficulties seeing objects on their computer screen, allowing them to move around by zooming in on parts of the screen.
There are many settings one can use with Magnifier in Ubuntu Linux. Once enabled, you can change the magnification factor, the mouse tracking, and the position of the magnified view on the screen.
Below is how to turn on or off magnifiers in Ubuntu Linux.
How to turn on or off Magnifier in Ubuntu Linux
As mentioned above, Magnifier makes the part or all of your screen bigger so you can see words and images better.
It’s easy to enable and disable in Ubuntu Linux.
Ubuntu Linux has a centralized location for the majority of its settings. From system configurations to creating new users and updating, all can be done from the System Settings panel.
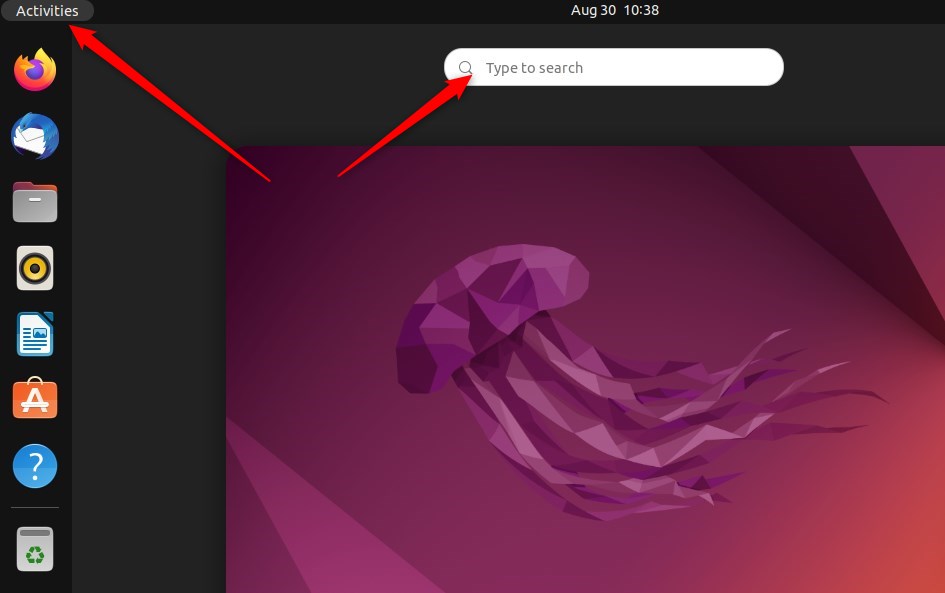
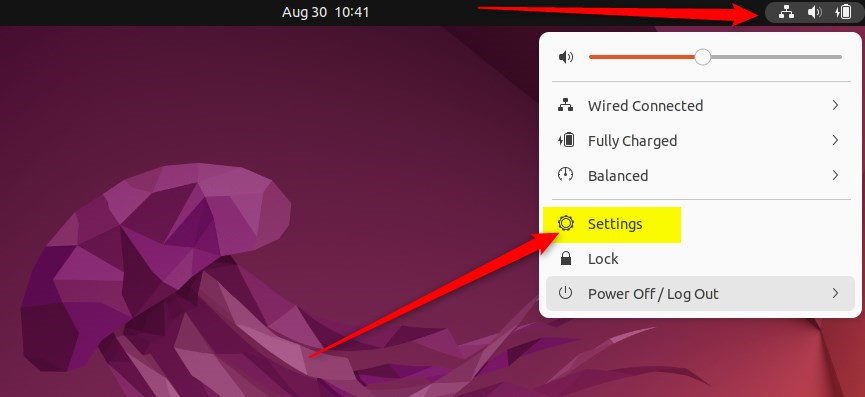
Alternatively, click on the System menu at the top-right corner of the top bar on your desktop.
On the System menu, select Settings, as highlighted below.
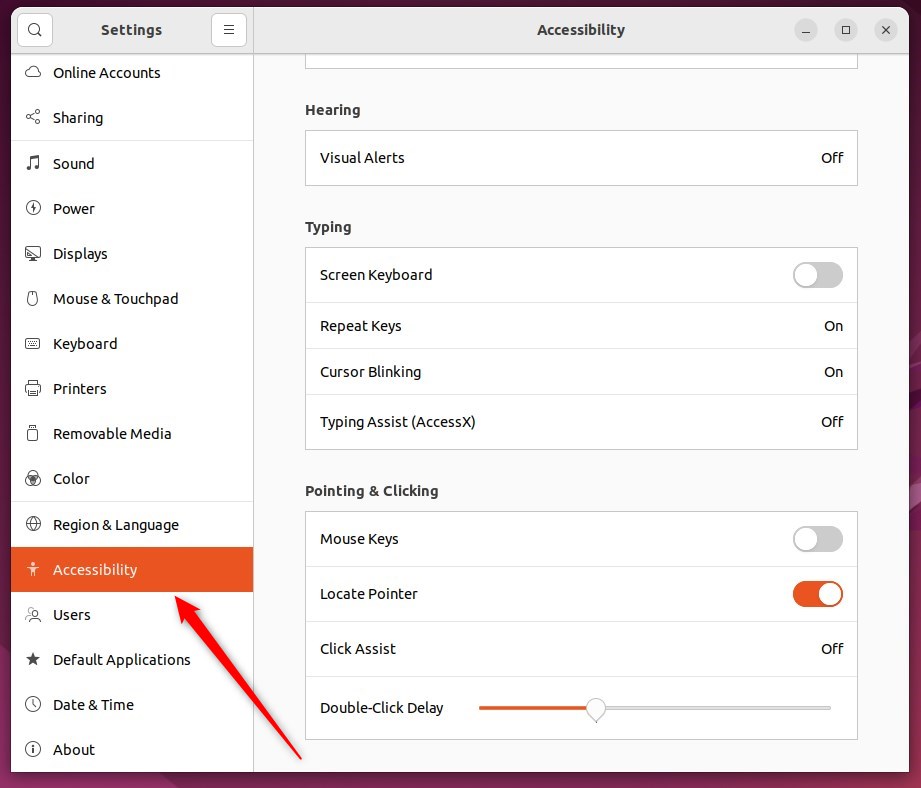
In the Settings app, click on the Accessibility tile to open the panel.
In the System Settings -> Accessibility panel, under Seeing, select the Zoom tile to expand.
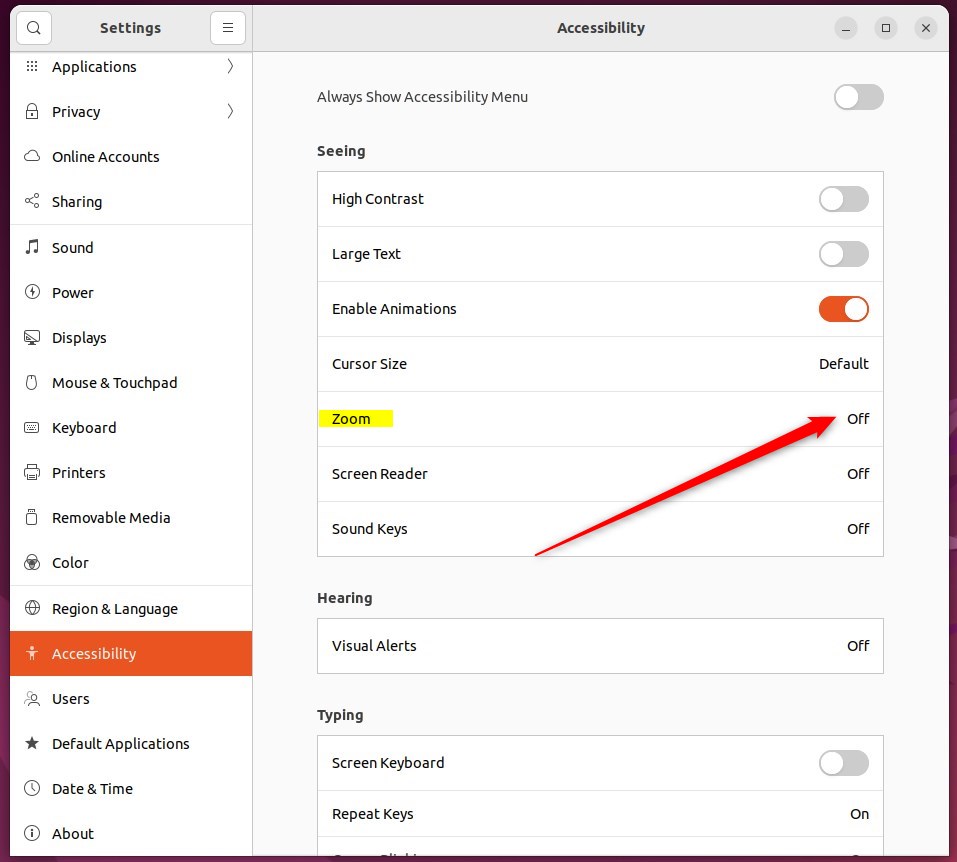
On the Zoom Options window, toggle the Zoom switch to the On position to turn on the Magnifier. Your changes should apply immediately.
To disable it, toggle the switch back to the Off position.

You can activate crosshairs to help you find the mouse or touchpad pointer. Switch them on and adjust their length, color, and thickness in the Crosshairs tab of the Zoom settings window.
That should do it! You can now close the Settings app.
Conclusion:
- Enabling or disabling the Magnifier feature in Ubuntu Linux can greatly improve accessibility for users with visual impairments.
- The centralized location for settings in Ubuntu Linux makes it easy to toggle the Magnifier on or off.
- By following the simple steps outlined in this post, users can customize the magnification factor, mouse tracking, and position of the magnified view on the screen to suit their individual needs.
Leave a Reply Cancel reply