
Windows 11 automatically downloads and installs updates to keep your computer safe and running well. But sometimes you might want to pause these updates for a long time—up to 20 years! This guide shows you how to do that in a simple way.
What Are Windows Updates?
Windows Update is a tool from Microsoft that sends you important fixes, security patches, and improvements for your computer. These updates help protect your PC from viruses and bugs. They also make sure everything works smoothly.
You can’t completely turn off Windows Update. But you can pause it for a very long time. This means your computer won’t download or install new updates until you decide to turn updates back on and check for them manually.
Why Would You Pause Windows Updates?
- Sometimes updates can cause problems with certain programs or devices on your PC.
- Updates can use a lot of internet data. This might slow down your connection or use up your data plan.
- You might want to decide when to install updates. This prevents them from interrupting your work or gaming.
How to Pause Windows Updates for Up to 20 Years
Follow these simple steps to pause Windows updates for a very long time:
Step 1: Open the Windows Registry Editor
- Press Windows key + R.
- Type
regeditand press Enter. - [ADMIN REQUIRED] If prompted by a security warning, click Yes to continue. (If you want a detailed guide, see How to Open Registry Editor in Windows 11)
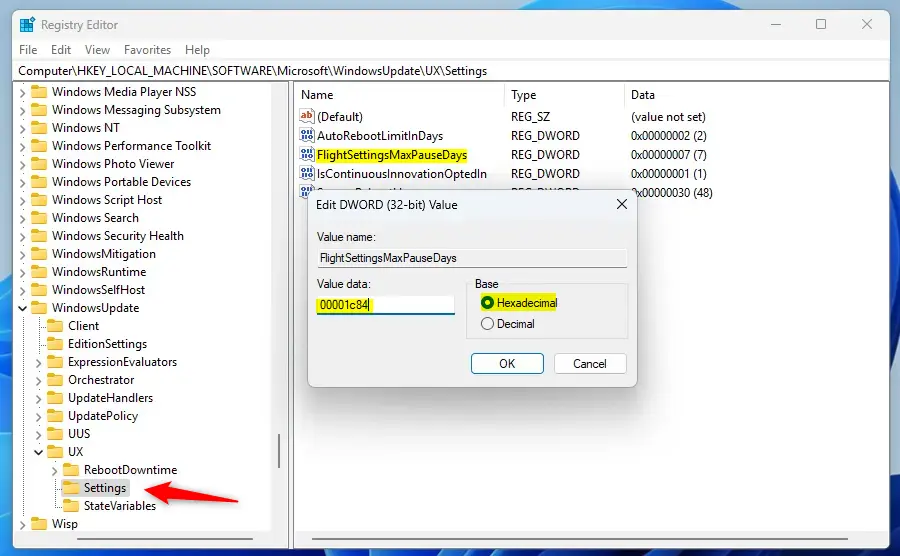
Step 2: Go to the Registry Folder
- Navigate to this folder in Registry Editor:
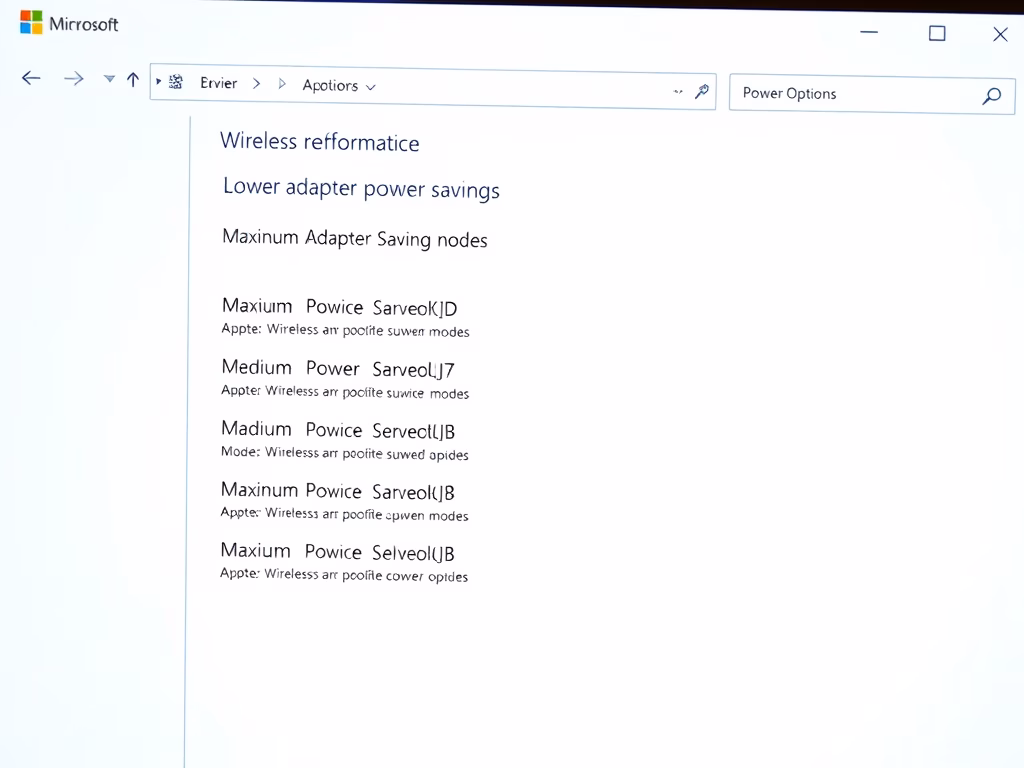
Computer\HKEY_LOCAL_MACHINE\SOFTWARE\Microsoft\Windows\Update\UX\Settings
Step 3: Find or Create the Pause Setting
- Look for an item named
FlightSettingsMaxPauseDayson the right side. - If it’s there, double-click it.
- If it’s not there, right-click on an empty space, choose New > DWORD (32-bit) Value, and name it
FlightSettingsMaxPauseDays.
Step 4: Change the Value
- Set the value to
00001c84using the Hexadecimal option. - This number tells Windows to pause updates for 20 years (7300 days).
After you do this, close the Registry Editor and follow these next steps:
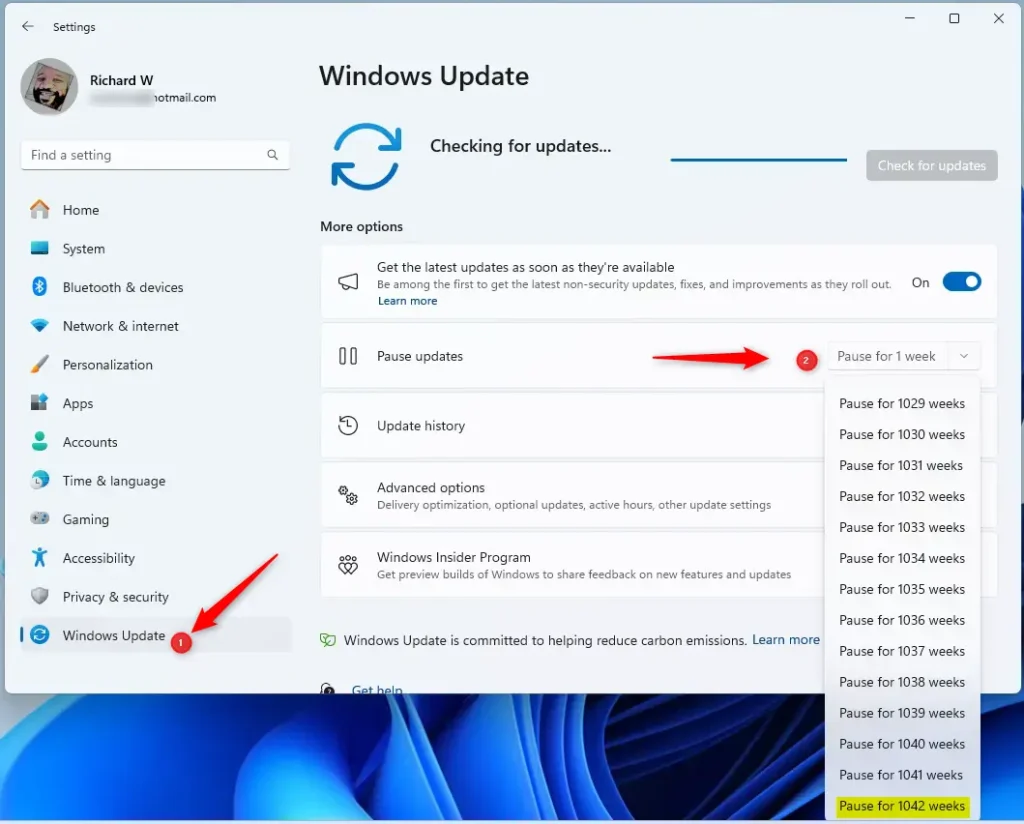
Step 5: Pause Updates Using Windows Settings
- Open Settings by pressing Windows key + I.
- Click on Windows Update in the left menu.
- Click the Pause updates for 1 week button.
- Use the drop-down menu to select a longer pause period. Thanks to the registry change, you can now pause updates for many years (up to 20!).
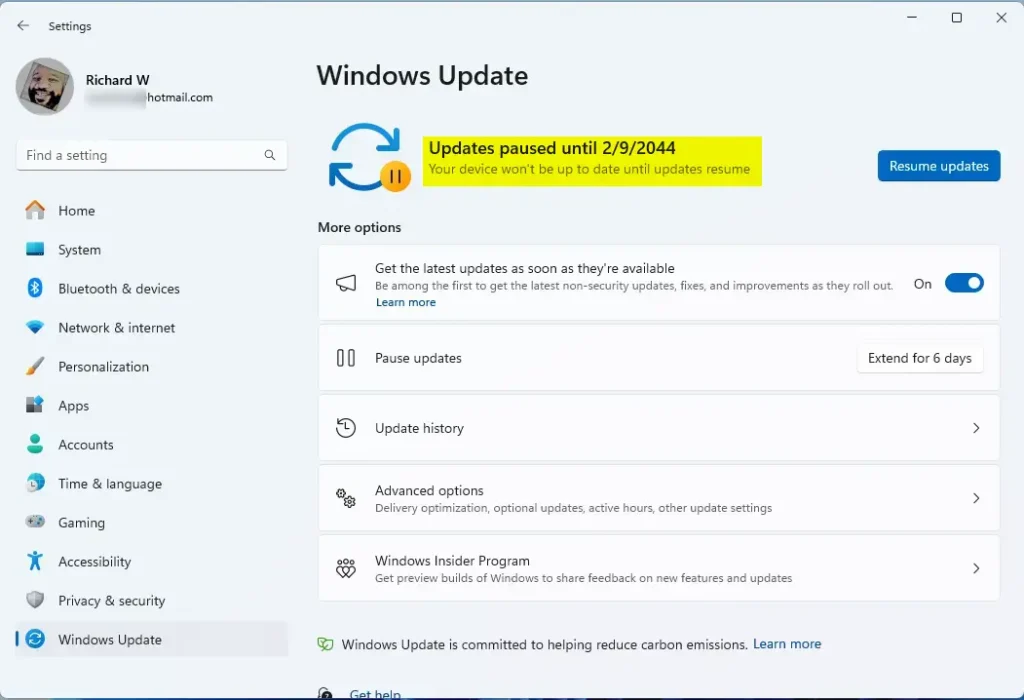
That’s it! Your Windows 11 will stop downloading and installing updates until the date you chose.
Summary
- You can pause Windows updates for a very long time. This gives you control over when updates happen.
- This can help avoid problems with updates, save internet data, and prevent interruptions.
- If you want to start updates again, just go back to Windows Update settings and click Resume updates.
If you have any questions or want to share your experience, feel free to leave a comment below!

Leave a Reply Cancel reply