How to Delete a User Profile on Windows 11
Deleting a user profile on Windows 11 removes an old account and its associated files from your PC.
This is helpful for freeing up space or tidying up a computer that multiple people have used.
When you delete a profile, Windows 11 moves the user’s files into a Recycle Bin folder, but it doesn’t automatically delete them permanently.
Before you start, make sure you have administrator rights on the PC.
Sign out the user whose profile you want to delete. Then, go to System Properties Advanced tab > User Profiles Settings, select the profile, and click Del. Confirm the deletion when prompted.
What is a User Profile?
A user profile in Windows 11 is your personal space on the computer, saving your files, settings, and desktop look. If you need to clean up your PC or free up space, you can delete a user profile windows 11. These profiles are usually stored in a folder called 📁C:\Users on your computer.
These profile folders live in a specific spot on your PC, usually at C:\Users. For instance, a user named JohnDoe would have their profile folder at C:\Users\JohnDoe.
Why Delete a User Profile?
You might delete a profile to free up space, remove an old account, or tidy up your computer after someone stops using it.
Before You Start
Before you delete a user profile on Windows 11, make sure that user has signed out completely. You also need to be logged in as an administrator.
You need to be logged in as an administrator; this gives you the necessary permissions to delete profiles. ⚠️ Admin privileges required.
Steps to Delete a User Profile in 🪟 Windows 11
- Sign out the user: Ask the user to sign out or switch to another admin account if you are managing the PC.
- Open Advanced System Settings:
- Click the Start button and select Settings (the gear icon).
- Go to System > About.
- On the right side, click Advanced system settings.
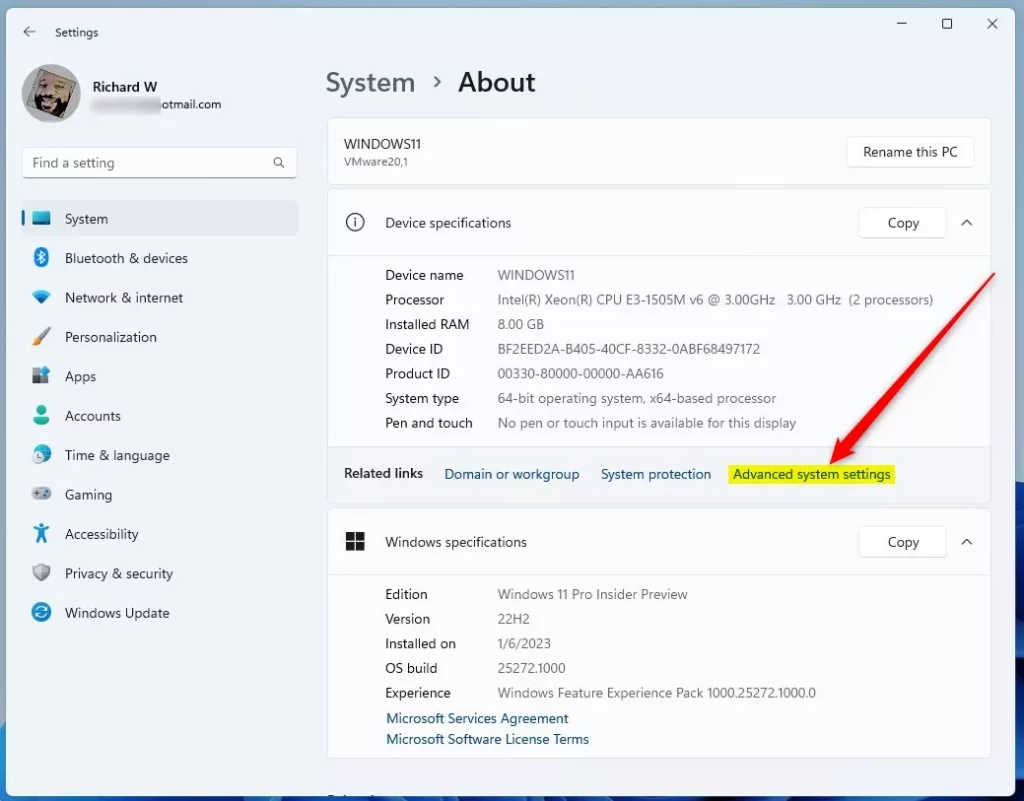
Ensure the user is signed out. Next, open Advanced System Settings by navigating through Settings > System > About and then clicking 'Advanced system settings' on the right to access the tools needed.
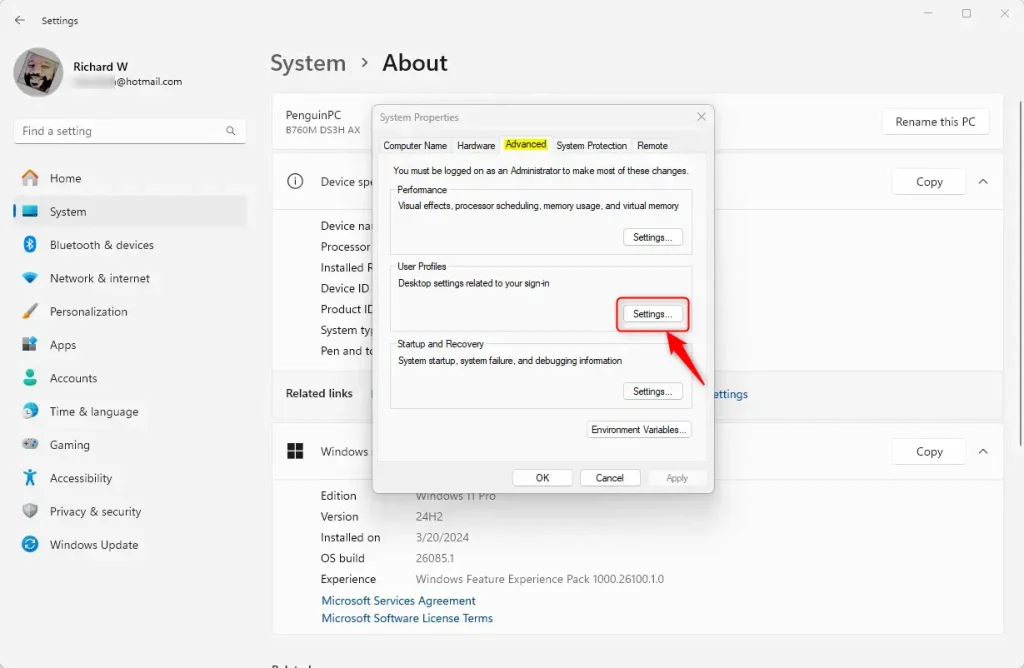
- Open User Profiles Settings:
- In the System Properties window, click the Advanced tab.
- Under User Profiles, click the Settings button.
Ensure the user is signed out. Next, open Advanced System Settings by navigating through Settings > System > About and then clicking 'Advanced system settings' on the right to access the tools needed.
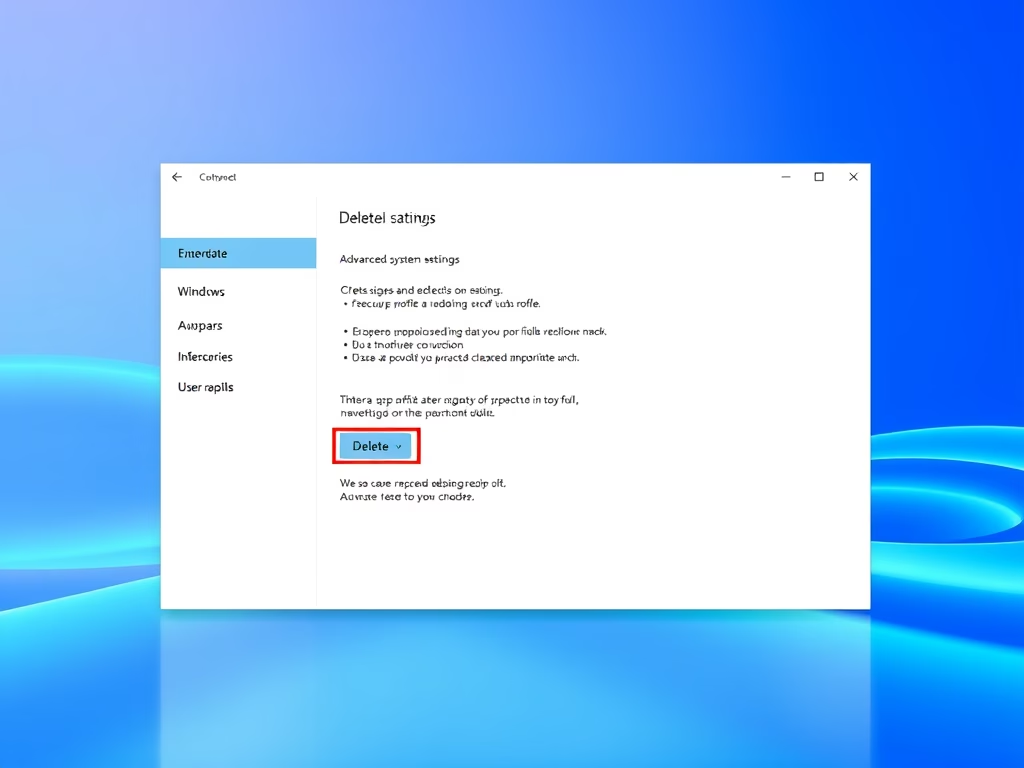
- Select and Delete the Profile:
- From the list, click the user profile you want to remove.
- Click the Delete button.
- When asked to confirm, click Yes.

Ensure the user is signed out. Next, open Advanced System Settings by navigating through Settings > System > About and then clicking 'Advanced system settings' on the right to access the tools needed.
- Finish Up: Click OK to close all windows. The selected user profile is now deleted.
What Happens Next?
The next time the user signs into their account, Windows will create a brand new profile folder with default settings and folders. It will be like starting fresh.
Summary
- You can delete a user profile folder without deleting the user's account.
- The user must be signed out before you delete their profile.
- You need admin privileges to delete profiles.
- Use Advanced System Settings to find and delete profiles safely.
- Confirm the deletion when prompted.
- A new profile folder is created when the user signs in again.
You can delete a user profile in Windows 11 by removing its folder, but this doesn't delete the user account itself. Remember, the user must be signed out, and you need administrator rights to do this. Using Advanced System Settings helps you find and delete profiles safely, and a new folder is created if the user signs in again.
Was this guide helpful?

About the Author
Richard
Tech Writer, IT Professional
Richard, a writer for Geek Rewind, is a tech enthusiast who loves breaking down complex IT topics into simple, easy-to-understand ideas. With years of hands-on experience in system administration and enterprise IT operations, he’s developed a knack for offering practical tips and solutions. Richard aims to make technology more accessible and actionable. He's deeply committed to the Geek Rewind community, always ready to answer questions and engage in discussions.


No comments yet — be the first to share your thoughts!