
Do you like recording your games on Windows 11? You can make your recordings even better by adding game audio. This guide will show you how to turn game sound on or off when you record.
Quick Tip: How to Record a Game Clip
When you’re playing and see something cool, just press:
Windows key + Alt + G
This saves the last few moments of your game as a video clip.
Your recorded clips are saved in the Videos folder on your PC by default. You can also change where these clips are saved if you want.
Why Capture Game Audio?
Game audio includes music, sound effects, and character voices. Capturing this sound makes your videos much more enjoyable to watch. When you share clips with friends or online, the audio helps show what the game feels like. Your recordings become more complete and exciting with sound.
How to Turn Game Audio Capture On or Off in Windows 11
- Open Settings by clicking the Start button and selecting Settings, or press
Windows key + Ion your keyboard. - In the Settings window, click on Gaming from the left menu.

- Click on Captures on the right side.

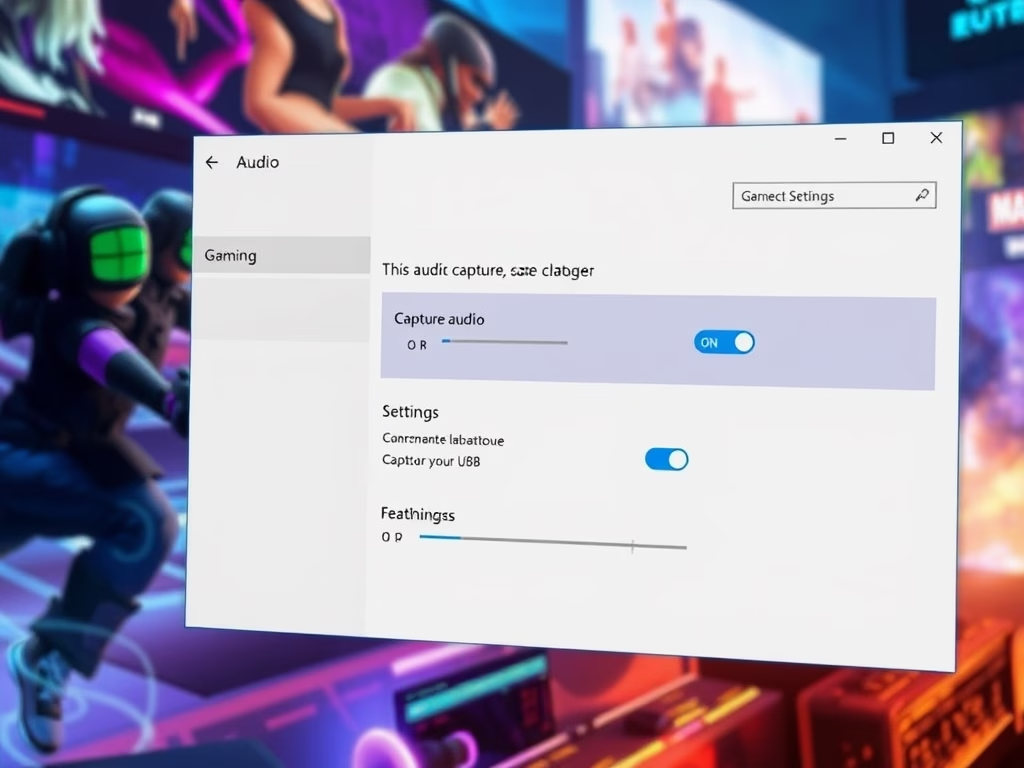
- Find the option called “Capture audio when recording a game”.
- Toggle the switch to On if you want to record game sounds, or to Off if you don’t.
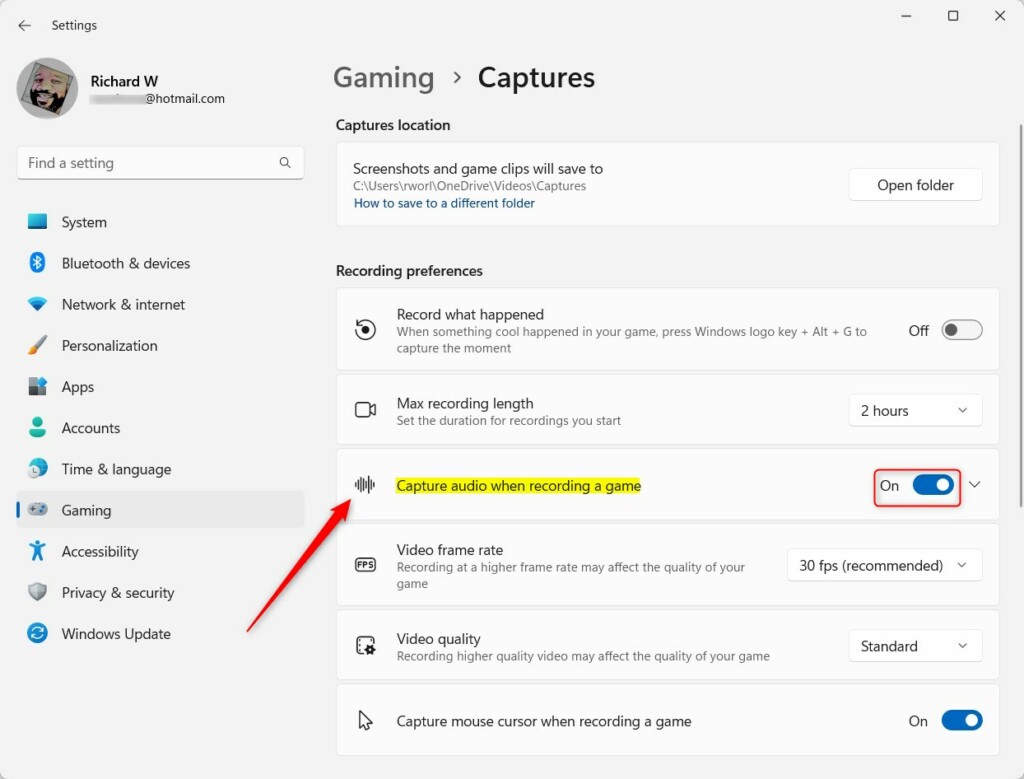
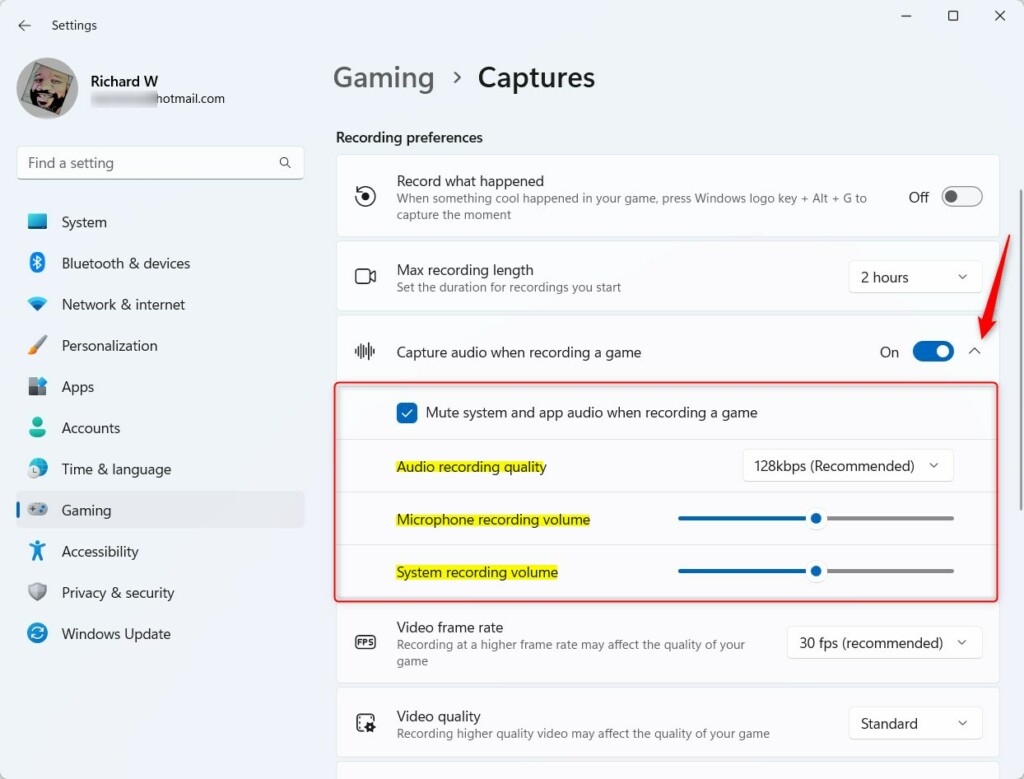
- If you turn it on, click the arrow next to the toggle to see more settings like:
- Audio recording quality – how clear the sound will be
- Microphone volume – if you want to add your voice
- System volume – controls the game sounds volume
- When done, close the Settings app.
Summary
Turning on audio capture makes your game videos more fun and exciting. You can hear the background music, sound effects, and voices in your clips. Sharing videos with sound helps others feel like they’re playing too. It’s easy to switch audio capture on or off anytime in Windows 11 settings. Now you know how to make your game recordings even better with sound. Happy gaming and recording!


Leave a Reply Cancel reply