Windows 11 Fingerprint Setup: Add More Fingers
This guide shows you how to add extra fingers to your Windows fingerprint recognition sign-in process on Windows 11.
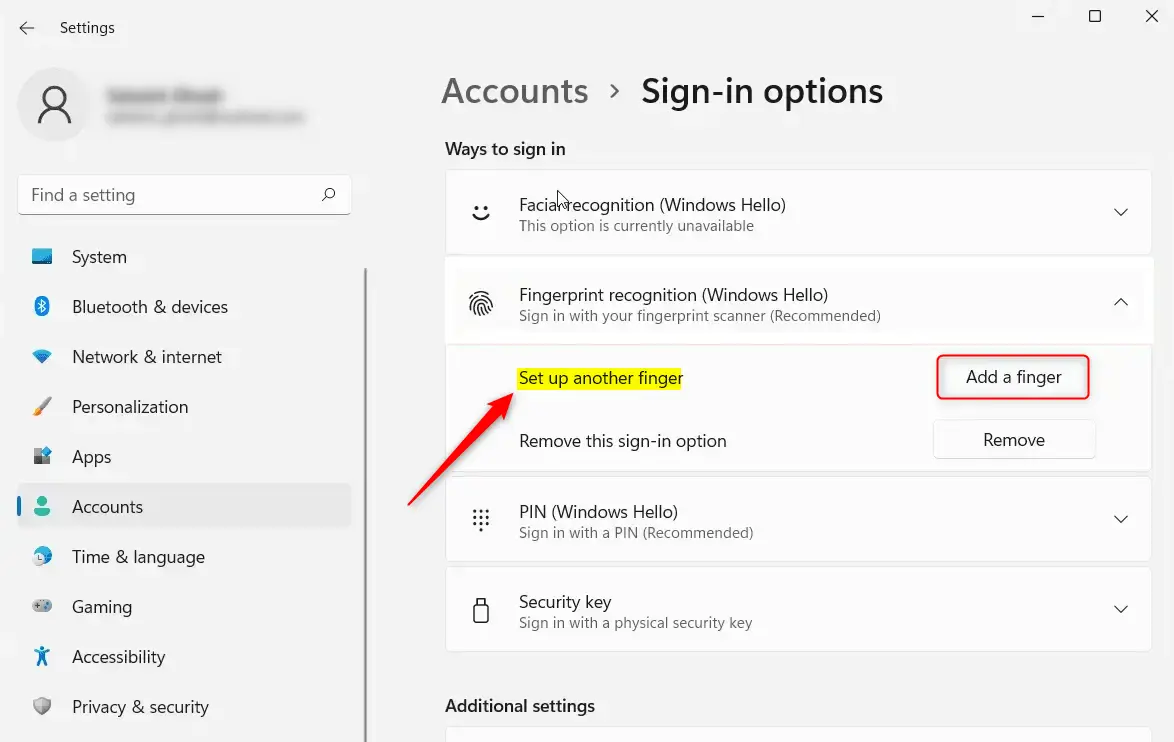
Go to Settings > Accounts > Sign-in options > Fingerprint recognition (Windows Hello). Click “Set up another finger,” enter your PIN, and follow the on-screen prompts to scan your additional finger.
Prerequisites for 🪟 Windows 11 Fingerprint Setup
To set up your fingerprint in Windows 11, you’ll need a computer with a fingerprint reader, either built-in or a USB one, and your system must have TPM 2.0 turned on for security.
Why use fingerprint recognition?
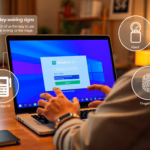
Why bother with fingerprint recognition? It’s a quick and secure way to unlock your computer, much faster than typing a long password each time. Plus, adding more fingers gives you flexibility if one hand is occupied or a bit grubby.
What happens when done?
Once you finish these steps, Windows will recognize any of the fingers you registered. You’ll be able to log in by touching the fingerprint sensor with one of your chosen fingers.
How to Add More Fingers
You can easily add more fingers for your Windows 11 fingerprint setup by going to the Settings app and following a few simple steps to register them.
Another way is to type ‘Settings’ into your taskbar’s search box and open the app.
In the Settings menu, click on Accounts on the left side. Then, click the Sign-in options tile on the right.

Find the ‘Fingerprint recognition (Windows Hello)’ tile and click it to see more options. Then, click the button that says ‘Set up another finger’. (Note: You’ll need administrator privileges to complete this step and verify your identity).
You’ll be asked to enter your account PIN to confirm it’s really you.
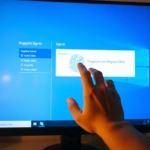
Follow the instructions on your screen. Place the finger you want to use on the fingerprint sensor. Lift and touch the sensor repeatedly until Windows has a complete scan of your print.

Once the scan is finished, you’ll see a message saying you’re all set. You can choose to add even more fingers or close the window.
Troubleshooting Common Issues
If your fingerprint sensor isn’t working for Windows 11 setup, check Device Manager for driver updates or visit the manufacturer’s website for help.
Summary
Windows Hello makes logging into your computer safe and personal. By following these steps in the Settings menu, you can register multiple fingers for easier access. This keeps your data secure while saving you the time of typing a password every time you need to use your computer.
What if my fingerprint reader is not detected in 🪟 Windows 11?
If your reader isn’t showing up, open Device Manager and look under ‘Biometric devices’. Make sure the driver is enabled and current. If that doesn’t solve it, try unplugging your external sensor or restarting your PC to make Windows re-check for connected hardware.
Can I use a fingerprint reader on a desktop PC?
Yes, you can use a fingerprint reader on a desktop PC. You’ll need to purchase a compatible USB fingerprint scanner that supports Windows Hello. Once plugged in, Windows 11 will detect the device, allowing you to configure your biometric login through the Sign-in options menu in Settings.
Is Windows Hello fingerprint data stored in the cloud?
No, your fingerprint data isn’t stored in the cloud. Windows Hello stores biometric data locally on your device in a secure, encrypted format. It never leaves your computer, ensuring your personal identity information remains private and protected from external access or online data breaches.
How do I remove a saved fingerprint in 🪟 Windows 11?
To remove a saved fingerprint, navigate to Settings, then Accounts, and select Sign-in options. Click on Fingerprint recognition (Windows Hello) to expand it. You’ll see a list of registered fingers. Click the Remove button next to the specific fingerprint profile you wish to delete from your system.
Was this guide helpful?

About the Author
Richard
Tech Writer, IT Professional
Richard, a writer for Geek Rewind, is a tech enthusiast who loves breaking down complex IT topics into simple, easy-to-understand ideas. With years of hands-on experience in system administration and enterprise IT operations, he’s developed a knack for offering practical tips and solutions. Richard aims to make technology more accessible and actionable. He's deeply committed to the Geek Rewind community, always ready to answer questions and engage in discussions.


Dropped waivers biometrics controls access to people & others.