
Want to make your mouse pointer look different? Windows 11 lets you change how your cursor looks. This guide will show you how to do it in just a few steps.
Your mouse pointer is the little arrow or icon on your screen. It shows where you’re clicking or pointing. Windows comes with different pointer styles built in, but you can pick your favorite one. You can even add your own custom pictures if you want.
Why Change Your Mouse Pointer?
A different pointer can make your computer feel more personal. It can also be easier to see on your screen if you pick a larger or brighter style.
What File Types Do Mouse Pointers Use?
Windows uses two types of pointer files:
- .ani — animated pointers that move or blink
- .cur — still pointer images that don’t move
Windows stores the default pointers in a folder called C:\Windows\Cursors. But you can use pointer files from anywhere on your computer.
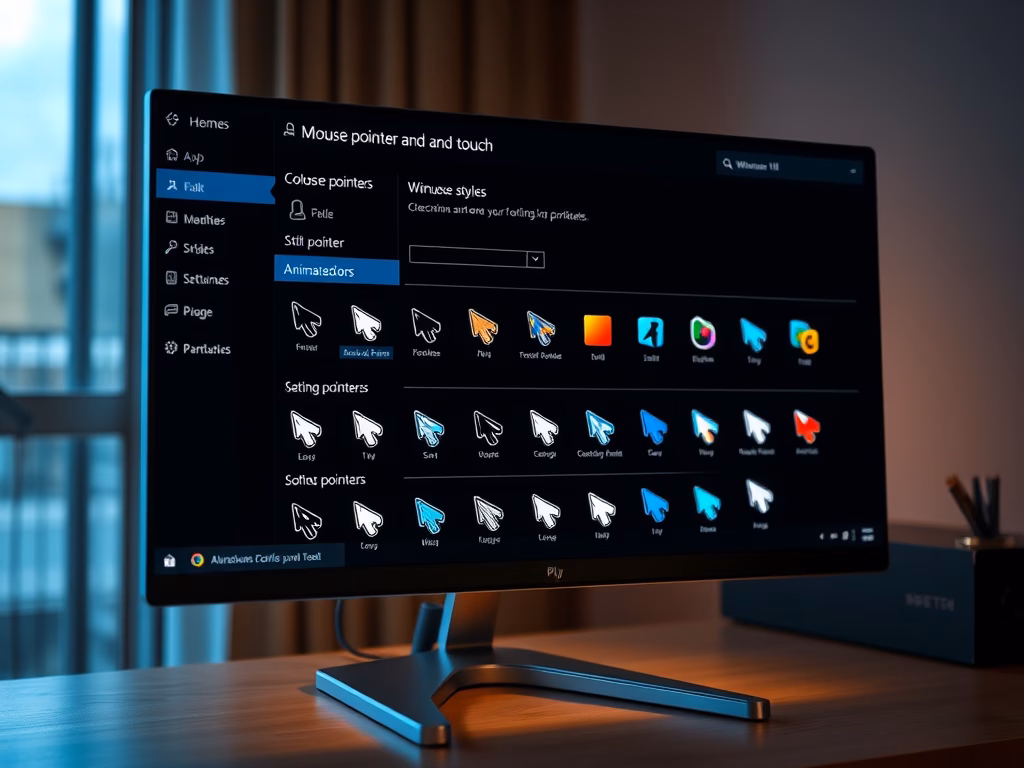
How to Change Your Mouse Pointer Image
Follow these simple steps:
- Open the Settings app
Click the Start menu (the Windows icon at the bottom left). Then click Settings. Or press the Windows key + I on your keyboard to open Settings faster.
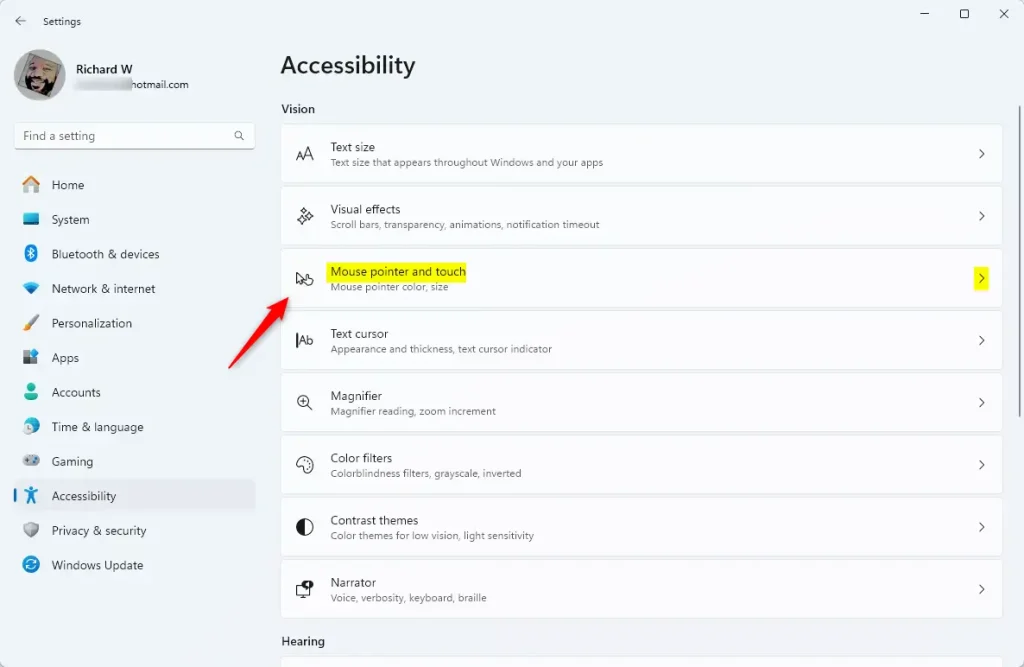
- Go to Accessibility
Look at the left side of the Settings window. Click on Accessibility.
- Find Mouse pointer settings
On the right side, click on Mouse pointer and touch. This opens the pointer options.
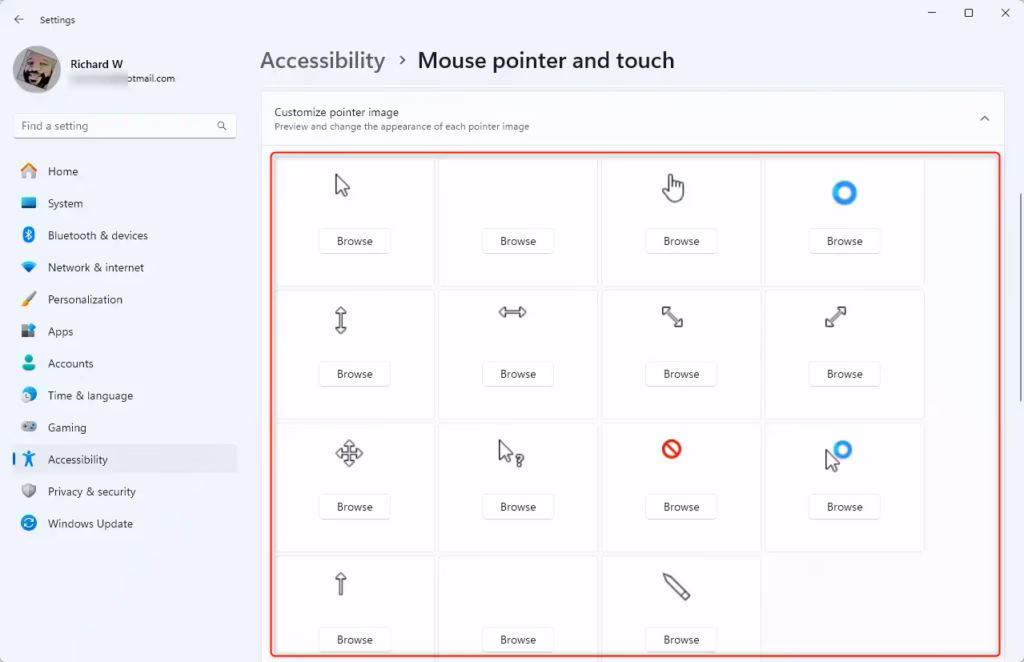
- Expand Customize pointer image
Scroll down. Click on Customize pointer image. You’ll see all the pointer images you can choose from.

- Pick a pointer image
Look at all the pointer images. Move your mouse over each one. This shows you what it looks like and what it’s used for.
- Use your own pointer image (optional)
Do you want to use your own picture? Click the Browse button. Find and pick a .ani or .cur file from your computer.
Your new pointer starts working right away. You don’t need to restart Windows.
Summary
Here’s what you need to know:
- Windows 11 has built-in mouse pointers you can choose from
- You can also add your own custom pointer images
- Animated pointers use .ani files
- Still pointers use .cur files
- Find these settings in Settings > Accessibility > Mouse pointer and touch
- You can preview pointers by moving your mouse over them
- You can browse for custom files from your computer
- Your choice takes effect right away
Now you can make your mouse pointer look exactly how you want it. For more Windows 11 tips, check out this helpful guide.


Leave a Reply Cancel reply