This article explains how to install and configure DBever on Ubuntu Linux
DBeaver Database Manager is a free, open-source universal database manager used by developers, SQL programmers, database administrators, and analysts.
It supports all popular databases today, including MySQL, PostgreSQL, MariaDB, SQLite, Oracle, DB2, SQL Server, Sybase, MS Access, Teradata, Firebird, Derby, and many others. If you’re looking for a database tool with health monitoring and an SQL editor with various extensions (plugins), then DBeaver is an excellent choice.
It has plugins and extensions for all the above databases and others supporting the JDBC driver.
Installing DBeaver on Ubuntu Linux allows you to easily manage and work with your databases from the comfort of your Ubuntu desktop environment.
Install OpenJDK 8
DBeaver works with Java. You must have JAVA installed on Ubuntu before installing DBeaver. For this tutorial, we will install the open-source version of Oracle JAVA. To install, run the commands below:
sudo apt update
sudo apt install openjdk-8-jdk
After running the commands above, run the commands below to test if Java is installed.
java -version
It would be best if you got a similar print as below:
openjdk version "1.8.0_191"
OpenJDK Runtime Environment (build 1.8.0_191-8u191-b12-2ubuntu0.18.04.1-b12)
OpenJDK 64-Bit Server VM (build 25.191-b12, mixed mode)
Continue below to install DBeaver
Install DBeaver Community
Now that the DBeaver Community is installed run the commands below to add the DBeaver official repository to Ubuntu.
wget -O - https://dbeaver.io/debs/dbeaver.gpg.key | sudo apt-key add -
echo "deb https://dbeaver.io/debs/dbeaver-ce /" | sudo tee /etc/apt/sources.list.d/dbeaver.list
After that, run the commands below to install DBeaver
sudo apt update
sudo apt install dbeaver-ce
If you want to use MariaDB, follow the steps below to install and configure it.
Install MariaDB Database Server
MariaDB database server is a great place to start when looking at open-source database servers to use with DBeaver. To install MariaDB, run the commands below.
sudo apt-get install mariadb-server mariadb-client
After installing MariaDB, the commands below can stop, start, and enable the service to start when the server boots.
Run these on Ubuntu 16.04 LTS
sudo systemctl stop mysql.service
sudo systemctl start mysql.service
sudo systemctl enable mysql.service
Run these on Ubuntu 18.04 and 18.10 LTS
sudo systemctl stop mariadb.service
sudo systemctl start mariadb.service
sudo systemctl enable mariadb.service
After that, run the commands below to secure the MariaDB server by creating a root password and disallowing remote root access.
sudo mysql_secure_installation
When prompted, answer the questions below by following the guide.
- Enter current password for root (enter for none): Just press the Enter
- Set root password? [Y/n]: Y
- New password: Enter password
- Re-enter new password: Repeat password
- Remove anonymous users? [Y/n]: Y
- Disallow root login remotely? [Y/n]: Y
- Remove test database and access to it? [Y/n]: Y
- Reload privilege tables now? [Y/n]: Y
Restart MariaDB server
Type the commands below to log into the MariaDB server to test if MariaDB is installed.
sudo mysql -u root -p
Then, type the password you created above to sign on. If successful, you should see a MariaDB welcome message.

That should install it.
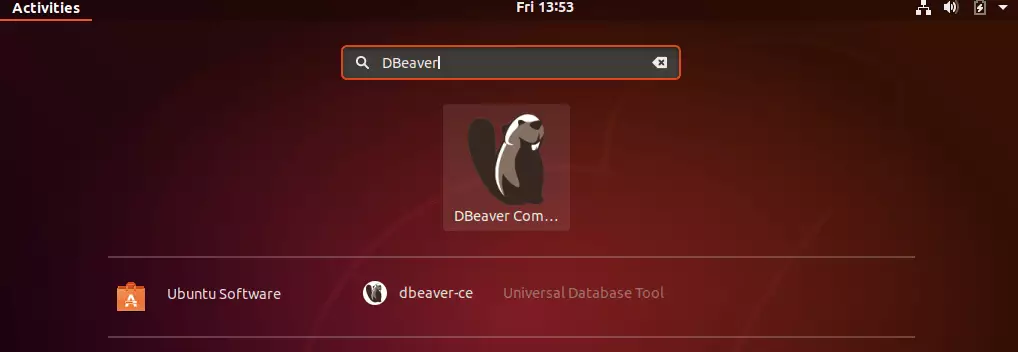
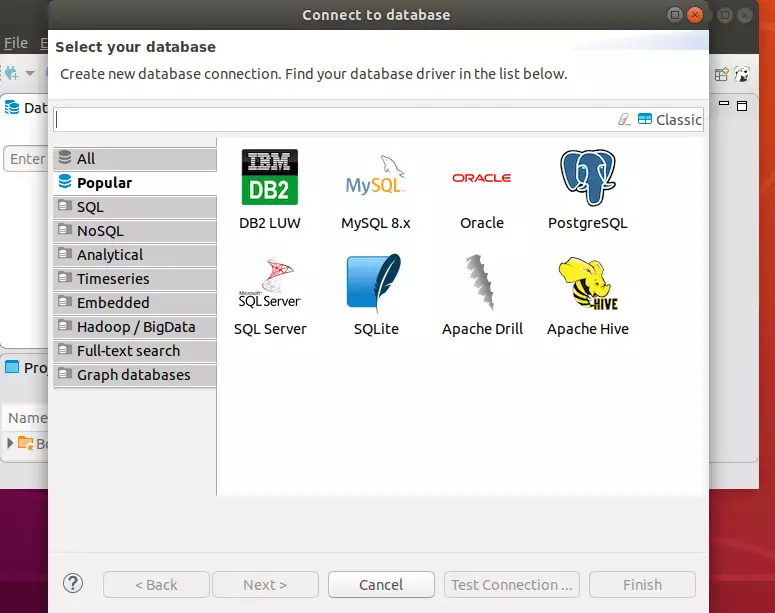
Now, you can navigate the Ubuntu Activities overview and search and launch DBeaver Community. When it opens, attempt to connect to your Database of choice.
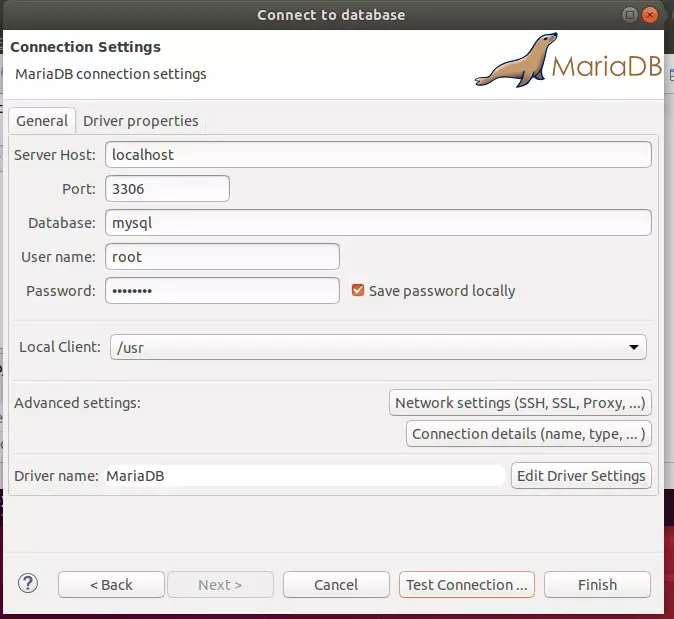
Select the database server you want to connect to from the list and attempt to connect.
Connect to MySQL database using the root account.
When you attempt to log on using the MariaDB root account, it will fail… That’s because MariaDB and MySQL have switched their authentication method to auth_socket
The auth_socket plugin authenticates users that connect from the localhost through the Unix socket file… which prevents users from connecting with passwords… So, you won’t be able to connect via the root account…
When you attempt to log in, you see the error “#1698 – Access denied for user ‘root’@’localhost’”
To fix that, run the commands below:
sudo mysql -u root
That should get you into the database server. After that, run the commands below to turn off plugin authentication for the root user
use mysql;
update user set plugin='' where User='root';
flush privileges;
exit
Restart and run the commands below to set a new password.
sudo systemctl restart mariadb.service
Now try again to log on… this time, it should work!
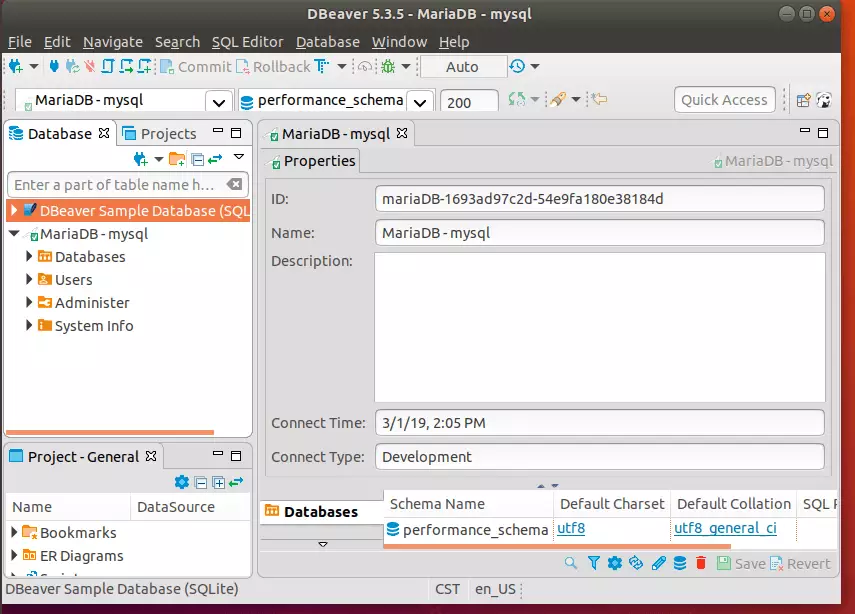
Congratulations! You have successfully installed the DBeaver Community on Ubuntu.
You may also like the post below:


Leave a Reply to napsterami Cancel reply