How to Install MySQL Workbench on Ubuntu Linux
Installing MySQL Workbench on Ubuntu Linux means adding the official MySQL software list and then using the `apt` tool to download and set up the program.
MySQL Workbench is a visual program that helps you work with MySQL databases more easily. Think of it as a control center for your database projects.
Using this method ensures you get the most recent stable version, like MySQL Workbench 8.0, on your Ubuntu computer. It’s the main tool for planning databases, writing SQL code, and managing your MySQL servers.
This installation lets you connect to MySQL servers whether they are on your computer or elsewhere. The steps work for Ubuntu releases, including Ubuntu 22.04 LTS.
Install MySQL Workbench on Ubuntu by running “sudo snap install mysql-workbench-community” in the terminal. You can then launch it from the command line or your applications menu.
How to install MySQL Workbench from Snap
Installing MySQL Workbench on Ubuntu using Snap is a breeze. Open your terminal and type `sudo snap install mysql-workbench-community`. This command installs the community version of MySQL Workbench, even if that version isn’t usually found in your Ubuntu software lists.
You can use Snap package management to install the community version. Run the commands below to install Snap’s MySQL Workbench community version.
sudo snap install mysql-workbench-community
Once Workbench is installed, you can start it from the command line by typing `mysql-workbench-community` or by clicking the MySQL Workbench icon in Activities -> Overview -> MySQL Workbench.
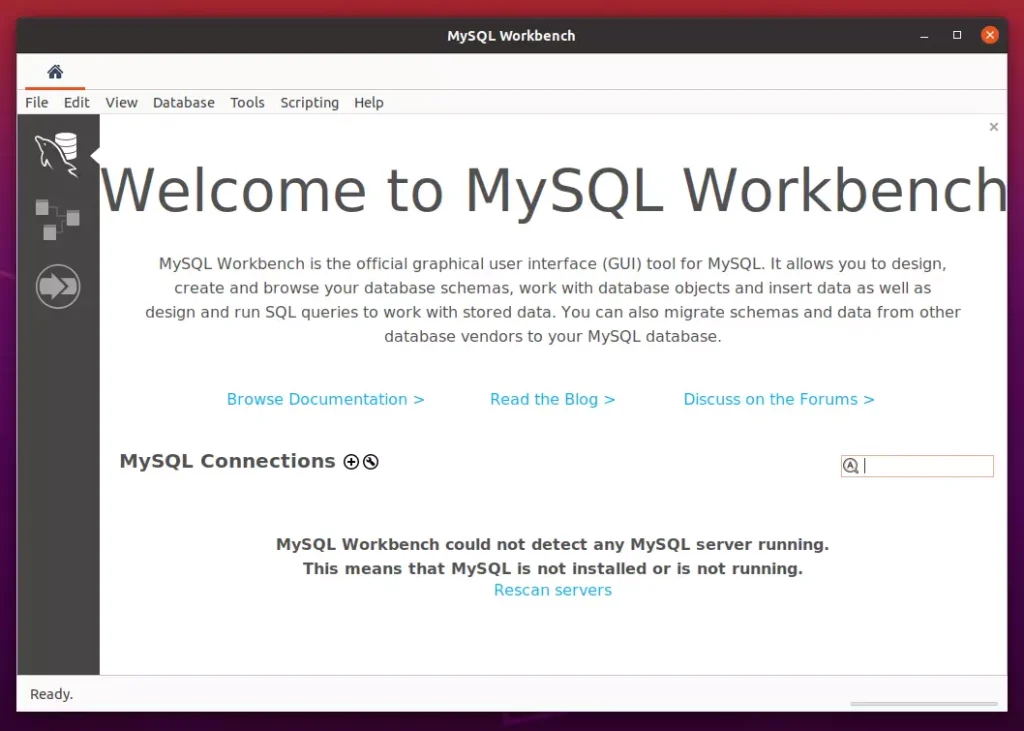
To connect to a database server, head to Database ==> Connect to Database. You can add a new connection by clicking the circled plus sign ⊕ next to “MySQL Connections.”
Once Workbench is installed, you’ll need to set up a new connection by entering your database server login details. A successful connection test confirms everything is ready to go.
MySQL and MariaDB using root passwords
If you can’t log in to MySQL or MariaDB as the root user with a password on Ubuntu, it’s likely due to a security setting called `auth_socket`.
The `auth_socket` plugin authenticates users connecting from the local host via the Unix socket file, which acts as a secure channel. This means you can’t authenticate as root by providing a password.
You can disable the `auth_socket` plugin using SQL commands. After disabling the `auth_socket` plugin, you’ll need to enter the root password for login, a change from the previous password-less entry method.
MySQL:
ALTER USER 'root'@'localhost' IDENTIFIED WITH mysql_native_password BY 'type_strong_password_here';
MariaDB:
UPDATE mysql.user SET plugin = 'mysql_native_password' WHERE User='root';
You should now be able to log in with the root password.
Conclusion:
- MySQL Workbench is a powerful tool for managing MySQL and MariaDB databases.
- The installation process on Ubuntu is simple and can be done through Snap.
- Users can create and manage databases, users, and run SQL queries efficiently.
- Auth_socket authentication can be modified to use password authentication for root users.
- Ubuntu provides an accessible platform for beginners to start learning Linux and database management.
- Overall, MySQL Workbench enhances productivity and simplifies database interactions for both new and experienced users.
Was this guide helpful?

About the Author
Richard
Tech Writer, IT Professional
Richard, a writer for Geek Rewind, is a tech enthusiast who loves breaking down complex IT topics into simple, easy-to-understand ideas. With years of hands-on experience in system administration and enterprise IT operations, he’s developed a knack for offering practical tips and solutions. Richard aims to make technology more accessible and actionable. He's deeply committed to the Geek Rewind community, always ready to answer questions and engage in discussions.


No comments yet — be the first to share your thoughts!