

This article explains how to enable or disable the hidden “Speak for me” feature in Windows 11.
The “Speak for me” feature in Windows 11 allows you to create your voice avatar or preserve your voice to communicate with others, whether in online meetings or in-person conversations.
Users may also be able to select text on their screen and have Windows 11 speak it aloud using their voice avatar when enabled.
The “Speak for me” is a hidden feature in Windows 11 build 26052 that you can enable today using the ViVeTool. Microsoft may or may not release this feature to all Windows machines.
The “Speak for me” feature is still a work in progress and does not currently work.
Enable or disable “Speak for me” in Windows
As mentioned, users can enable or disable the hidden “Speak for me” feature to text today.
Here’s how to do it.
First, read the post below to learn how to use ViVeTool to enable or disable hidden features in Windows.
How to enable or disable hidden features in Windows with ViVeTool.
Using ViVeTool, run the command below to enable “Speak for me.”
vivetool /enable /id:47123936
Once enabled, continue below to enable or disable it.
Turn on “Speak for me” using the keyboard shortcuts
The quickest way to turn “Speak for me” on or off is to use the keyboard shortcuts below:
Press the Windown logo key + Ctrl + T keys to toggle “Speak for me” on and off.
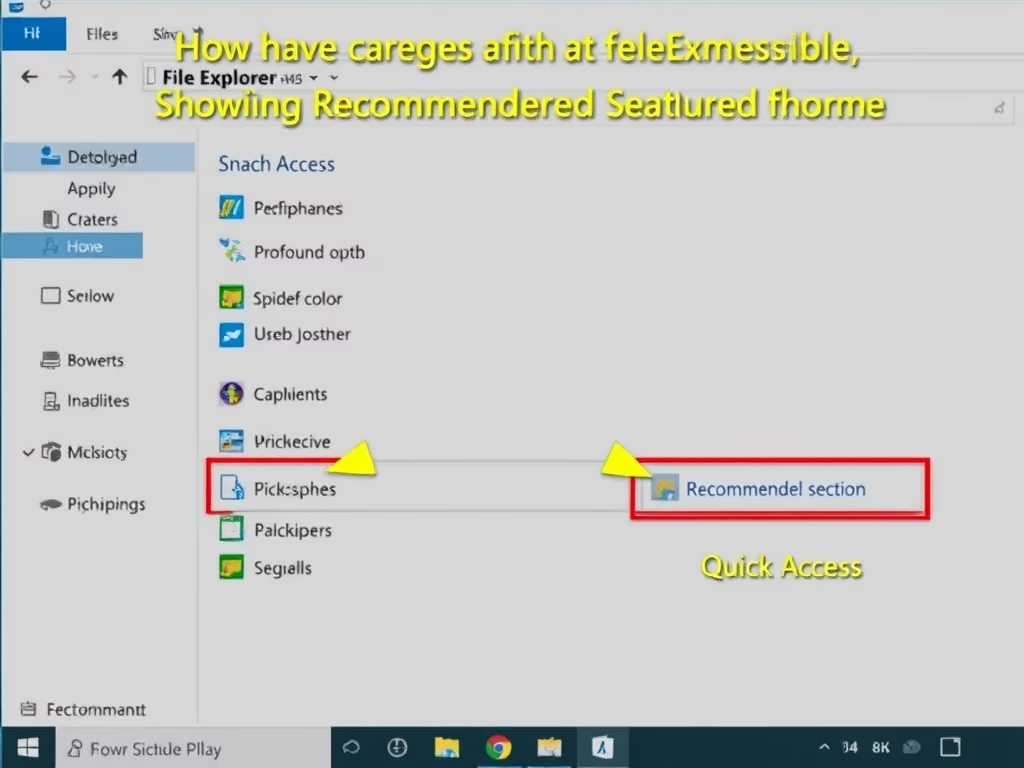
Turn “Speak for me” on or off using the Windows Settings app
You can also use the Windows Settings app to turn “Speak for me” on or off.
Open the Windows Settings app.
You can do that by clicking on the Start menu and selecting Settings. Or press the keyboard shortcut (Windows key + I) to launch the Settings app.
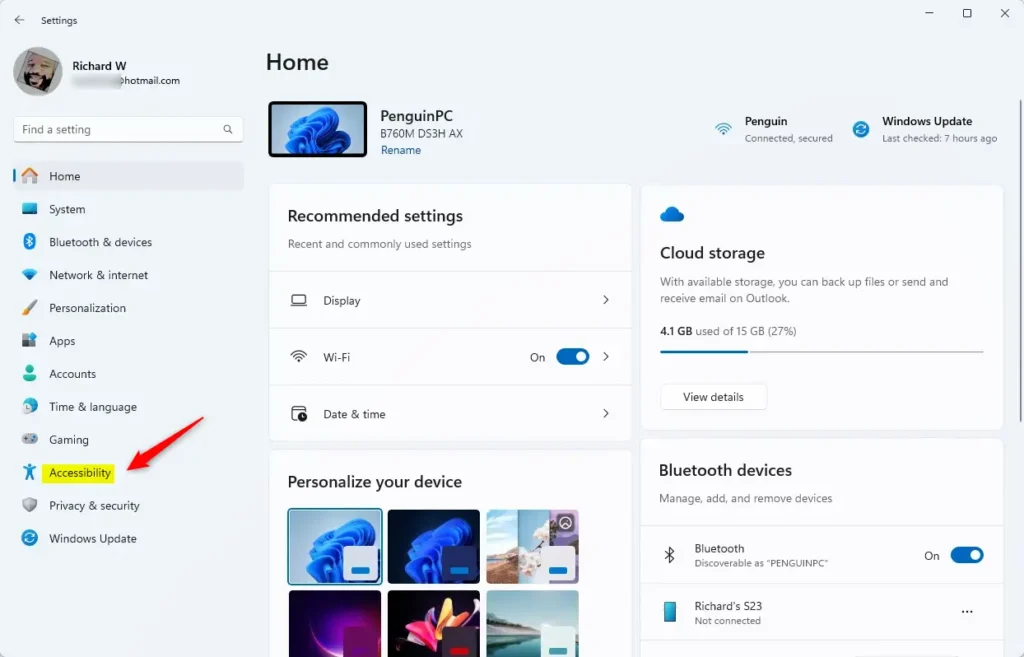
When the Setting app opens, click the Accessibility button on the left.
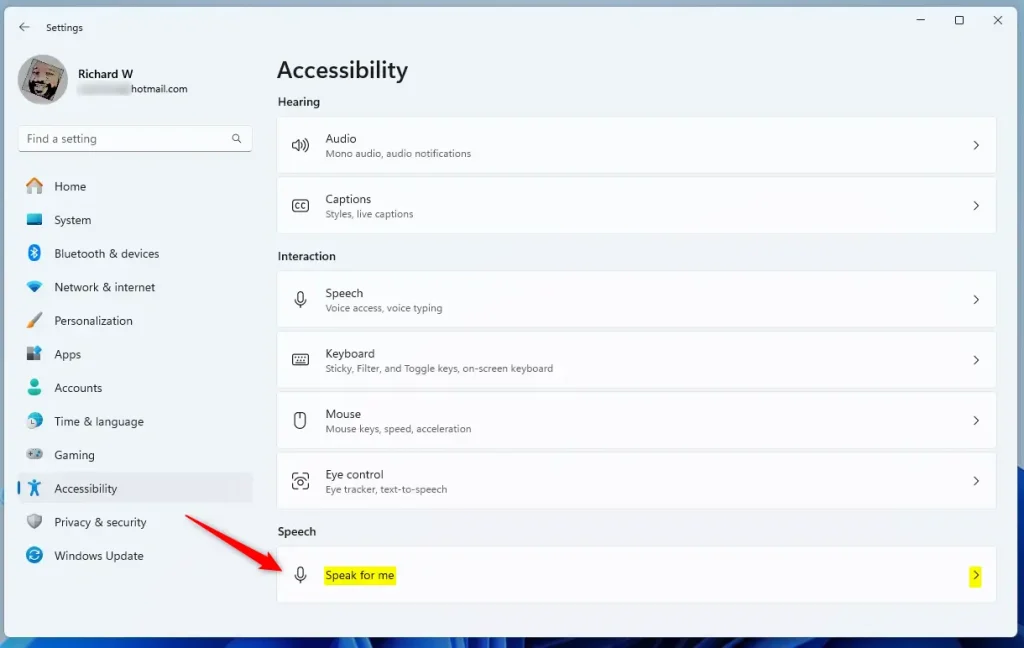
Select the “Speak for me” tile under the “Speach” section on the Accessibility on the right to expand it.
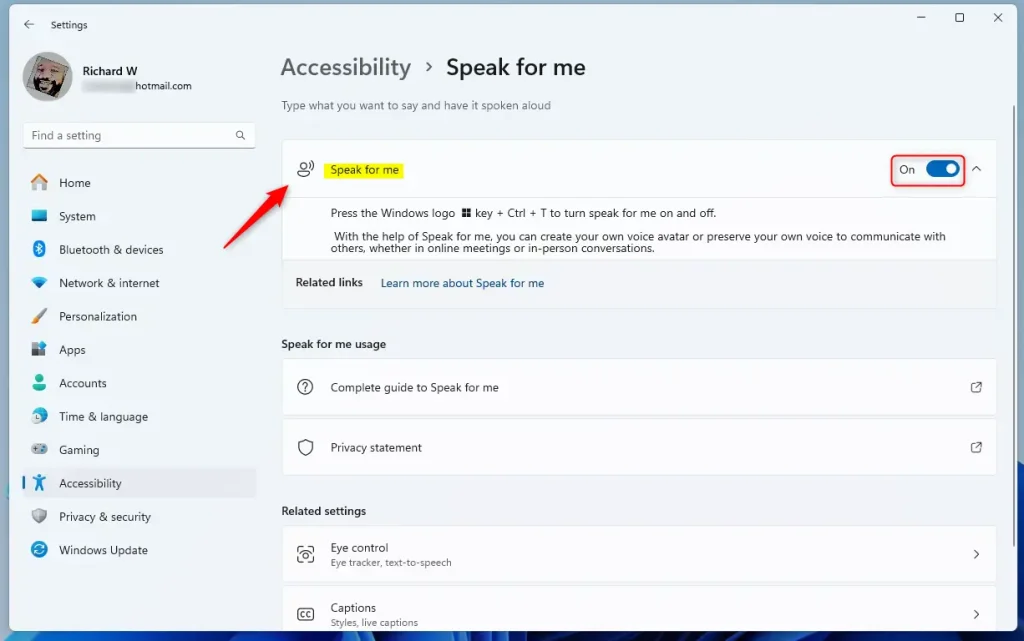
Next, select the “Speak for me” tile. Then, toggle the switch button to the On position to enable it.
To disable it, toggle the switch button to the Off position.
Close the Settings app when you’re done.
Conclusion:
- The “Speak for me” feature in Windows 11 is a work in progress and does not currently work.
- Users can enable or disable the hidden “Speak for me” feature using ViVeTool.
- Keyboard shortcuts (Windows logo key + Ctrl + T) provide a quick toggle option for “Speak for me.”
- Alternatively, users can use the Windows Settings app under the Accessibility section to turn “Speak for me” on or off.
This article provided a comprehensive guide on managing the “Speak for me” feature in Windows 11, detailing methods from using ViVeTool to utilizing keyboard shortcuts and the Settings app. Feel free to share any feedback or additional insights in the comments below.
Leave a Reply