
This post shows steps for students and new users to turn on or off Do Not Disturb notifications in Windows 11.
Windows comes with a feature called Focus Assist, which allows users to avoid distracting notifications when they need to stay focused. It is set by default to activate automatically under certain conditions.
Windows has reimagined focus experiences and introduced Do Not Disturb – a feature that makes it easy to silence notifications altogether.
Focus enables everyone to stay in the moment and minimize distractions on their PC. Do not Disturb makes it easy to silence notification banners to avoid getting distracted. Then, when you are ready to see the notifications you may have missed, you can find them in the Notification Center.
The new Do Not Disturb experience is not available to all PCs. Only PCs enrolled in Windows 11 Insider Preview can get it when updated.
How to enable or disable Do Not Disturb in Windows 11
As mentioned above, Do Not Disturb will make it easy to silence notification banners to avoid getting distracted.
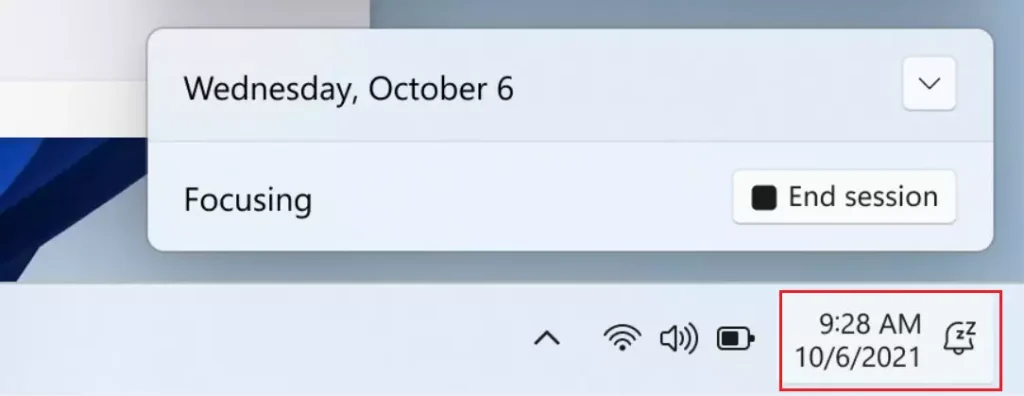
It is easy to start focusing right from the Notification Center (click on the time and date in the taskbar):
- Open Notification Center.
- Select the amount of time for your focus session.
- Press Start Focus.
Alternatively, one can use the Windows 11 Settings app to turn on focus or Do Not Disturb settings.
Windows 11 has a centralized location for the majority of its settings. As a result, everything can be done, from system configurations to creating new users and updating Windows from its Settings app.
To get to System Settings, you can use the Windows key + I shortcut or click on Start ==> Settings, as shown in the image below:

Alternatively, you can use the search box on the taskbar and search for Settings. Then select to open it.
In Windows Settings, click System > Notifications tile to expand it.

On the Notifications settings pane, under Do not disturb, select the Do not disturb tile, then toggle the button to the On or Off position.

If you want, you can turn on or off Do not Disturb automatically at a specific time. Click on the Turn on do not disturb automatically to expand it open.
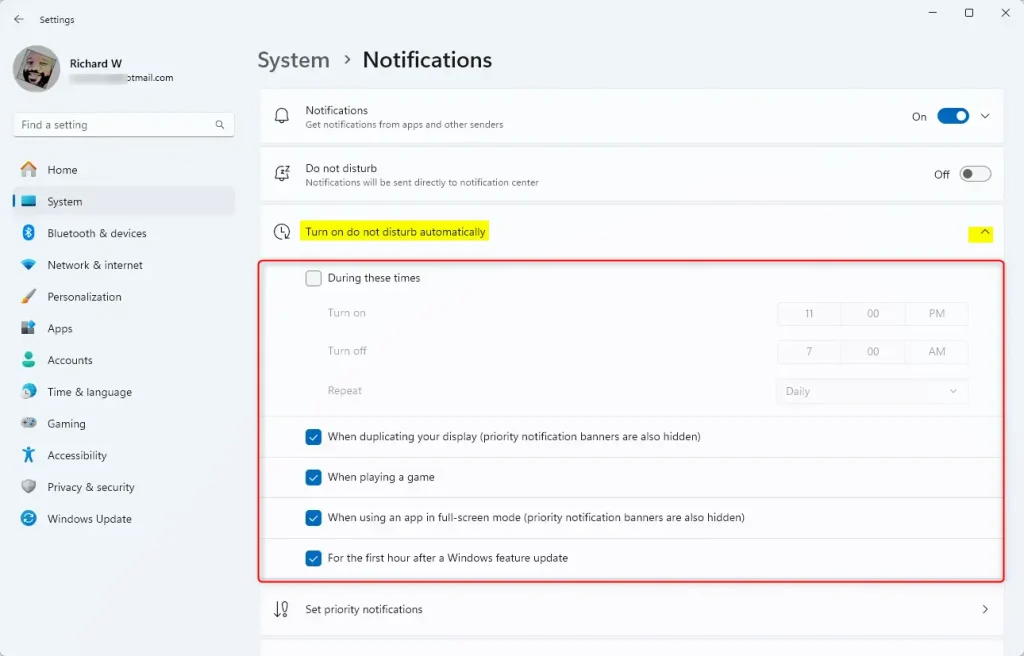
Then, specify the activities or time you want your computer to switch to “Do not disturb” mode automatically.
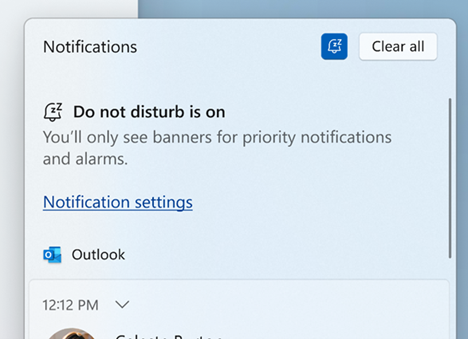
When enabled, you only see banners for priority notifications and alarms.
That should do it!
Conclusion:
- Do Not Disturb in Windows 11 helps you minimize distractions and maintain focus.
- The feature can be easily activated through the Notification Center or Settings app.
- Customization options allow for automatic activation at specific times or during set activities.
- Staying in control of notifications enhances productivity and ensures important tasks receive your full attention.
- Remember to check the Notification Center later to catch up on missed notifications.


Leave a Reply