
This article explains how to show military Time (24-hour) clock format on the lock screen in Windows 11.
The lock screen is what one sees when they turn on their computer before logging in or when they lock their PC.
To log in or return to your desktop when your session is locked, press any key on the keyboard to raise the lock screen curtain to reveal the login screen. Enter your password to log on.
Windows has two separate lock screens. The default lock screen shows when no user is logged on to Windows. The current user lock screen displays when a user is logged on, but their session is locked.
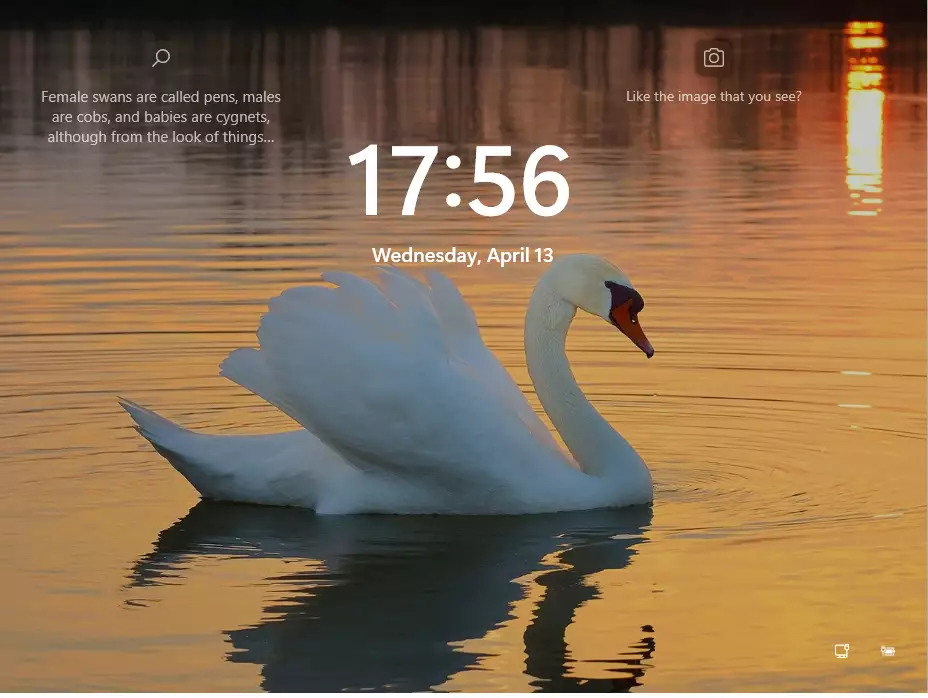
The lock screen default shows a Windows clock for a specific time zone. For example, the Windows lock screen can show a 12-hour or 24-hour (military) clock format.
How to show a 24-hour clock format on the lock screen in Windows 11
The Windows lock screen can show a 12-hour or 24-hour (military) clock format.
Below is how to show a 24-hour clock format on the Windows 11 lock screen.
Windows 11 has a centralized location for the majority of its settings. As a result, everything can be done, from system configurations to creating new users and updating Windows from its Settings app.
To get to System Settings, you can use the Windows key + I shortcut or click on Start ==> Settings, as shown in the image below:

Alternatively, you can use the search box on the taskbar to search for Settings. Then select to open it.
Windows Settings pane should look similar to the image below. Click Time & language > Language & Region tile in Windows Settings to expand it.

On the Time & language > Language & region settings pane, under Region, click on the Reginal format tile to expand it.
Next, click on the Change formats button.

On the Reginal format settings pane, select the Long time tile. Then change the format as follows:
- Select either the 9:40:07 AM (default) or 09:40:07 AM format to use a 12-hour clock.
- Select either the 9:40:07 or 09:40:07 format to use a 24-hour clock.

You can close the Settings app.
Restart your computer to see the changes.
That should do it!
Conclusion:
- You can easily show a 24-hour clock format on the lock screen in Windows 11 by accessing the Settings app.
- Navigate to Time & language > Language & Region and click Regional format to change the long-time format.
- Choose between the 12-hour and 24-hour clock formats by selecting the appropriate time display options.
- After making the changes, restart your computer to implement the new lock screen clock format.
Leave a Reply