Run File Explorer as Administrator in Windows 11

Running File Explorer as an administrator in Windows 11 gives you full control over all system files and folders.
File Explorer is the program you use to browse your computer’s files and folders. Running it as an administrator means it can do things regular File Explorer can’t, like changing protected Windows system files.
Normally, File Explorer opens with basic permissions. If you need to access or change important system files, like those found in 📁C:\Windows\System32, you might need administrator rights.
This tutorial shows you how to open File Explorer with these higher administrator permissions, even if you’re not logged in as an administrator.
To run File Explorer as administrator in Windows 11, open Task Manager (Ctrl+Shift+Esc), click File Run new task, check “Create this task with administrative privileges,” and type “explorer.exe.” Alternatively, navigate to 📁C:\Windows, right-click explorer.exe, and select “Run as administrator.
How to open File Explorer in Windows as an administrator
As mentioned, users can open File Explorer with administrative privileges. Since File Explorer normally opens with standard user permissions, follow the steps below to launch it as an administrator.
First, open File Explorer from the Taskbar or press the Windows + E keys on your keyboard.
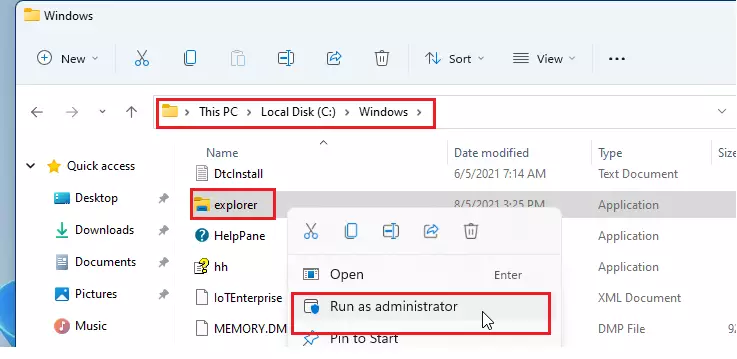
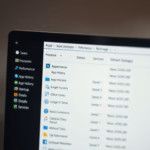
Next, navigate to the C:\Windows folder. Locate the explorer app, then right-click it and select Run as administrator.
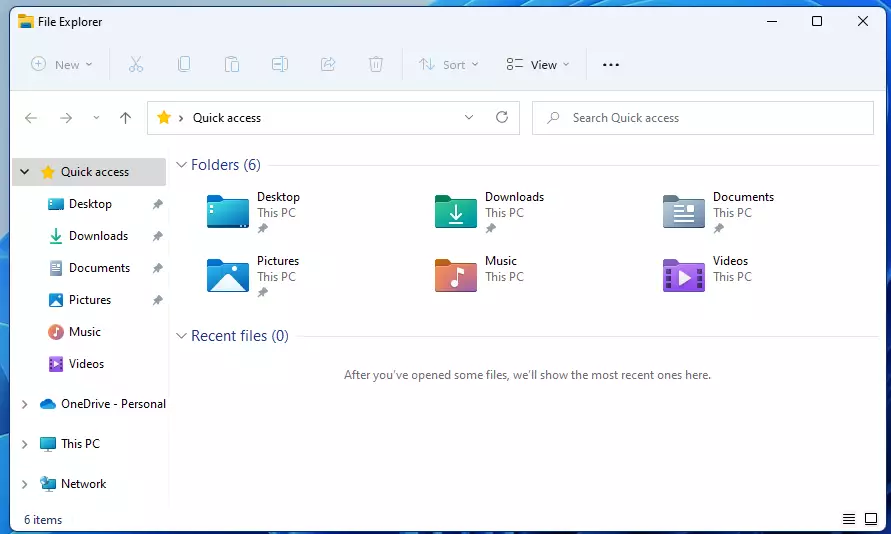
A new File Explorer window will now open with administrator privileges.
Another method to run File Explorer as an administrator involves using the Task Manager to start File Explorer as a task.
First, open the Task Manager in Windows 11.
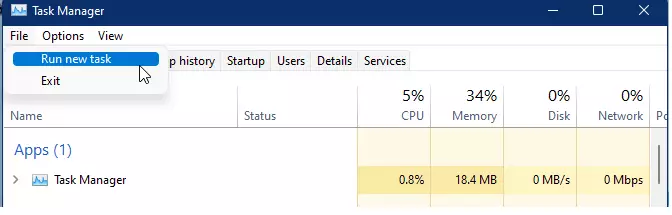
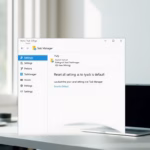
If prompted, select More details. Then, click File ==> Run a new task, as shown below.
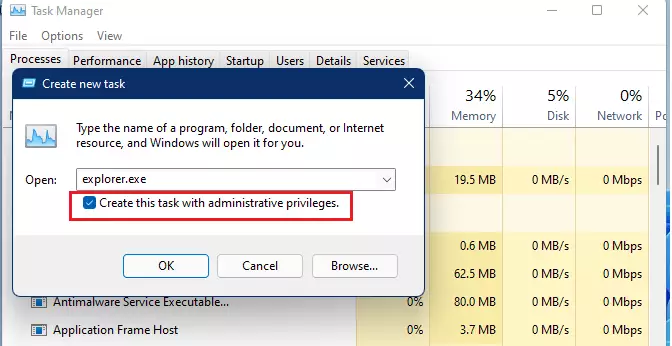
In the pop-up window, check the box labeled "Create this task with administrative privileges." Then, type the command below into the box and press Enter.
explorer.exe
After pressing Enter, a new File Explorer window will open with administrator privileges.
That should complete the process!
Conclusion:
- Opening File Explorer with administrative privileges can enhance your ability to manage files and folders effectively.
- You can easily run File Explorer as an administrator using the right-click option or through the Task Manager.
- Ensuring your account has administrator permissions is crucial for executing these tasks.
- Familiarize yourself with these steps to optimize your Windows 11 experience and improve your productivity.
- Experiment with both methods to determine which one works best for your workflow.
Was this guide helpful?

About the Author
Richard
Tech Writer, IT Professional
Richard, a writer for Geek Rewind, is a tech enthusiast who loves breaking down complex IT topics into simple, easy-to-understand ideas. With years of hands-on experience in system administration and enterprise IT operations, he’s developed a knack for offering practical tips and solutions. Richard aims to make technology more accessible and actionable. He's deeply committed to the Geek Rewind community, always ready to answer questions and engage in discussions.
No comments yet — be the first to share your thoughts!