How to Record Videos on Ubuntu with Cheese
You record videos on Ubuntu using the Cheese application, a simple webcam tool that lets you capture still photos and videos directly from your computer’s camera.
Cheese is a user-friendly program designed for quick recordings, saving your captured footage as .webm files by default in your Home directory’s Videos/Webcam folder.
If you’re using a recent Ubuntu version, like one from 2026, Cheese might not be pre-installed. You can easily install it by running ‘sudo apt install cheese’ in your terminal or finding it in the Ubuntu Software Center.
While Cheese is great for straightforward webcam captures, newer alternatives like GNOME Snapshot are emerging, and for professional needs, OBS Studio offers more advanced features.
Open the Cheese application from your Ubuntu dock or search. Ensure Video mode is selected, then click the Record button or press Space to start and stop. Your recordings automatically save to your Videos/Webcam folder.
How to record video with Cheese in Ubuntu Linux
If your computer has a camera, you can use Cheese to take still photos and videos. Here is how to use it.
First, open the application. Click the ‘Show Applications’ icon, which looks like a grid of dots, at the bottom of your dock. Type ‘Cheese’ into the search bar at the top, then click its icon to open the application.
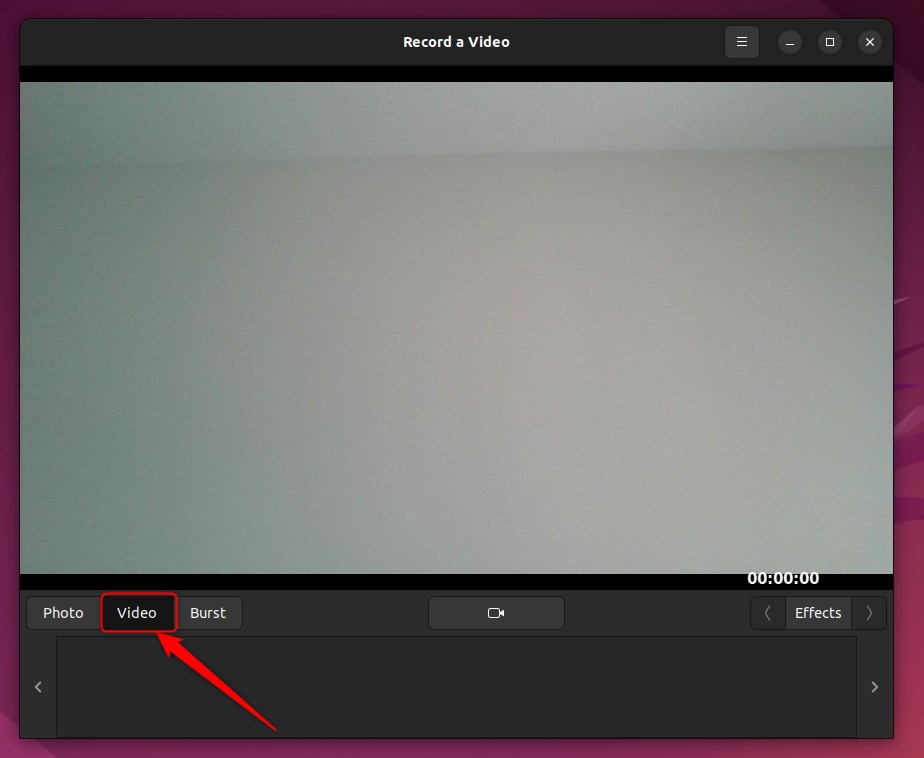
Look at the side of the window. Make sure you are in Video mode. The Video button should be highlighted.
To change where your videos are saved, click the menu button (three lines) in the top right corner and select Preferences. You can change the folder location there.
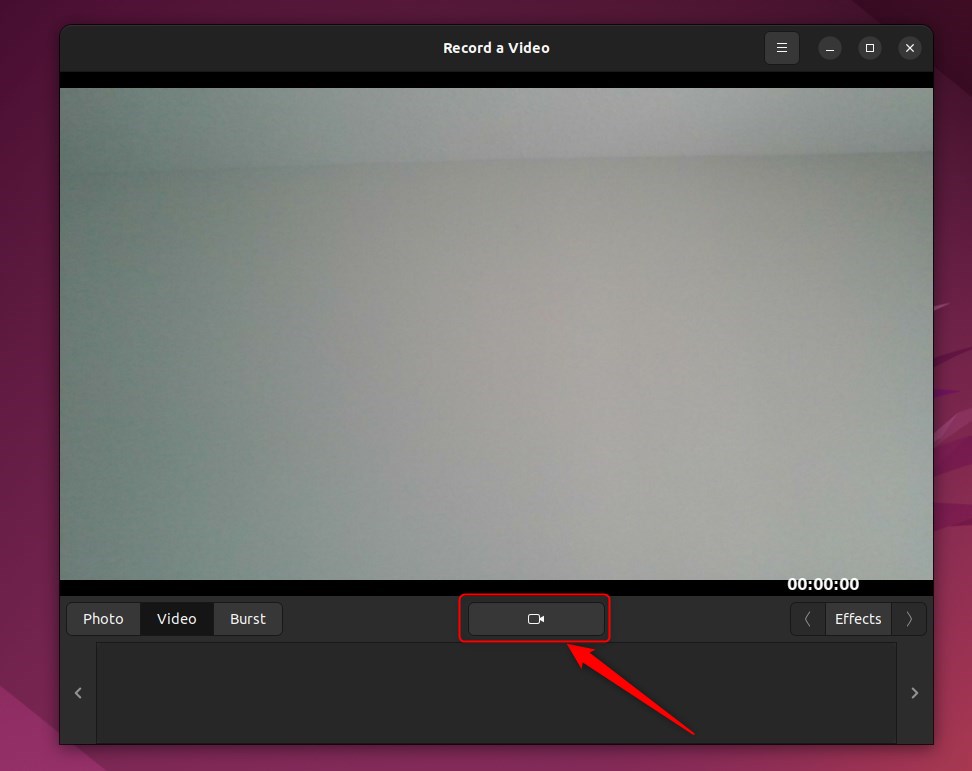
To start recording, click the large Record a video button at the bottom of the screen. You can also press the Space key on your keyboard.
To stop recording, click the button again or press the Space or Esc key.
Once you stop, the video appears in the bar at the bottom of the window. You can click it to watch it or right-click to delete it.
That is all there is to it!
Summary
- Record Fun Moments: Use your webcam to capture quick clips easily.
- Automatic Saving: Your videos save automatically to your chosen folder.
- Special Effects: Use the Effects menu in Cheese to add filters to your video.
Was this guide helpful?
0% of readers found this helpful (1 votes)

About the Author
Richard
Tech Writer, IT Professional
Richard, a writer for Geek Rewind, is a tech enthusiast who loves breaking down complex IT topics into simple, easy-to-understand ideas. With years of hands-on experience in system administration and enterprise IT operations, he’s developed a knack for offering practical tips and solutions. Richard aims to make technology more accessible and actionable. He's deeply committed to the Geek Rewind community, always ready to answer questions and engage in discussions.


No comments yet — be the first to share your thoughts!