Step-by-Step Guide to Install XCP-ng on Your Server
You can install XCP-ng directly onto your server’s bare metal to create an open-source virtualization platform that functions as a hypervisor.
XCP-ng is powerful software that builds and runs virtual machines (VMs) on your hardware. It’s built upon the stable XenServer foundation and offers a completely free, community-supported alternative to commercial virtualization solutions.
This robust platform allows you to host and manage multiple VMs efficiently. You’ll gain the ability to perform live migrations and control your entire virtual environment through the intuitive Xen Orchestra web interface, starting your own cloud infrastructure.
Download the XCP-ng ISO, create a bootable USB or CD, boot your server from it, and follow the on-screen prompts in the installation wizard. Accept the license, configure storage and networking, set a root password, and confirm the installation.
Install XCP-ng
First, grab the latest ISO image of XCP-ng from the link below.
Once you’ve downloaded the ISO image, you’ll need to create a bootable USB disk or CD/DVD. On Linux, you can use commands like:
dd if=xcp-ng-8.2.0.iso of=/dev/sdX bs=8M oflag=direct
For Windows, Rufus is a great option. After you’ve created your bootable disk, insert it into your server and boot from it.
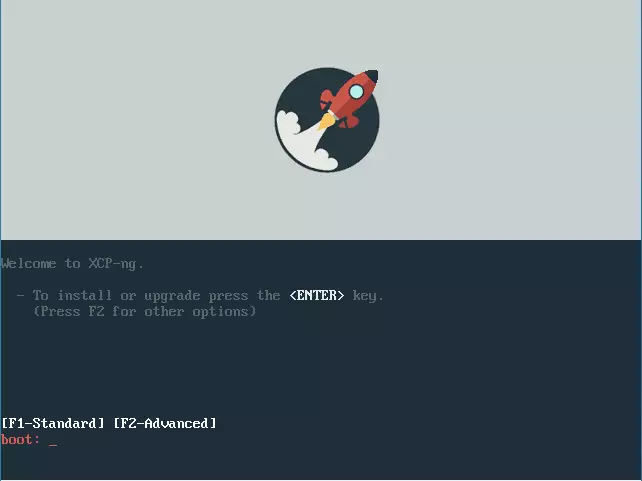
You should see a “Welcome to XCP-ng” screen. Press the Enter key to begin the installation wizard. For more options, press F2.
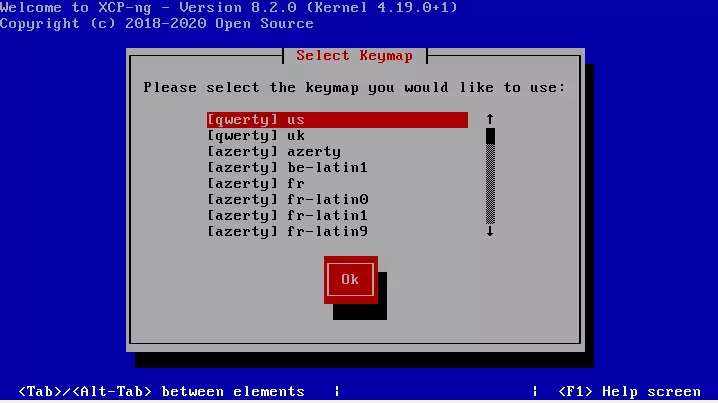
Next, select the keymap you would like to use. The default is [qwerty] us.
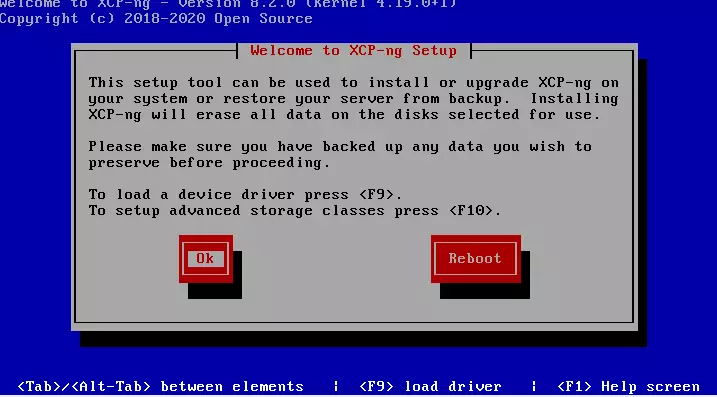
Next, click Ok to use the setup tool to install XCP-ng on your system. To load additional drivers, press F9.
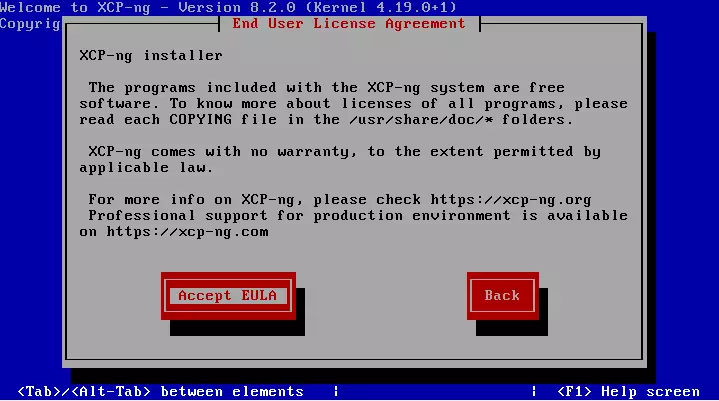
After that, accept the End User License Agreement to continue with the installation.
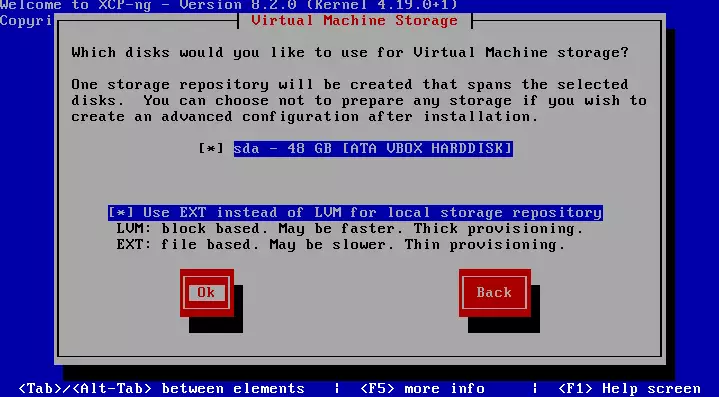
Next, select the virtual machine storage to use for storage. Our tutorial only installed a single disk, so it defaulted to that.
If you prefer EXT over LVM for your local storage, select that option and click Ok.
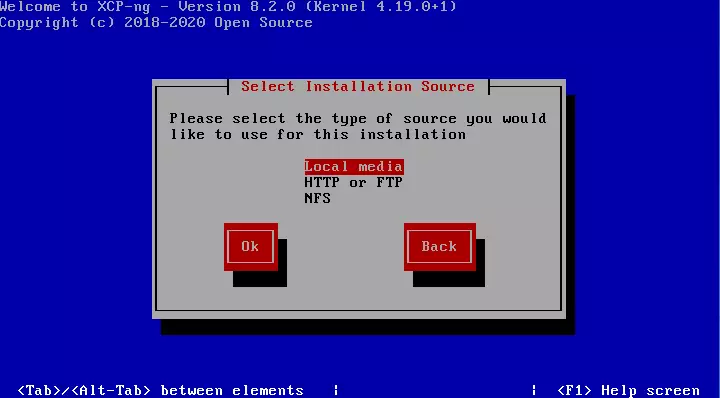
Then select the installation source. Since we’re installing from a local USB or CD, select “local media” and click Ok.
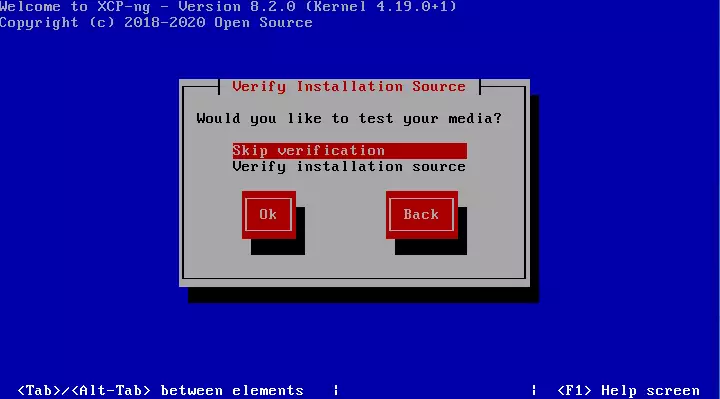
Next, you can choose to verify the installation media or skip it. Verification makes sure that the content on the disk is not corrupted.
After that, create a password for the root account. This account is your main administrator access for managing the server.

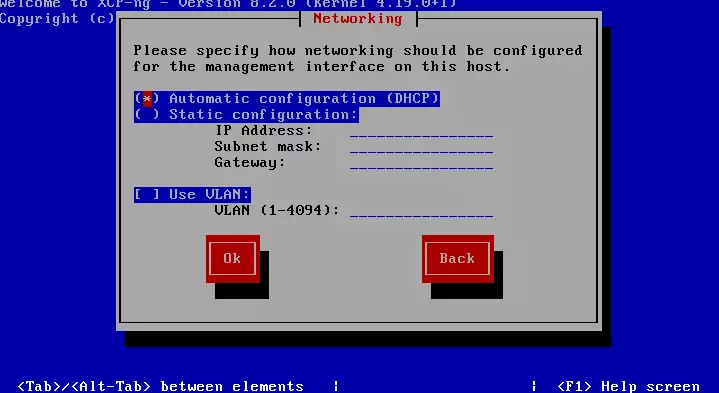
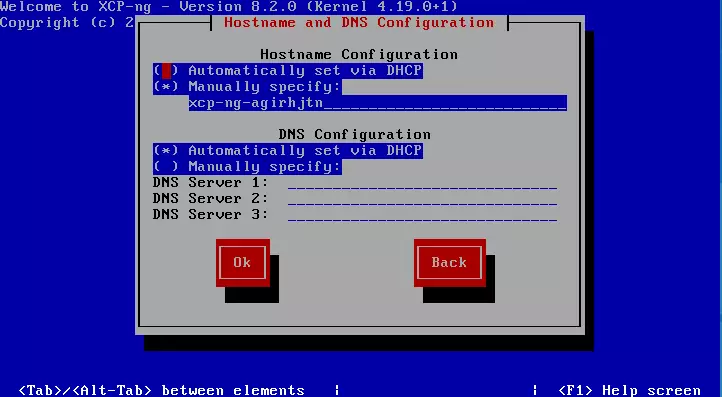
Now, let’s configure the server’s networking. While many opt for a static IP configuration, we’ll use automatic configuration (DHCP) for this guide.
We’ll also set up automatic DNS configuration. Keep in mind, in a production environment, you’d typically use static DNS servers.
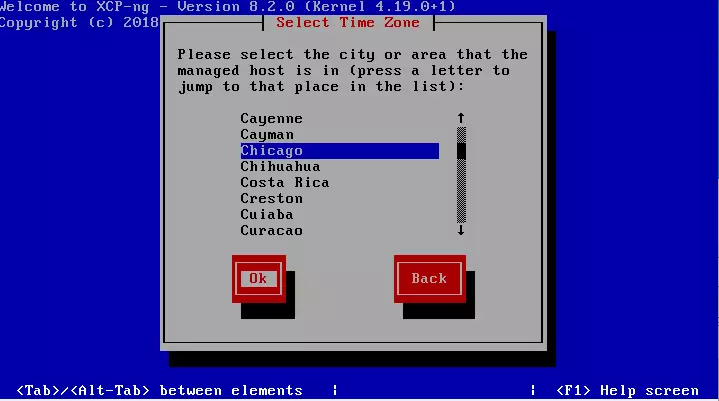
Next, select your server’s local time zone and then the city it’s located in.

Then select the city the server will be stationed.
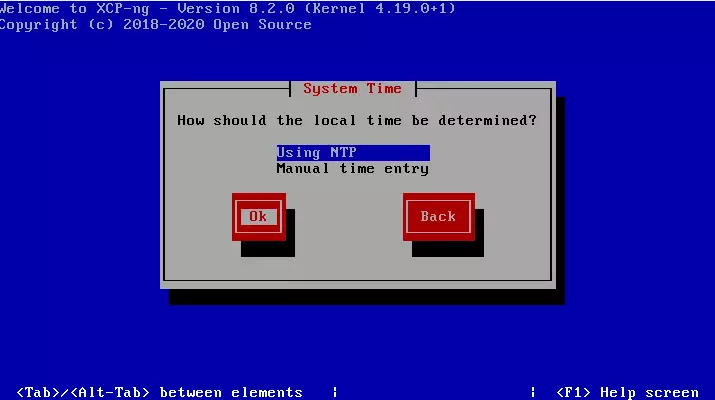
We’ll use NTP to set the server’s local time and then continue.
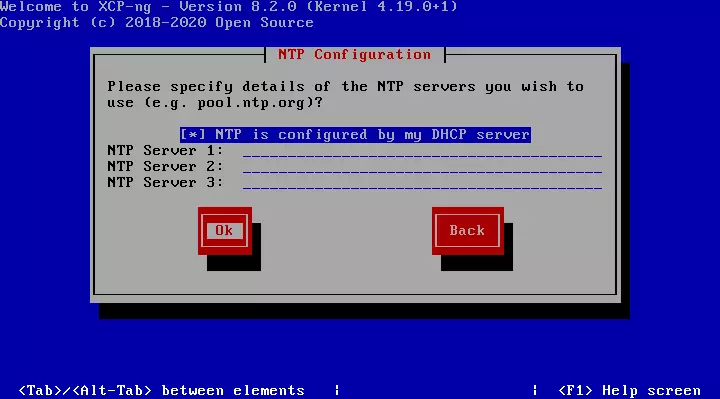
Since we’re using automatic IP settings, select the option for a DHCP server to assign NTP servers automatically. For production, you’d enter these statically.
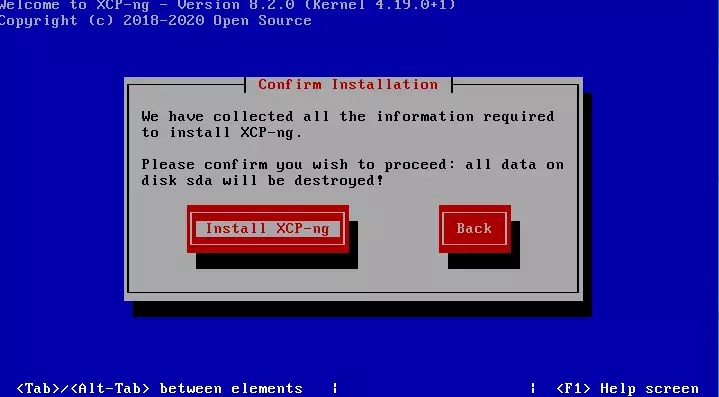
Next, click Install XCP-ng to begin the installation. This will erase all data on the disk you’re installing on.
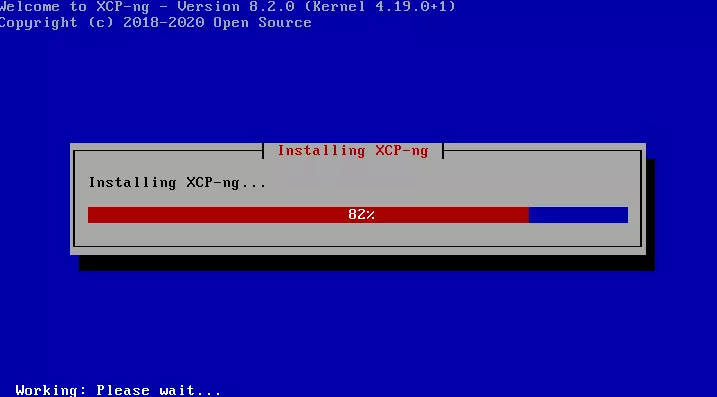
Wait for the installation to complete.
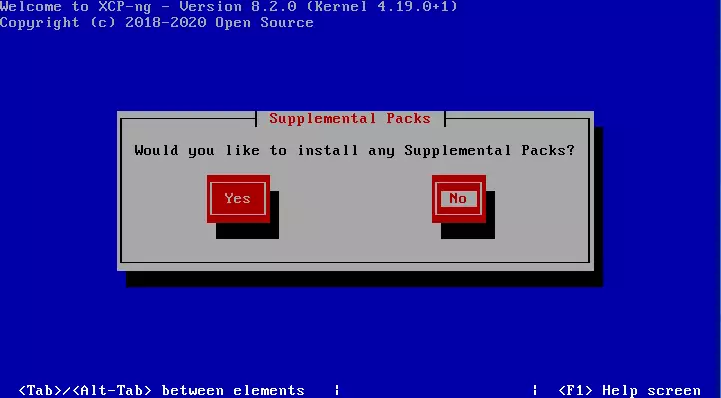
When prompted if you want to install any additional packs, choose “No”. Many users have reported that this can sometimes cause the installation to hang.
You can install these packages later, after the software is up and running.
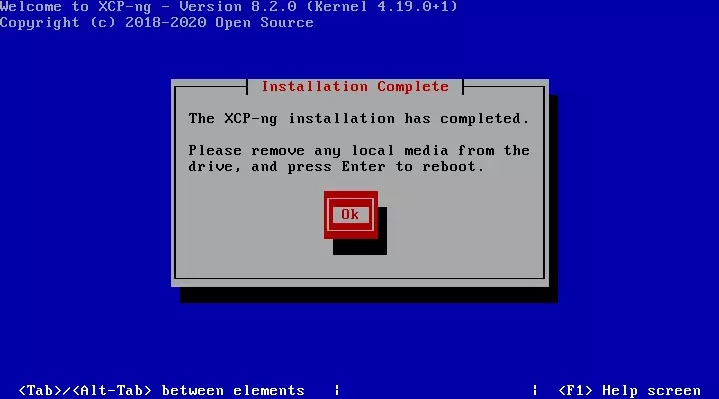
After that, the installation should be complete. Remove any disk in the computer and press Enter to reboot.
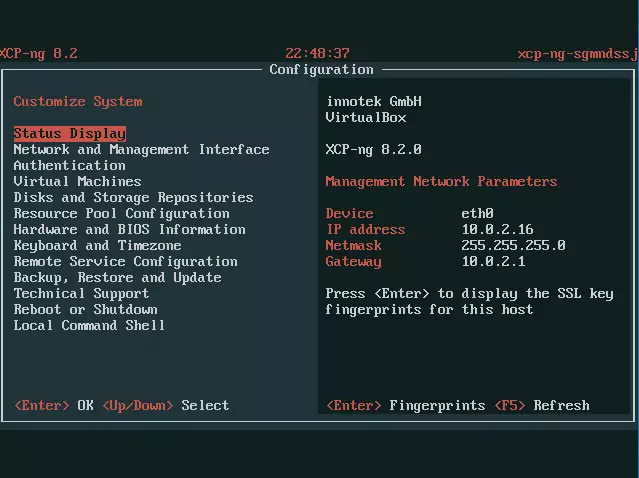
Login with the root password you created earlier and start configuring your environment.
That should do it.
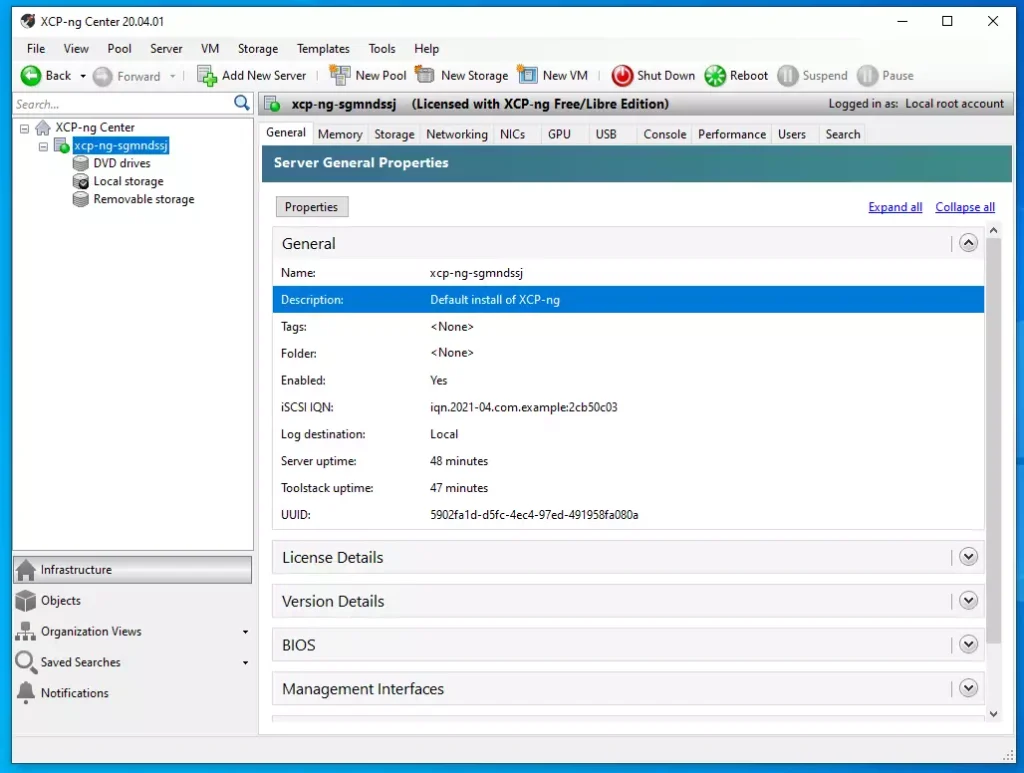
Install XCP-ng Center
To manage the server via a graphical client, you’ll need to install it. The official graphical client for XCP-ng is Xen Orchestra, which is supported by a dedicated team of developers.
XCP-ng Center is maintained by community members in their free time and hosted by the XCP-ng project.
Download the latest release from the link below and install it on your Windows machine.
Releases · xcp-ng/xenadmin · GitHub
Enjoy!
That should do it.
Conclusion:
- XCP-ng is a powerful open-source virtualization platform based on XenServer, enabling efficient management of virtual machines.
- The installation process on bare metal servers is straightforward, requiring only a few steps to get started.
- Users have the flexibility to choose between different storage options and network configurations during installation.
- After installation, managing your virtual environment is simplified with the use of graphical clients like Xen Orchestra and XCP-ng Center.
- XCP-ng offers a cost-effective solution for building and managing cloud infrastructure without sacrificing features or performance.
- Community support and ongoing development ensure that XCP-ng remains a reliable choice for virtualization needs.
Was this guide helpful?

About the Author
Richard
Tech Writer, IT Professional
Richard, a writer for Geek Rewind, is a tech enthusiast who loves breaking down complex IT topics into simple, easy-to-understand ideas. With years of hands-on experience in system administration and enterprise IT operations, he’s developed a knack for offering practical tips and solutions. Richard aims to make technology more accessible and actionable. He's deeply committed to the Geek Rewind community, always ready to answer questions and engage in discussions.


No comments yet — be the first to share your thoughts!