How to Install VMware Workstation Player on Ubuntu Linux
You install VMware Workstation Player on Ubuntu Linux by downloading the installer package and running it via the terminal.
VMware Workstation Player is a free desktop hypervisor, allowing you to run multiple operating systems as virtual machines on your computer. It’s perfect for developers and IT professionals testing new software or different OS versions.
This guide specifically covers installation on Ubuntu Linux. For smooth operation, you’ll generally need a 64-bit processor and a minimum of 2 GB of RAM, though 4 GB or more provides a significantly better experience for running virtual machines.
The installation process involves downloading a specific installer file and then executing a single command in your Ubuntu terminal to initiate the setup. This streamlined approach gets your virtual environment up and running efficiently.
Install VMware Workstation Player on Ubuntu by first updating packages and installing dependencies with `sudo apt update && sudo apt install wget gcc build-essential linux-headers-generic linux-headers-$(uname -r)`. Then download the installer, make it executable with `chmod +x `, and run it using `./`.
How to install packages on Ubuntu Linux
To install VMware Workstation Player on Ubuntu, you must first install supporting packages and build dependencies.
To do that, run the commands below.
sudo apt update
sudo apt install wget gcc build-essential linux-headers-generic linux-headers-$(uname -r)
How to download and install VMware Player
After installing the packages above, go and download VMware Workstation Player from its download page and install it. The link below gets you there.
https://my.vmware.com/web/vmware/downloads
Alternatively, run the commands below to download the latest version of VMware Workstation Player on the terminal console.
cd /tmp
wget --user-agent="Mozilla/5.0 (X11; Ubuntu; Linux x86_64; rv:91.0) Gecko/20100101 Firefox/91.0" https://www.vmware.com/go/getplayer-linux
After downloading the above, run the commands below to make the package executable and install VMware Workstation Player.
chmod +x getplayer-linux
sudo ./getplayer-linux
In Ubuntu, the installation will be run non-interactively. This means you won’t have to complete an installation wizard.
After a brief moment, the installation should complete with a success message similar to the one below. Once you see the message below, you’re done.
Extracting VMware Installer...done.

Installing VMware Player 16.1.2

    Configuring...

[######################################################################] 100%

Installation was successful.
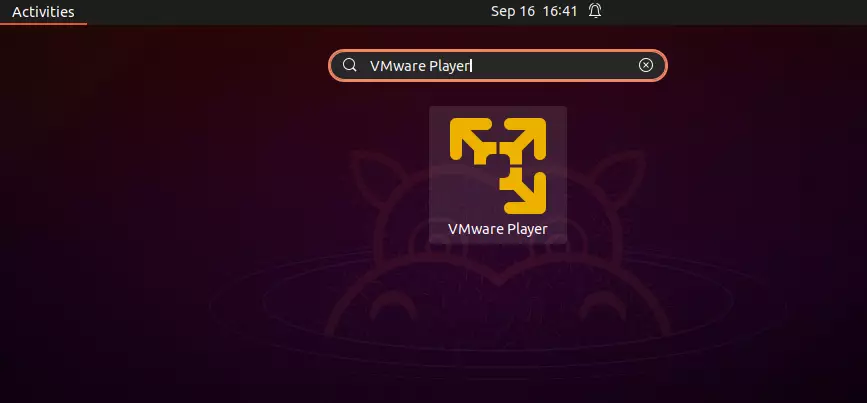
After the installation above, launch VMware Workstation Player from the Activities Dashboard. Click the Show Application button at the bottom left.
On the app’s dashboard, search for and select VMware Player.
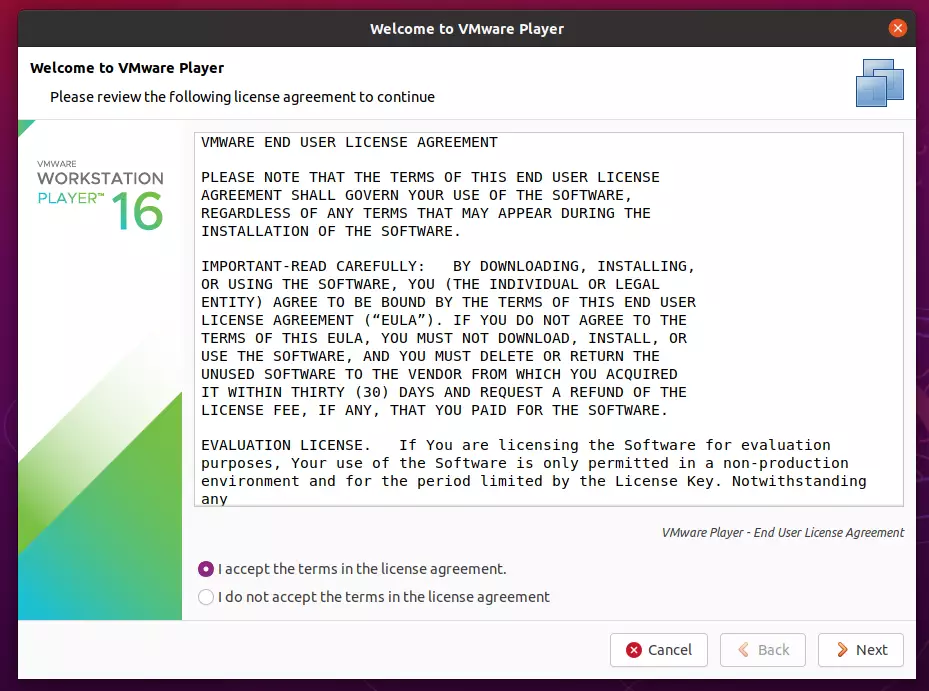
Once you click on the app, it will open its Welcome wizard. Accept the license terms to continue.
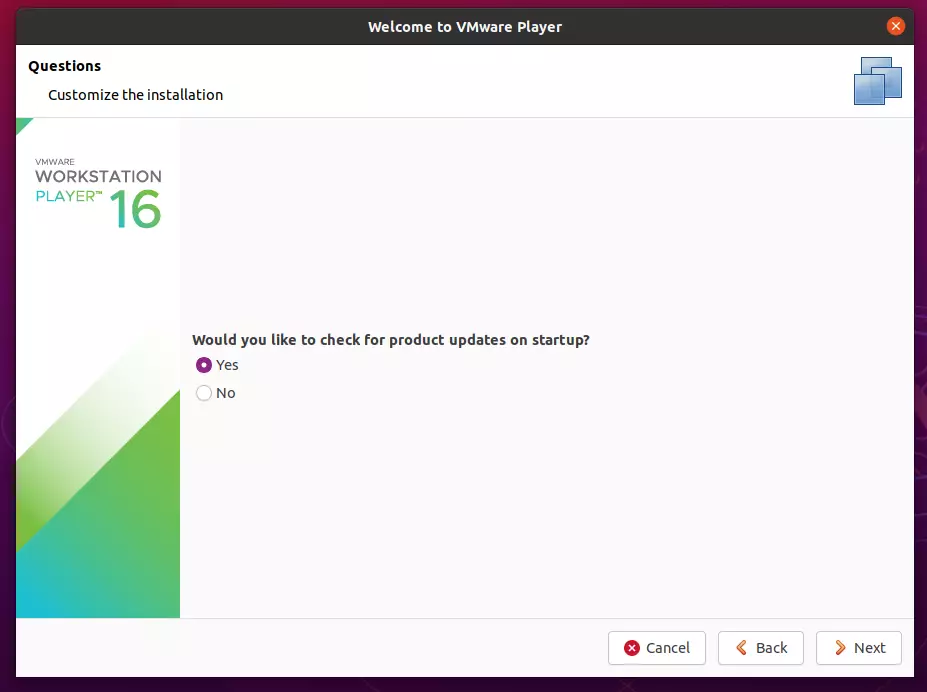
Accept to check for product updates on startup and continue
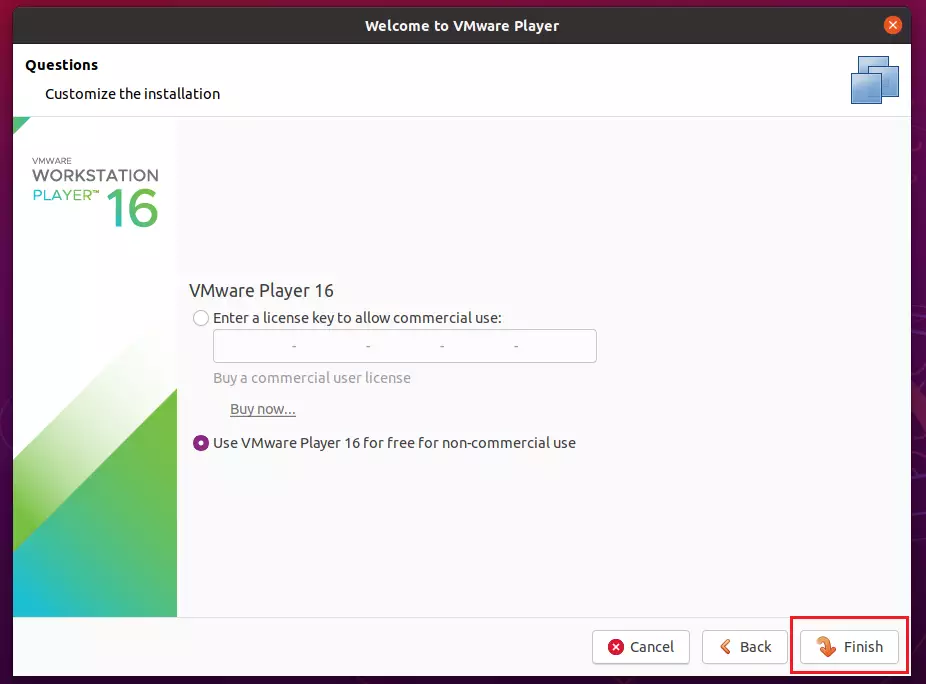
For personal use, choose “Use VMWare Player free for non-commercial use.” If you use it commercially, you should purchase a license key and enter it here or do it after installing the program.
Click Finish
After that, the VMware Player console should open, ready to create guest machines.
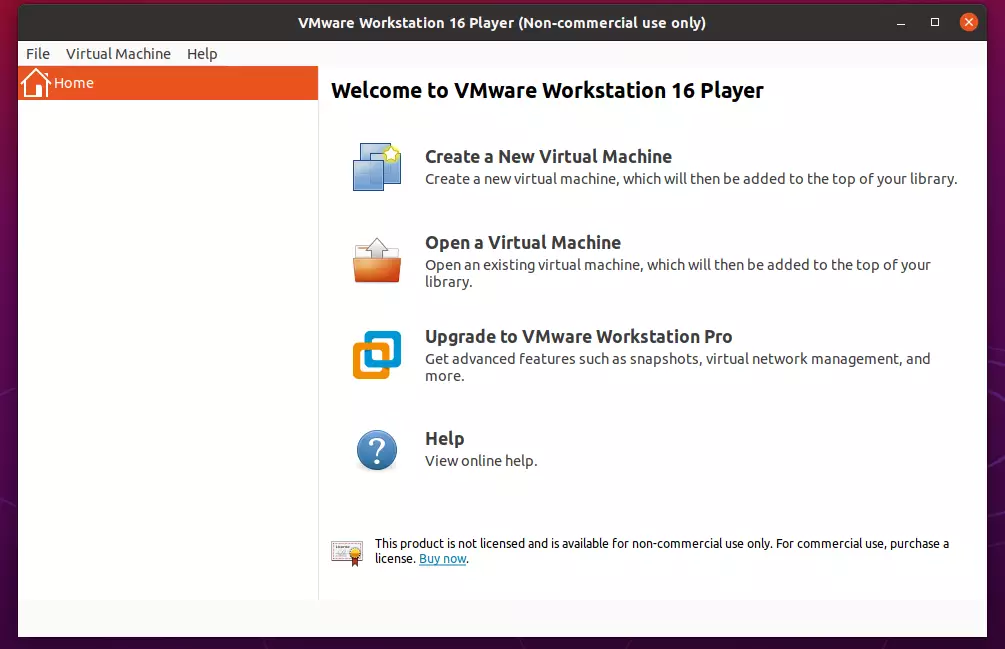
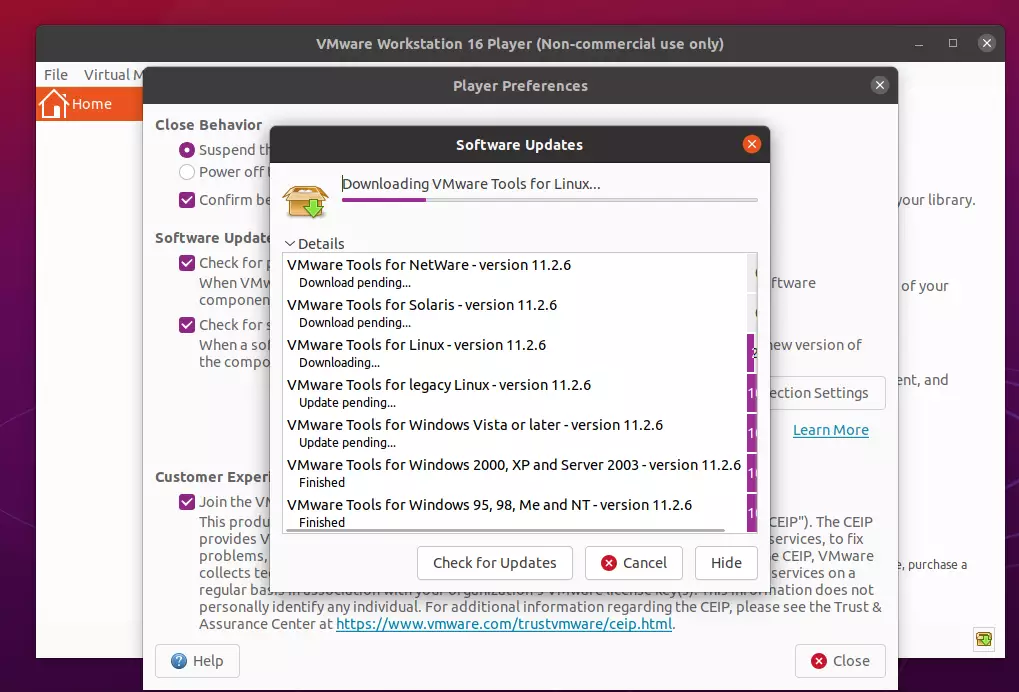
The first thing you’ll want to do is update VMware Player components. To do that, click File and select Player Preferences.
On the preferences screen, click Download All Components Now button. Wait for all guest tools to finish downloading before creating VMs.
That should do it!
Conclusion:
This post showed you how to install and use VMware Workstation Player on Ubuntu Linux. Please use the comment form below if you find any errors above or have something to add.
Was this guide helpful?

About the Author
Richard
Tech Writer, IT Professional
Richard, a writer for Geek Rewind, is a tech enthusiast who loves breaking down complex IT topics into simple, easy-to-understand ideas. With years of hands-on experience in system administration and enterprise IT operations, he’s developed a knack for offering practical tips and solutions. Richard aims to make technology more accessible and actionable. He's deeply committed to the Geek Rewind community, always ready to answer questions and engage in discussions.


No comments yet — be the first to share your thoughts!