

This article explains how to install Umami Analytics on Ubuntu 24.04.
Umami Analytics is a self-hosted analytics platform that provides insights into website and application usage. Installing Umami on Ubuntu gives you complete control over your analytics data and access to detailed information about your site’s visitors.
Umami on Ubuntu can be a more privacy-conscious alternative to third-party analytics services like Google Analytics.
The steps below walk you through installing Umami Analytics on Ubuntu 24.04.
Install PostgreSQL
Before installing Umami, you must install a database server to store its content. A database server that works excellently with Umami is PostgreSQL.
Use the steps below to install it on Ubuntu.
First, add the PostgreSQL GPG key to Ubuntu. Run the command below to do that.
sudo apt install curl
curl https://www.postgresql.org/media/keys/ACCC4CF8.asc | gpg --dearmor | sudo tee /usr/share/keyrings/postgresql-key.gpg >/dev/null
Then, add the PostgreSQL APT repository to your sources list.
sudo sh -c 'echo "deb [signed-by=/usr/share/keyrings/postgresql-key.gpg arch=amd64] http://apt.postgresql.org/pub/repos/apt $(lsb_release -cs)-pgdg main" > /etc/apt/sources.list.d/pgdg.list'
Next, update and refresh the repository list and install PostgreSQL.
sudo apt update
sudo apt install postgresql postgresql-contrib
More details on installing PostgreSQL can be found in the link below.
How to install PostgreSQL on Ubuntu
Configure PostgreSQL and create an Umami database
Once PostgreSQL is installed, use the steps below to configure it and create a database for Umami.
First, log on to the PostgreSQL console by running the command below.
sudo -u postgres psql
Run the command below to change or create a password for the administrator account. Confirm the password when prompted.
password postgres
Next, create an Umami database user account called ‘umamiuser.’
CREATE ROLE umamiuser WITH LOGIN ENCRYPTED PASSWORD 'type_strong_password_here';
Replace ‘type_strong_password_here‘ with your password.
Next, create a ‘umamidb‘ database for Umami and make the user above owner.
CREATE DATABASE umamidb OWNER umamiuser;
Exit the database console.
q
Install Umami
Now that PostgreSQL is installed let’s go and install some prerequisites to get Umami working.
The command below will install Node.js, NPM, and Git
sudo apt install nodejs npm git
Next, install the yarn package manager by running the command below.
sudo npm install -g yarn
After that, create a new system user and group for umami by running the command below.
sudo adduser --system --group --no-create-home --shell /sbin/nologin umami
Next, download the Umami source code to the /opt/umami directory. Then, make the Umami user the owner of the directory.
sudo git clone https://github.com/umami-software/umami.git /opt/umami
sudo chown -R umami:umami /opt/umami
Change to the /opt/umami directory and run the yarn command to install JavaScript dependencies for Umami.
cd /opt/umami
sudo yarn install
Next, create a new .env file for Umami configurations by running the command below.
sudo -u umami nano .env
Add the line below of the PostgreSQL data and account created above into the file.
DATABASE_URL=postgresql://umamiuser:TypePasswordHere@localhost:5432/umamidb
Save and exit the file when done.
Next, run the following command to build and start Umami.
sudo yarn build
sudo yarn start
After starting the service, open your browser and browse to the server hostname or IP address followed by port number 3000.
localhost:3000
An Umami login portal should appear.
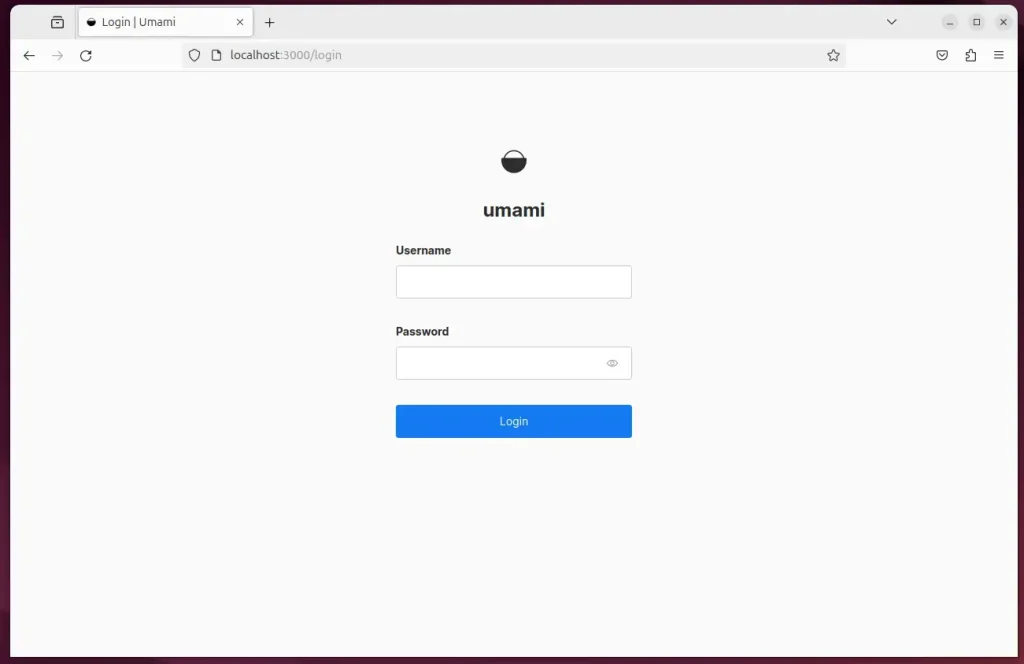
Log in with the default user admin and password umami.
Run Umami as a System Service
You can set it up as a system service to make Umami easier to manage. Then, use the systemctl command to manage it.
First, press Ctrl+C to terminate the process.
Run the command below to create an Umami system service file.
sudo nano /etc/systemd/system/umami.service
Copy and paste the lines below in the file and save it.
[Unit]
Description=Umami Website Analytics
After=network.target postgresql.service

[Service]
Type=simple
ExecStart=/usr/bin/npm start
Restart=always
# Consider creating a dedicated user for umami here:
User=umami
Group=umami
#Environment=NODE_ENV=production
WorkingDirectory=/opt/umami

[Install]
WantedBy=multi-user.target
Enable and start Umami.
sudo systemctl daemon-reload
sudo systemctl enable umami
sudo systemctl start umami
sudo systemctl status umami
The status option will display Umami as running and healthy.
umami.service - Umami Website Analytics
     Loaded: loaded (/etc/systemd/system/umami.service; enabled; preset: enable>
     Active: active (running) since Thu 2024-06-27 13:41:00 CDT; 7s ago
   Main PID: 14377 (npm start)
      Tasks: 31 (limit: 4561)
     Memory: 93.4M (peak: 93.8M)
        CPU: 1.775s
     CGroup: /system.slice/umami.service
             ├─14377 "npm start"
             ├─14392 sh -c "next start"
             └─14393 "next-server (v14.2.3)"
When you start the machine, Umami should be accessible using the local server name or IP address followed by the port number.
Set up a reverse proxy
Now that Umami is set up, you can use a reverse proxy to ensure Umami access via a domain name and optimize for web traffic.
The two links below show you how to set up a reverse proxy using Nginx or Apache.
That should do it!
Conclusion:
- Umami Analytics offers a self-hosted and privacy-conscious alternative to third-party analytics services like Google Analytics, providing detailed insights into website and application usage.
- Installing Umami on Ubuntu 24.04 involves installing and configuring PostgreSQL, creating an Umami database, and setting up Umami as a system service.
- Once installed, Umami can be accessed through a local server name or IP address and optimized for web traffic using a reverse proxy setup with Nginx or Apache.
Leave a Reply