
This article describes the steps to install and use Standard Notes Server on Ubuntu Linux.
Standard Notes is an open-source, cross-platform, end-to-end encrypted note-taking app that can sync with a cloud or self-hosted server to sync notes across all devices.
The server can be a cloud or one hosted on-premise. Devices connecting to the Standard Notes server can sync and share notes securely across desktops, mobile phones, and others.
Below is how to install the Standard Notes server on Ubuntu Linux.
Install and use Standard Notes server on Ubuntu Linux
As described above, Standard Notes is an open-source, cross-platform, end-to-end encrypted note-taking app that can sync with a cloud or self-hosted server to sync notes across all devices.
Below is how to install it on Ubuntu Linux.
Install Docker and Docker Compose
There are multiple ways to install Standard Notes. One of the many ways is to use Docker and Docker Compose.
For this post, we’re going to be using Docker.
First, update the Ubuntu packages index, then install curl if you don’t already have it.
sudo apt update
sudo apt install curl
Next, run the commands below to add the official Docker GPG repository key.
curl -fsSL https://download.docker.com/linux/ubuntu/gpg | sudo gpg --dearmor -o /usr/share/keyrings/docker.gpg
After that, run the commands below to create a Docker repository file on Ubuntu Linux.
echo "deb [arch=$(dpkg --print-architecture) signed-by=/usr/share/keyrings/docker.gpg] https://download.docker.com/linux/ubuntu $(lsb_release -cs) stable" | sudo tee /etc/apt/sources.list.d/docker.list > /dev/null
When you’re done, update the Ubuntu packages index again and install Docker and Docker Compose.
sudo apt update
sudo apt-get install docker-ce docker-ce-cli containerd.io docker-compose-plugin
Docker runs with elevated privileges, but you don’t want Docker’s account to run as root. The best option is to add your account to Docker’s group.
Do that by running the commands below.
sudo usermod -aG docker ${USER}
To apply for the permissions above, restart your machine. Simply logging out and back in doesn’t resolve the permissions issues.
Additional resources on installing Docker and Docker Compose are in the post below.
How to install Docker and Docker Compose on Ubuntu Linux
Download and install Standard Notes
We are ready to download and install the Standard Notes server on Ubuntu Linux.
Run the commands below to clone the Standard Notes project at GitHub.
cd ~
git clone --single-branch --branch main https://github.com/standardnotes/standalone.git
Change into the project folder and run the setup.
cd standalone
./server.sh setup
The commands above will create ~/.env and ~/docker/auth.env files. Feel free to modify values if needed.
To configure Standard Notes, we need to generate six secrets to use in our configuration.
Run the commands below to that.
We will need 6 random strings of 32 bytes for our configurations. So, maybe create six of them and put them somewhere to use later.
openssl rand -hex 32
Copy the secret strings and store them somewhere.
After that, run the commands below to open and edit ~/standalone/.env .
nano ~/standalone/.env
Update the highlighted lines with the strings created above.
LOG_LEVEL=info
NODE_ENV=development
VERSION=local

AUTH_JWT_SECRET=ae82fae459ace3fd6da3dbef31c220d9aa3bb2df128987480a8ce59fd35a47d0
EXPOSED_PORT=3000

DB_HOST=db
DB_REPLICA_HOST=db
DB_PORT=3306
DB_USERNAME=std_notes_user
DB_PASSWORD=changeme123
DB_DATABASE=standard_notes_db
DB_DEBUG_LEVEL=all # "all" | "query" | "schema" | "error" | "warn" | "info" | "log" | "migration"
DB_MIGRATIONS_PATH=dist/migrations/*.js

REDIS_URL=redis://cache

SNS_TOPIC_ARN=
SNS_AWS_REGION=
SQS_QUEUE_URL=
SQS_AWS_REGION=
S3_AWS_REGION=
S3_BACKUP_BUCKET_NAME=
REDIS_EVENTS_CHANNEL=events
AUTH_SERVER_URL=http://auth:3000
EMAIL_ATTACHMENT_MAX_BYTE_SIZE=10485760
REVISIONS_FREQUENCY=300

# (Optional) New Relic Setup
NEW_RELIC_ENABLED=false
NEW_RELIC_APP_NAME="Syncing Server JS"
NEW_RELIC_LICENSE_KEY=
NEW_RELIC_NO_CONFIG_FILE=true
NEW_RELIC_DISTRIBUTED_TRACING_ENABLED=false
NEW_RELIC_LOG_ENABLED=false
NEW_RELIC_LOG_LEVEL=info
# File upload path (relative to root directory)
FILE_UPLOAD_PATH=data/uploads

# File uploads
VALET_TOKEN_SECRET=766e926a54e4f413288e728d20b850f7bc51702996e6034d8d2901aeab7f493a
EXPOSED_FILES_PORT=3125

# Public-facing URL of the Files server. Endpoint on which clients will access it.
FILES_SERVER_URL=http://snotes.example.com
Save the file and exit.
Next, edit the Docker’s ~/standalone/docker/auth.env config file as well.
nano ~/standalone/docker/auth.env
Then, update the highlighted.
GNU nano 6.2                                                            docker/auth.env
LOG_LEVEL="info"
NODE_ENV="production"
VERSION="local"

AUTH_JWT_TTL=60000
JWT_SECRET=766e926a54e4f413288e728d20b850f7bc51702996e6034d8d2901aeab7f493a
LEGACY_JWT_SECRET=79836039ce85fb2671a0ebbcccf883b384526544ebdea11eec8bbc3dc43731e8

NEW_RELIC_ENABLED=false
NEW_RELIC_APP_NAME=Auth
NEW_RELIC_NO_CONFIG_FILE=true

REDIS_EVENTS_CHANNEL="auth-events"

DISABLE_USER_REGISTRATION=false

PSEUDO_KEY_PARAMS_KEY=b1ce5c8e9be535d88eef34740e1a2896b981c8879153940997610f16918b86ef

ACCESS_TOKEN_AGE=5184000
REFRESH_TOKEN_AGE=31556926

MAX_LOGIN_ATTEMPTS=6
FAILED_LOGIN_LOCKOUT=3600

EPHEMERAL_SESSION_AGE=259200
# Must be a hex string exactly 32 bytes long
# e.g. feffe9928665731c6d6a8f9467308308feffe9928665731c6d6a8f9467308308

ENCRYPTION_SERVER_KEY=f96e2e13a3eef857079241625df064211276753978f317c238f7a0873cc048aa

SYNCING_SERVER_URL=http://syncing-server-js:3000

# File Uploads
VALET_TOKEN_TTL=7200
Save and exit the file.
Finally, start the Standard Notes server by running the commands below.
./server.sh start
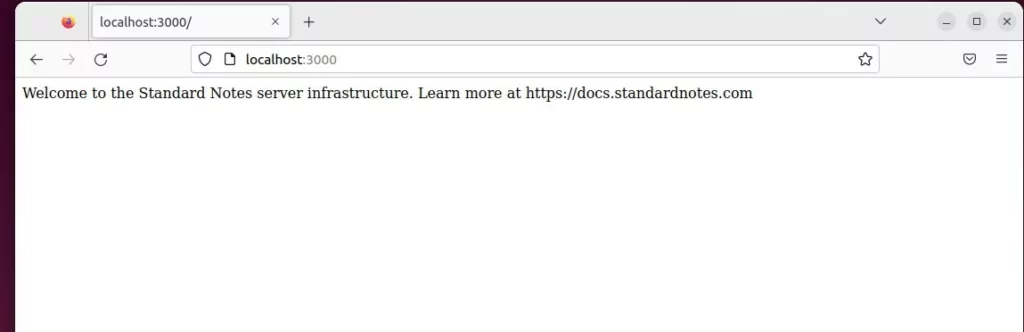
This command will take a few minutes to complete. By default, Standard Notes uses port 3000.
You can check the server logs by running the commands below.
./server.sh logs
Type CTRL + C to exit.
Check the server’s status by running the commands below.
./server.sh status
To start the server, run the commands below:
./server.sh stop
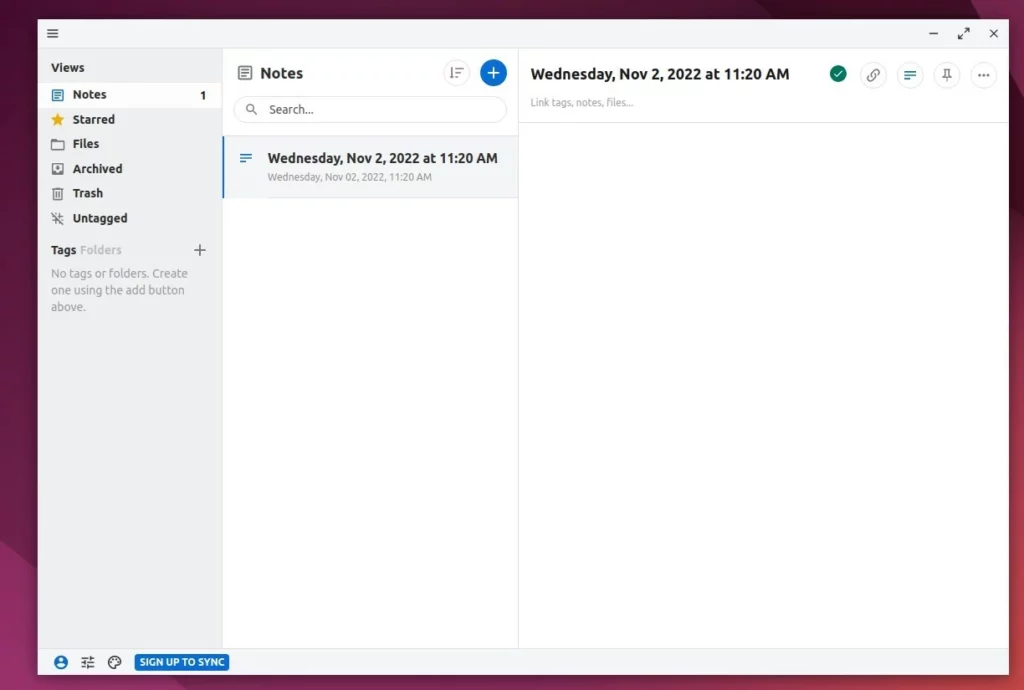
Access the Standard Notes server
Now that the server is up, install the Standard Notes client on your mobile device or desktop.
For the Ubuntu Linux system, run the commands below:
sudo snap install standard-notes
sudo snap connect standard-notes:password-manager-service
Windows and other platforms can visit Standard Notes’ download page to get the client.
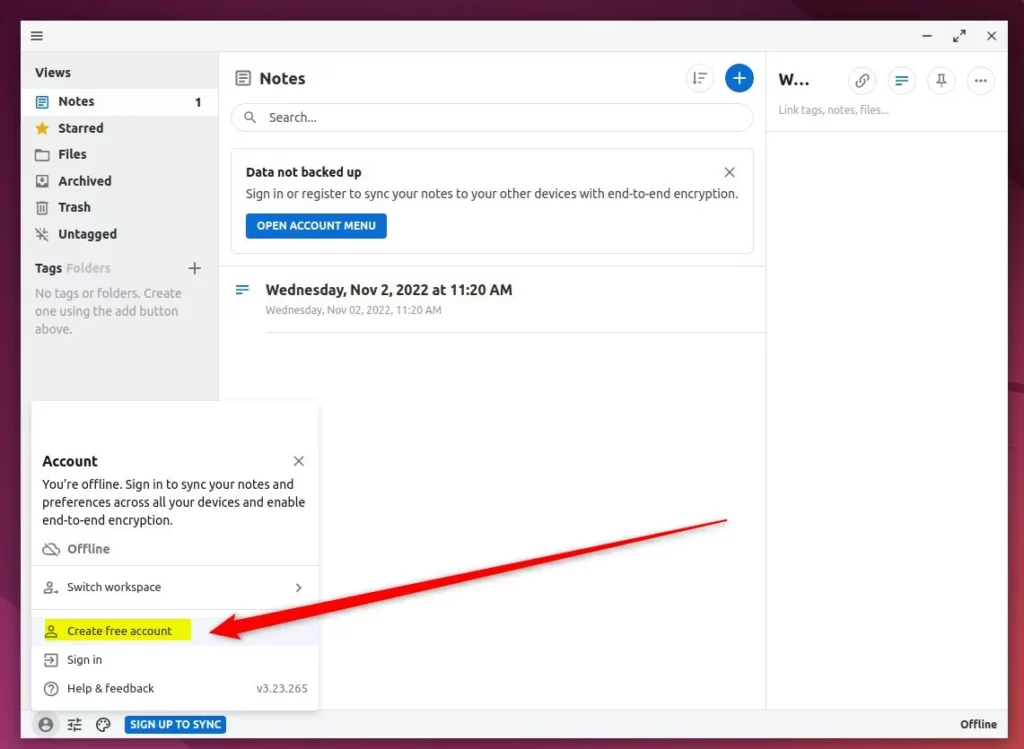
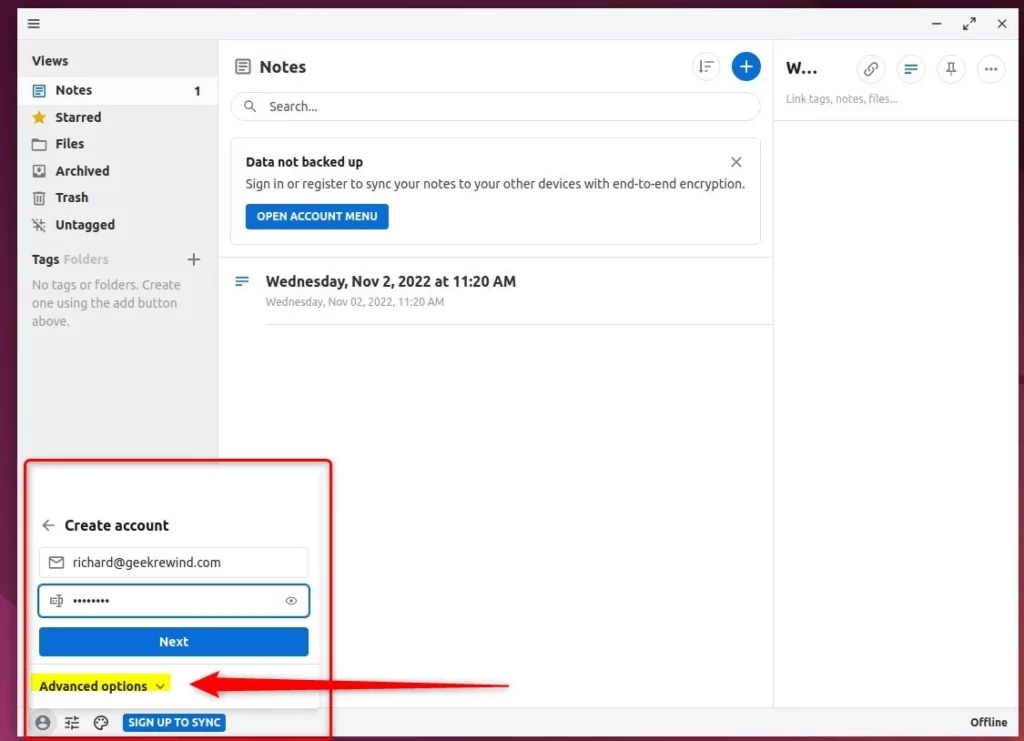
Click the Create free account link at the bottom left of the page and fill in your email address and password.
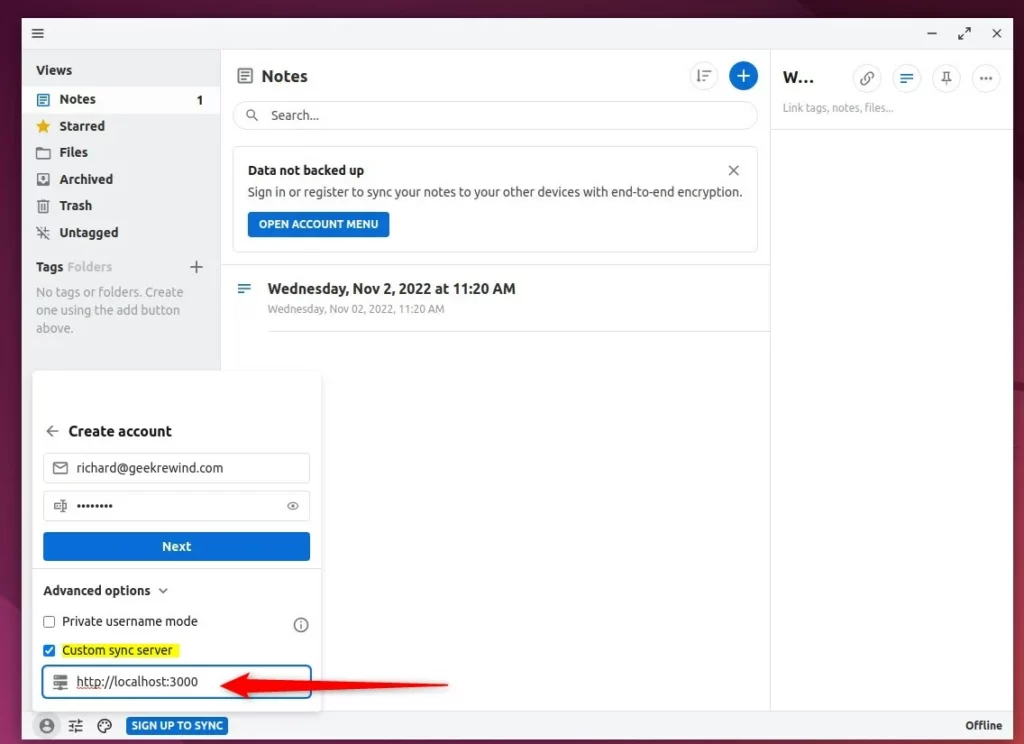
Click on the Advanced features button and uncheck the option Custom sync server.
In the URL field, type in the server URL.
http://localhost:3000
You are now connected to the local Standard Note host in your environment.
Setup reverse proxy with Standard Notes
You will want to run a reverse proxy to run Standard Notes efficiently.
Below are two posts that describe how to run a reverse proxy with Nginx or Apache.
Setup Let’s Encrypt SSL with Standard Notes
You may also want to encrypt traffic between the server and clients. For that, you can use Let’s Encrypt.
Below are posts that showed you how to configure Let’s Encrypt with Nginx or Apache HTTP web servers.
Configure your environment and enjoy Standard Notes.
For help, visit Standard Notes community forums.
That should do it!
Conclusion:
- The installation process of the Standard Notes server on Ubuntu Linux involves setting up Docker and Docker Compose, cloning the Standard Notes project from GitHub, generating and configuring secret strings, editing environment files, and starting the server.
- Accessing the Standard Notes server involves installing the Standard Notes client on the desired device and connecting it to the local server URL.
- Setting up a reverse proxy with Nginx or Apache and configuring Let’s Encrypt SSL are recommended for efficient and secure operation.
- Users can seek further assistance or contribute to the Standard Notes community forums for queries or suggestions.
Leave a Reply