How to Install OpenLiteSpeed on Ubuntu Linux
You install OpenLiteSpeed on Ubuntu Linux by downloading and running its official installer script. OpenLiteSpeed is a high-performance, open-source web server renowned for its speed and efficiency, often chosen over Apache or Nginx.
This powerful server includes a simple, web-based admin panel that makes managing your web environment straightforward. For example, you can easily configure virtual hosts and SSL certificates directly through the interface.
This guide focuses on getting OpenLiteSpeed, typically version 1.7.x or a newer release, up and running on your Ubuntu machine. You will also learn how to integrate PHP 8.0 and MariaDB, which are crucial for running popular content management systems like WordPress.
Install OpenLiteSpeed by adding its repository via `wget` and `bash`, then update your package list and install with `sudo apt update && sudo apt install openlitespeed`. Start and enable the service using `sudo systemctl start lshttpd` and `sudo systemctl enable lshttpd`.
How to install OpenLiteSpeed on Ubuntu from the repository
Installing OpenLiteSpeed on Ubuntu is easiest using its official repository, which also ensures you get automatic updates.
To add the repository, run the commands below:
wget -O - http://rpms.litespeedtech.com/debian/enable_lst_debian_repo.sh | sudo bash
The above command will also import the OpenLiteSpeed GPG key to Ubuntu and activate it. You can then run the commands below to install OpenLiteSpeed.
sudo apt update
sudo apt install openlitespeed
After installing OpenLiteSpeed, the commands below can be used to stop, start and enable OpenLiteSpeed services to automatically startup when the server boots.
sudo systemctl stop lshttpd
sudo systemctl start lshttpd
sudo systemctl enable lshttpd
To see if the OpenLiteSpeed service is running, run the commands below.
sudo systemctl status lshttpd
That should output similar lines as shown below:
lshttpd.service - OpenLiteSpeed HTTP Server
     Loaded: loaded (/etc/systemd/system/lshttpd.service; enabled; vendor preset: enabled)
     Active: active (running) since Sat 2021-09-11 17:43:24 CDT; 13s ago
   Main PID: 5773 (litespeed)
     CGroup: /system.slice/lshttpd.service
             ├─5773 openlitespeed (lshttpd - main)
             ├─5783 openlitespeed (lscgid)
             ├─5813 openlitespeed (lshttpd - #01)
             └─5814 lsphp

Sep 11 17:43:22 ubuntu2004 systemd[1]: Starting OpenLiteSpeed HTTP Server.
Sep 11 17:43:22 ubuntu2004 lswsctrl[5745]: [OK] litespeed: pid=5773.
How to configure OpenLiteSpeed on Ubuntu Linux
After installing OpenLiteSpeed, you’ll want to change its default port from 8088 to the standard web port 80 for better accessibility.
To do that, run the commands below to open its configuration file.
sudo nano /usr/local/lsws/conf/httpd_config.conf
Then look for the lines below and change the highlighted port from 8088 to 80.
listener Default{
    address                  *:80
    secure                   0
    map                      Example *
}
Save your changes and exit.
Restart OpenLiteSpeed by running the commands below.
sudo systemctl restart lshttpd
Now open your browser and browse to the server hostname or IP address. That should open the OpenLiteSpeed default web server welcome page.
http://localhost
With the default, port changed to 80, run the commands below to set up the administrator password, which will be used to log on to the OpenLiteSpeed admin panel.
sudo /usr/local/lsws/admin/misc/admpass.sh
When you run the command above, it will prompt you to type in the admin username and create a password. The default username is admin. Leave blank to use it.
Please specify the user name of administrator.
This is the user name required to login the administration Web interface.

User name [admin]:

Please specify the administrator's password.
This is the password required to login the administration Web interface.

Password:
Retype password:
Administrator's username/password is updated successfully!
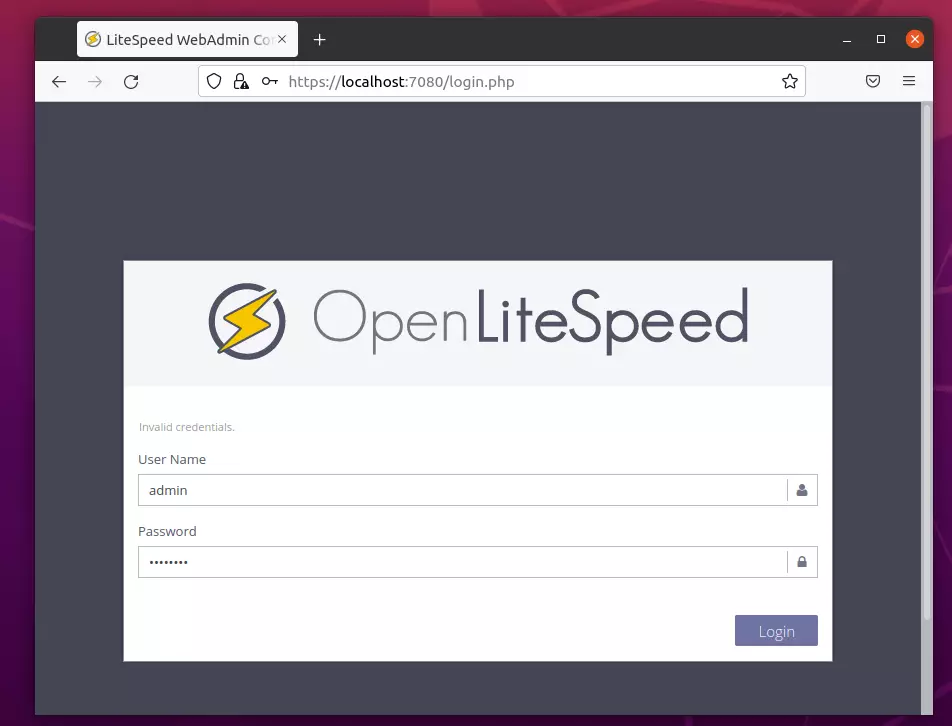
The admin panel can be accessed using the link below:
https://localhost:7080/login.php
Login using the admin login details above.
How to install PHP 8.0 support for OpenLiteSpeed
To get the latest features and security updates, you can install PHP 8.0 separately and configure OpenLiteSpeed to use it.
As of this writing, the latest version of PHP is 8.0. Run the commands below to install it.
sudo apt install lsphp80 lsphp80-mysql lsphp80-common lsphp80-opcache lsphp80-curl
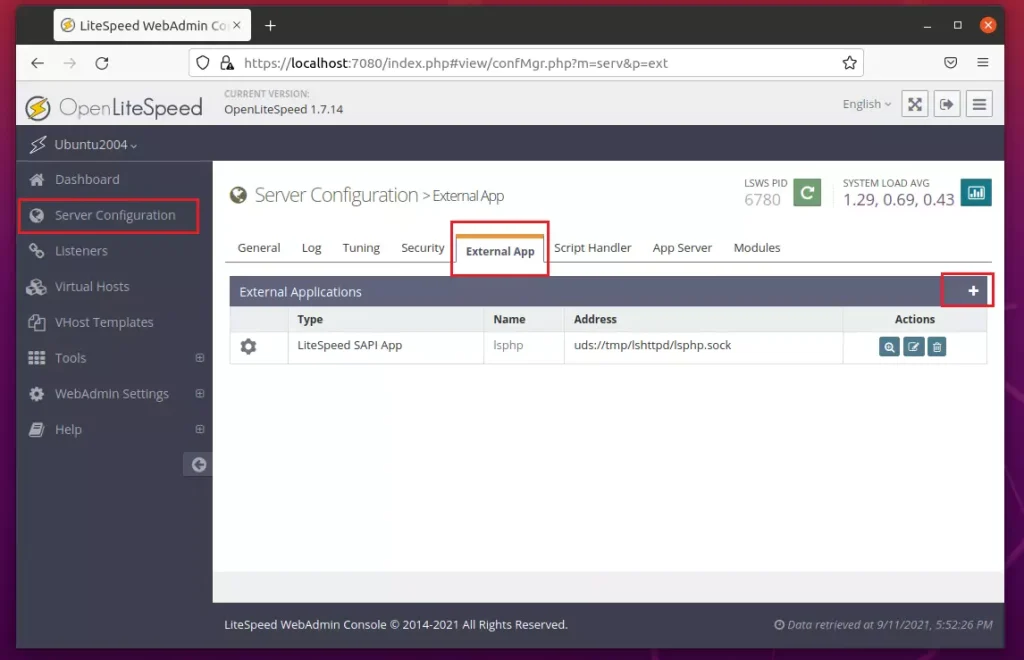
To make OpenLiteSpeed use PHP 8.0, log on to the admin panel, go to Server Configuration -> External App, and click the + button to add a new external app.
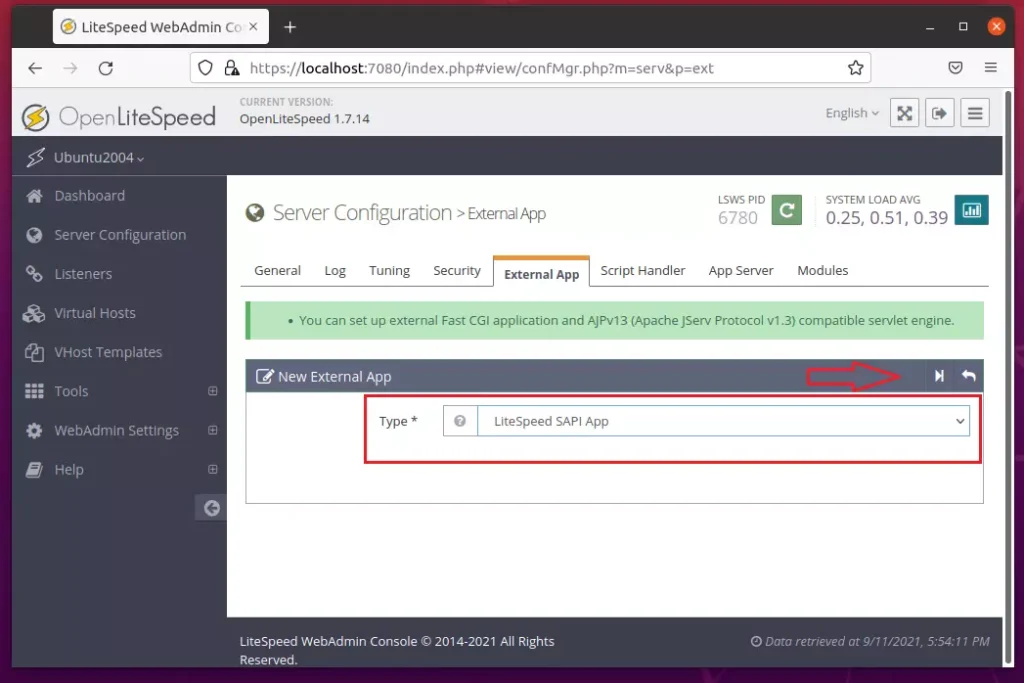
When prompted to choose the type of app you want to add, choose LiteSpeed SAPI App. Then click Next (arrow).
On the PHP configuration settings, use these recommended values:
Name: lsphp8.0
Address: uds://tmp/lshttpd/lsphp80.sock
Max Connections: 10
Environment: PHP_LSAPI_CHILDREN=10
LSAPI_AVOID_FORK=200M
Initial Request Timeout (secs): 60
Retry Timeout (secs): 0
Persistent Connection: Yes
Response Buffering: No
Command: lsphp80/bin/lsphp
Backlog: 100
Instances: 1
Priority: 0
Memory Soft Limit (bytes): 2047M
Memory Hard Limit (bytes): 2047M
Process Soft Limit: 1400
Process Hard Limit: 1500
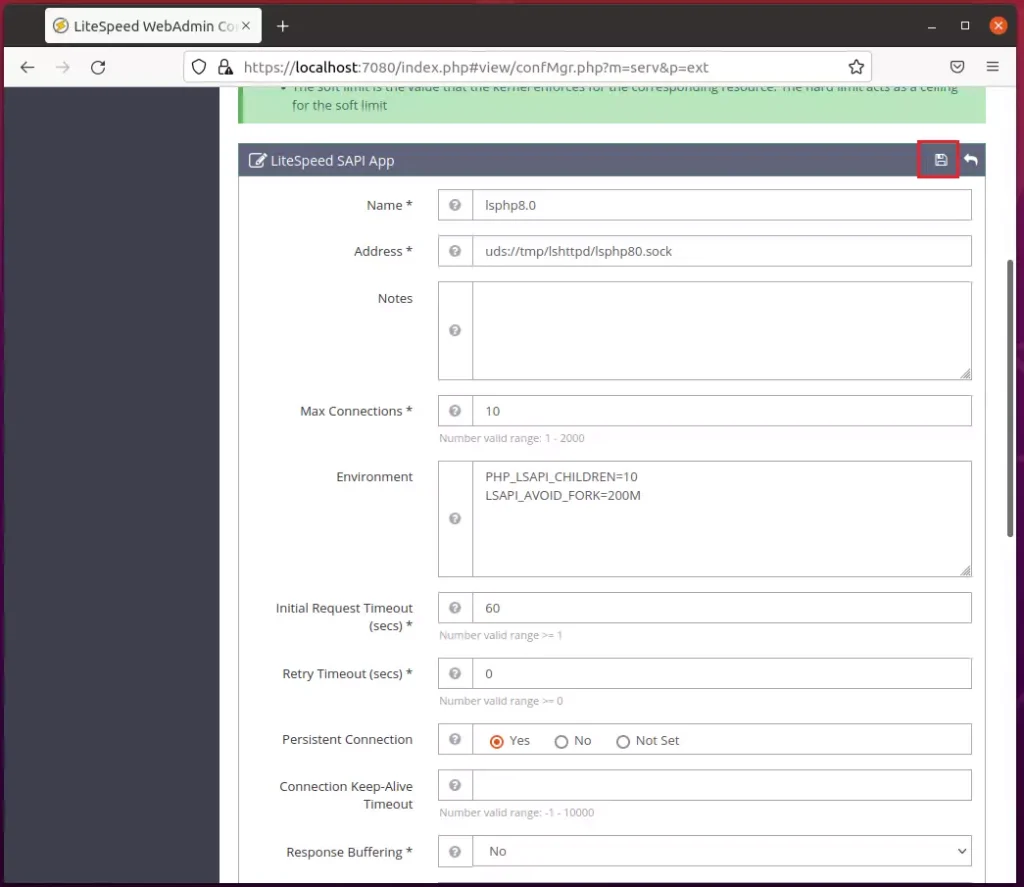
Save your changes.
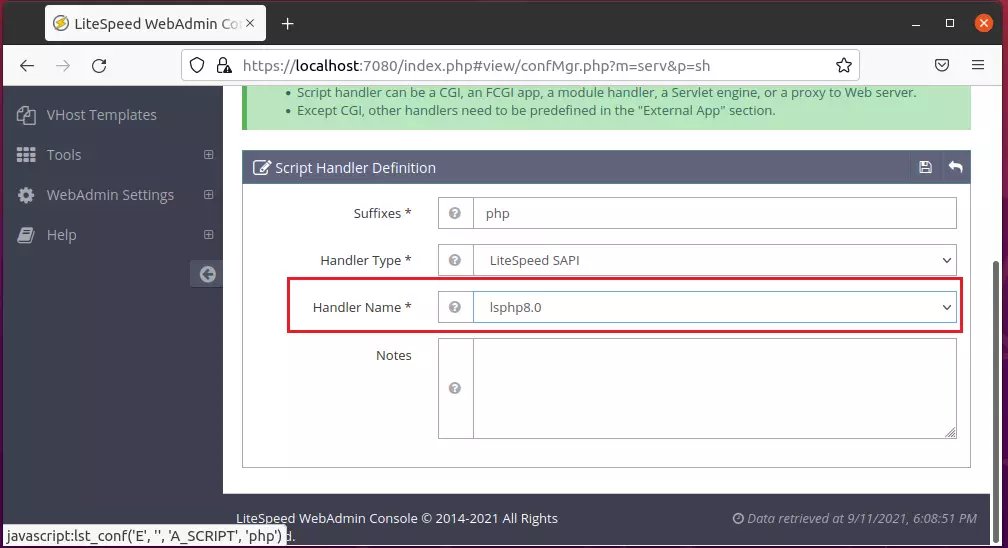
Next, go to Server Configuration ==> Script Handler and click Edit under Actions to edit the existing handler.
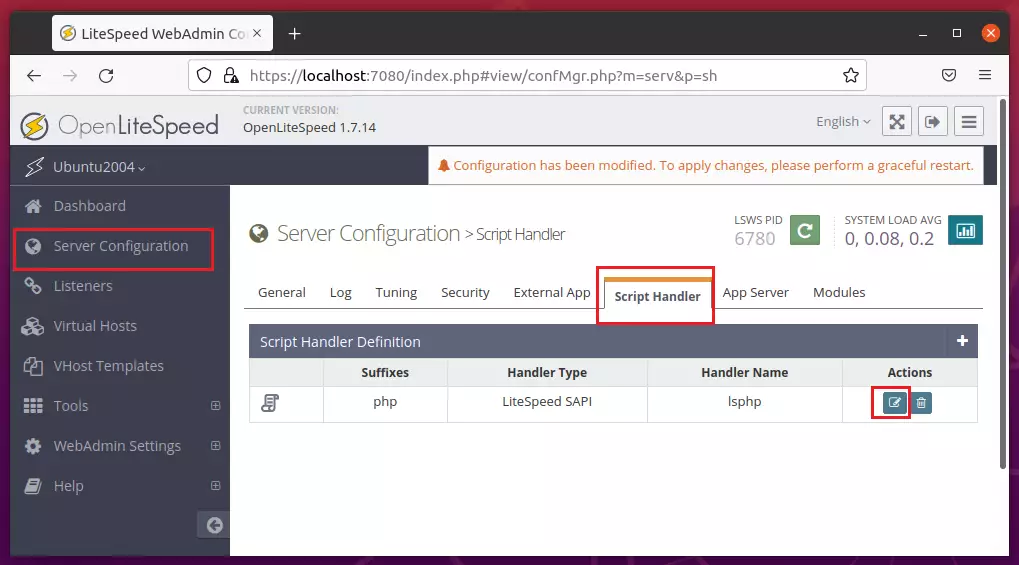
Then choose the new PHP 8.0 handler created above and save.
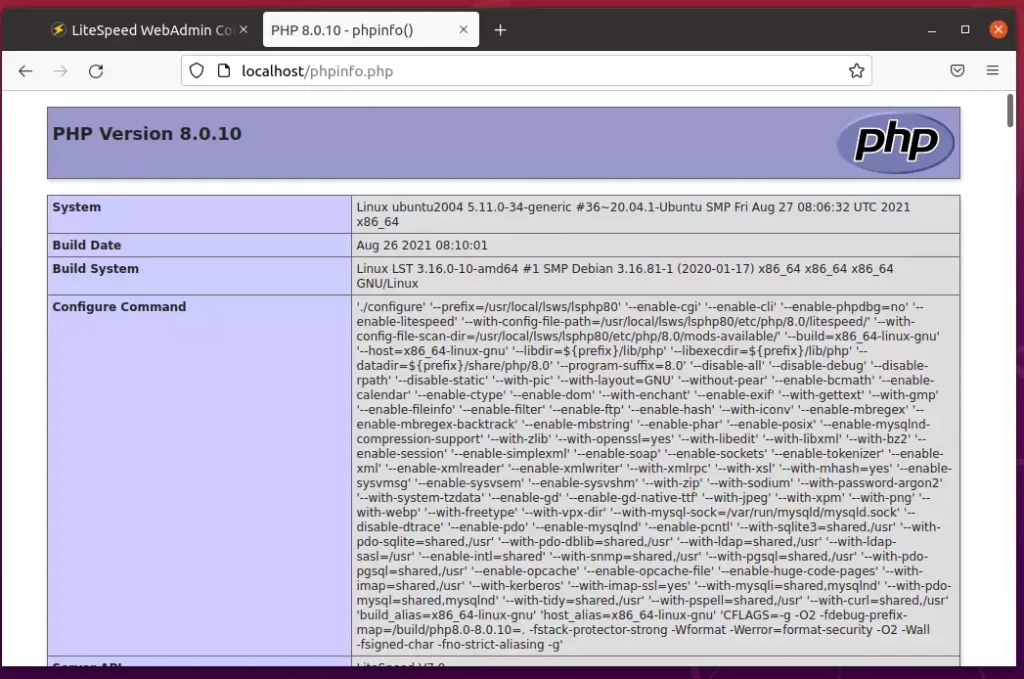
Restart the server, then go to the server name or IP address followed by /phpinfo.php.
http://localhost/phpinfo.php
PHP 8.0 is now the default handler.
How to install MariaDB on Ubuntu Linux
MariaDB is a popular and secure database server for Linux, and installing it on Ubuntu is straightforward using the apt package manager.
sudo apt install mariadb-server
sudo apt install mariadb-client
After installing MariaDB, the commands below can stop, start and enable MariaDB services to start up when the server boots.
sudo systemctl stop mariadb.service
sudo systemctl start mariadb.service
sudo systemctl enable mariadb.service
Next, run the commands below to secure the database server with a root password if you were not prompted to do so during the installation.
sudo mysql_secure_installation
When prompted, use the guide below to answer:
If you've just installed MariaDB, and haven't set the root password yet, you should just press enter here.

Enter current password for root (enter for none): PRESS ENTER

Switch to unix_socket authentication [Y/n] n

Change the root password? [Y/n] n

Remove anonymous users? [Y/n] y

Disallow root login remotely? [Y/n] y

Remove test database and access to it? [Y/n] y

Reload privilege tables now? [Y/n] y

All done!
To verify and validate that MariaDB is installed and working, log in to the database console using the commands below:
sudo mysql -u root -p
You should automatically be logged in to the database server since we initiated the login request as root. Only the root can log in without a password and from the server console.

The server was successfully installed if you see a similar screen.
That should do it!
Conclusion:
This post showed you how to install OpenLiteSpeed with support for PHP 8.0 and MariaDB. Please use the comment form below if you find any errors above or have something to add.
Was this guide helpful?

About the Author
Richard
Tech Writer, IT Professional
Richard, a writer for Geek Rewind, is a tech enthusiast who loves breaking down complex IT topics into simple, easy-to-understand ideas. With years of hands-on experience in system administration and enterprise IT operations, he’s developed a knack for offering practical tips and solutions. Richard aims to make technology more accessible and actionable. He's deeply committed to the Geek Rewind community, always ready to answer questions and engage in discussions.

Current, December 12 2025 PHP is now
PHP logo
PHP Version 8.3.28
you should modify the php installation commands accordingly
[…] How to Install OpenLiteSpeed on Ubuntu Linux – Website for Students […]
[…] How to Install OpenLiteSpeed on Ubuntu Linux – Website for Students […]